3D Printing is becoming increasingly popular for hobbyists and professionals to produce high-quality items. This blog post will help you learn how to get professional quality PLA 3D prints every time! With the right tips and knowledge, printing complex objects can be a breeze even for beginners in 3D Printing.
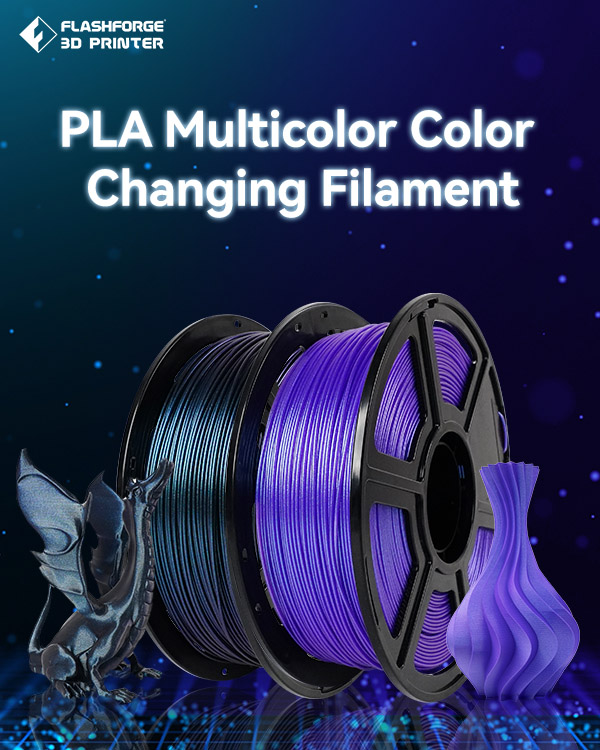
Introduction to PLA 3D printing
Whether new to 3D Printing or an experienced user, PLA 3D printing can be advantageous. As with any project, achieving a high-quality result is always the goal regardless of experience level. To help ensure your prints look great, it’s crucial to understand how proper printer settings, post-processing techniques, and material considerations factor in when aiming for stunning and smooth finishes on your PLA 3D prints.
Overview of the Printing Process
The 3D printing process is involved, but the results can be stunning with a proper combination of printer settings, post-processing techniques, and material considerations. With care taken to get your PLA prints just right, you can achieve truly incredible finished products that will stand out from generic prints and impress onlookers. In this blog, we’ll take an in-depth look at how to create smooth finishes on your PLA 3D prints by carefully tuning each step in the process.
Tips for Creating High-Quality Prints
When 3D Printing with PLA, it’s important to achieve a stunning end result – smooth and eye-catching finishes that you’re proud of. This can be difficult without knowing some key tips on how to optimize your printer settings, use post-processing techniques, and consider material considerations for best results. In this blog post, we will cover all these points as well as insights into creating high-quality prints every time!
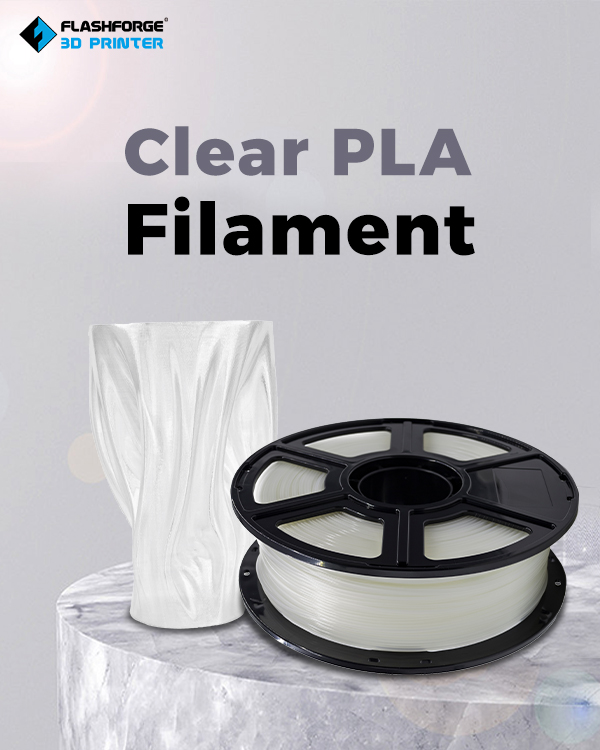
Strategies for Post-Processing Printed Items
Post-processing printed items can be a great way to customize or add value to your 3D prints. Taking the time and effort to properly finish PLA 3D prints will result in a stunning, smooth outcome.
By following proper printer settings, utilizing post-processing techniques, and understanding material considerations such as the type of filament used for Printing, you can ensure that each design meets its fullest potential while looking flawless at any viewing angle. Whether you’re creating prototypes or decorative pieces for home decor – mastering how to finish PLA 3D works accurately is key!
Creating stunning, smooth finishes on your PLA 3D prints involves a combination of proper printer settings, post-processing techniques, and material considerations. Here’s a comprehensive guide to help you achieve those impressive results:
Printer Settings:
1. *Layer Height: Opt for a smaller layer height (e.g., 0.1mm or less) to increase print resolution. This will reduce the appearance of layer lines and create a smoother surface.
2. *Print Speed: Slower print speeds (around 30-50mm/s) can help improve surface quality by allowing each layer to cool and adhere properly.
3. *Temperature: PLA generally prints well around 195-220°C, but slight adjustments within this range can affect the surface finish. Experiment to find the best temperature for your printer and filament brand.
4. *Retraction Settings: Proper retraction settings minimize stringing and help maintain a cleaner surface. Adjust retraction distance and speed to find the best values for your printer.
5. *Cooling: Ensure your printer’s cooling fan works effectively. Sufficient cooling prevents overheating and warping and ensures cleaner overhangs and bridging.
Bed Leveling and Adhesion
1. *Bed Leveling: Proper bed leveling is crucial for consistent adhesion. A warped bed can lead to uneven layers and a rough finish. Use a leveling tool to ensure an even first layer.
2. *Adhesion Aids: Consider using a suitable bed surface or adhesion aid, like a heated glass bed with a thin layer of glue stick or hairspray. This can help prints stick securely and reduce warping.
Filament Considerations
1. *Quality Filament: Choose high-quality PLA filament. Premium filaments are often more consistent in diameter and have fewer impurities, leading to better print results.
2. *Drying Filament: Moisture in filament can cause issues during Printing. If your filament absorbs moisture, dry it in an oven at a low temperature before Printing.
Post-Processing Techniques
1. *Sanding: Sand the print gently with progressively finer sandpaper (e.g., 220 to 1000 grit) to smooth out imperfections and layer lines. This is time-consuming but can yield excellent results.
2. *Priming and Painting: Apply a filler primer or sandable spray primer to fill in the remaining imperfections. After priming, sand again lightly before applying paint for an even smoother finish.
3. *Acetone Vapor Bath (Acetone Smoothing): Acetone vapor smoothing works best on ABS, but you can experiment with PLA. Place your print in an airtight container with a small amount of acetone for a short time to melt and smooth the surface. Be cautious, as overexposure can melt the print.
4. *Epoxy Coating: Apply a thin coat of epoxy resin to the print’s surface. This not only provides a smooth finish but can also add strength and durability.
5. *Fillers and Bondo: Use a filler like Bondo to even out surfaces for larger prints. Sand the filler after it cures to achieve a seamless finish.
Remember that achieving exceptional results requires experimentation and practice. What works for one printer or filament might not work exactly the same for another. Keep a log of your settings and techniques, and gradually refine your process based on the results you observe.
Simplify3D is a popular slicing software that provides advanced control over 3D printing settings. To achieve the best results with PLA prints using Simplify3D, here’s a guide to configuring the software settings:
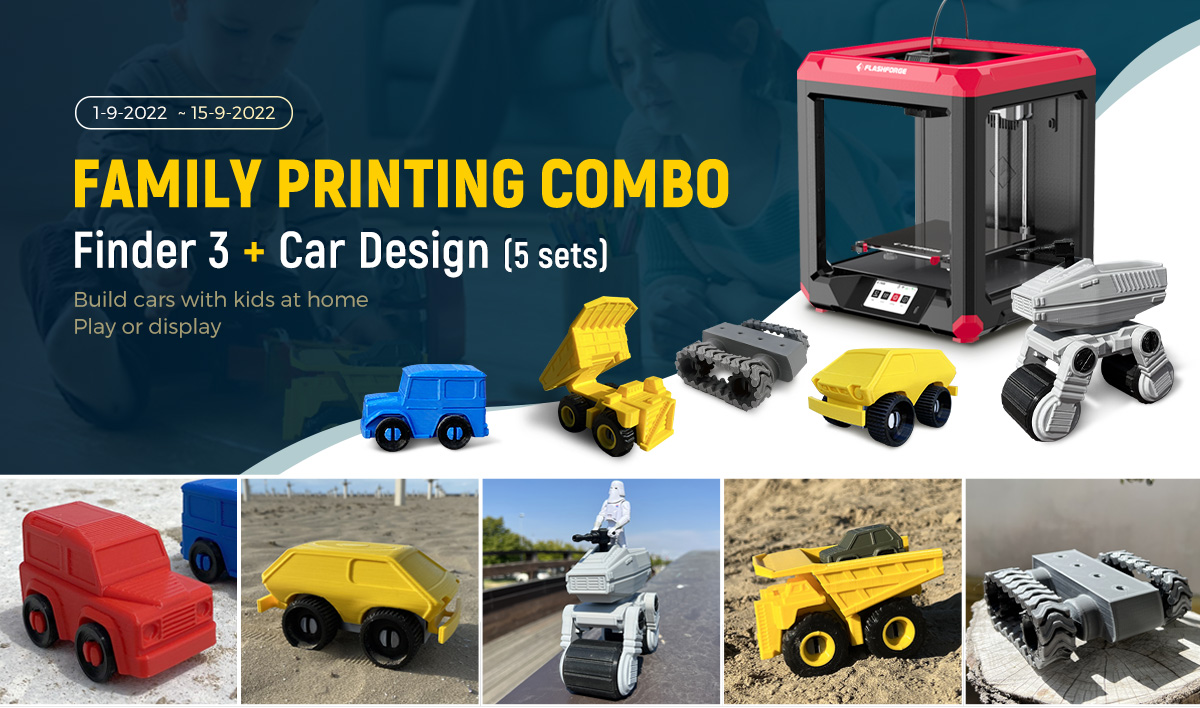
1. Printer Settings
– **Printer: Select your printer model from the list of pre-configured printers. If your printer isn’t listed, you’ll need to manually input its specifications.
– **Build Area: Define the dimensions of your printer’s build area accurately.
– **Extruder: Set the number of extruders your printer has.
– **G-Code Flavor: Choose the appropriate G-code flavor for your printer (usually Marlin or RepRap).
2. Process Settings
– **Layer Height: Choose a layer height that balances quality and print speed. Smaller layer heights (e.g., 0.1mm) result in smoother surfaces.
– **First Layer Height: A slightly thicker first layer (e.g., 0.2mm) helps with adhesion.
– **Print Speed: Adjust print speed based on your printer’s capabilities. Slower speeds (30-50mm/s) often yield better surface quality.
– **Infill: A high infill percentage (20-30%) provides internal support and can improve overall strength.
– **Outline Shells / Perimeters: Increase the number of perimeter shells to enhance print accuracy and surface smoothness.
– **Print Cooling: Enable a cooling fan for PLA prints to minimize warping and improve overhangs. Start with around 100% fan speed after the first few layers.
– **Extrusion Multiplier: Fine-tune the extrusion multiplier to ensure the correct amount of filament is being extruded.
– **Retraction: Adjust retraction settings to reduce stringing and oozing.
– **Bridging: Fine-tune bridging settings to achieve smooth, clean bridges.
– **Supports: If needed, enable supports for overhangs and complex geometries. Simplify3D offers advanced support customization.
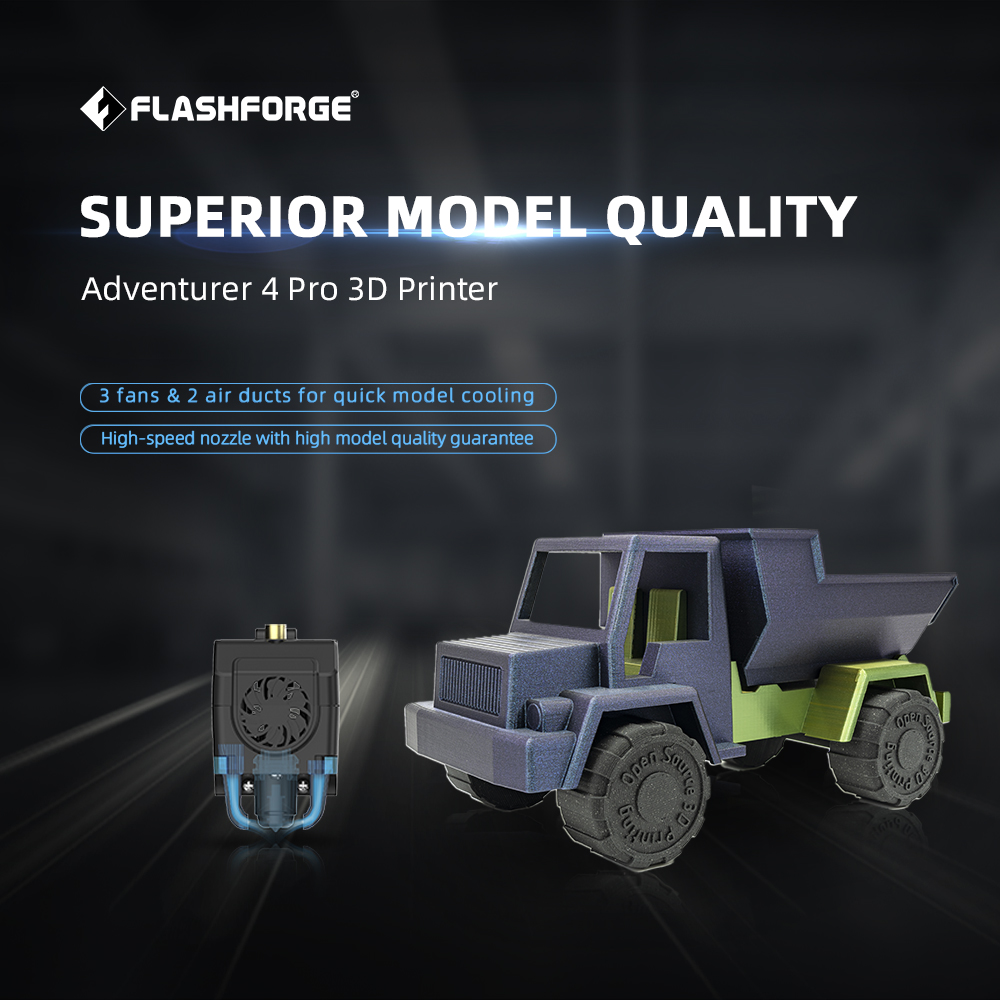
3. Advanced Settings
– **Temperature: Set the nozzle temperature within the manufacturer’s recommended range (usually 195-220°C for PLA). You can also adjust the temperature based on your printer’s performance.
– **Bed Temperature: PLA usually adheres well to a heated bed set around 50-60°C, but experiment to find the ideal temperature for your printer and bed surface.
– **Initial Layer Temperature: Slightly increasing the initial layer temperature can help with adhesion.
– **Coast at End: Enabling this option can reduce stringing by stopping extrusion just before the end of a perimeter.
– **Wipe Nozzle: Wiping the nozzle on an outer perimeter can help prevent ooze and improve print quality.
4. Process Optimization
– **Sequential Printing: If printing multiple objects, consider using sequential Printing to improve overall surface quality.
– **Alignment: Align models for optimal print orientation, minimizing the need for supports and improving surface appearance.
Remember that these settings provide a starting point. You’ll likely need to iterate and make adjustments based on your specific printer, filament, and desired results.
Always keep notes of the changes you make so you can track improvements and find the optimal settings for your PLA prints.

Save $10 when ordering $50+ SAS23
What are some common mistakes to avoid when 3D printing with PLA?
3D printing with PLA can be relatively straightforward, but there are still common mistakes that beginners and even experienced users can make. Here are some key mistakes to avoid when 3D printing with PLA:
1. Incorrect Bed Leveling: Proper bed leveling is crucial. The first layer may adhere properly if the bed is leveled correctly, leading to adhesion issues and better print quality.
2. Inadequate Adhesion: PLA prints can warp if the first layer doesn’t stick well. Ensure your print bed is clean, and use proper adhesion aids like a heated bed, painter’s tape, or a specialized bed surface.
3. Poor Cooling: PLA is sensitive to overheating. Inadequate cooling can result in stringing, rough surfaces, and overhang deformities. Make sure your cooling fan is functional and properly positioned.
4. Extruder Calibration: Incorrect extruder steps/mm or flow rate can lead to under- or over-extrusion. Calibrate your extruder accurately to ensure the right amount of filament is being fed.
5. Printing Too Fast: While PLA is generally forgiving, printing too fast can lead to poor layer bonding, shaky prints, and inaccuracies. Adjust your print speed to a level your printer can handle without compromising quality.
6. Layer Height Too High: Choosing a layer height that’s too high can result in visible layer lines and reduced overall print quality. Opt for smaller layer heights to achieve smoother finishes.
7. Ignoring Print Cooling: Cooling is essential, especially for small features and overhangs. The print quality can suffer if your cooling fan is turned off or set too low.
8. Not Using Supports Properly: If your model has overhangs or complex geometries, using proper or adequate supports can lead to messy, flawed prints.
9. Printing Too Hot: While PLA has a relatively low melting point, printing at temperatures that are too high can cause stringing, blobbing, and even burnt filament.
10. Not Calibrating Retraction: Incorrect retraction settings can result in stringing or oozing between moves. Adjust the retraction distance and speed to minimize these issues.
11. Filament Quality: Using low-quality or inconsistent filament can lead to irregular prints, clogs, and overall poor results.
12. Skipping Test Prints: Jumping straight into a complex or large print without running smaller test prints can save time and filament if issues arise that could have been identified earlier.
13. Print Orientation: Choosing the wrong print orientation can result in unnecessary support usage, poor surface quality, or structural weaknesses. Optimize the orientation based on the model’s geometry.
14. Ignoring Print Settings: Each model might require different settings. Please don’t rely on universal settings; fine-tune them based on each print’s specific geometry and requirements.
15. Unattended Printing: Leaving your printer unattended for extended periods can lead to potential safety hazards, especially if issues arise during printing.
By avoiding these common mistakes and focusing on proper printer maintenance, calibration, and material considerations, you’ll be well on your way to achieving high-quality PLA 3D prints.
Thanks for reading,
Bullwinkle
