
The printer fits on the shelf. Then the bed moves.
On a printer with a bed that slides back and forth, the listed depth tells you part of the story. The setup guide shows how much space the bed needs to travel and where the cable needs room to bend. A few inches of clearance can be the difference between printing that weekend and packing the machine back up.
If you’re buying a home 3D printer, put a part you want to make beside a tape measure. Write your all-in budget on a sticky note. You’ll use those three things to work through the checks below.
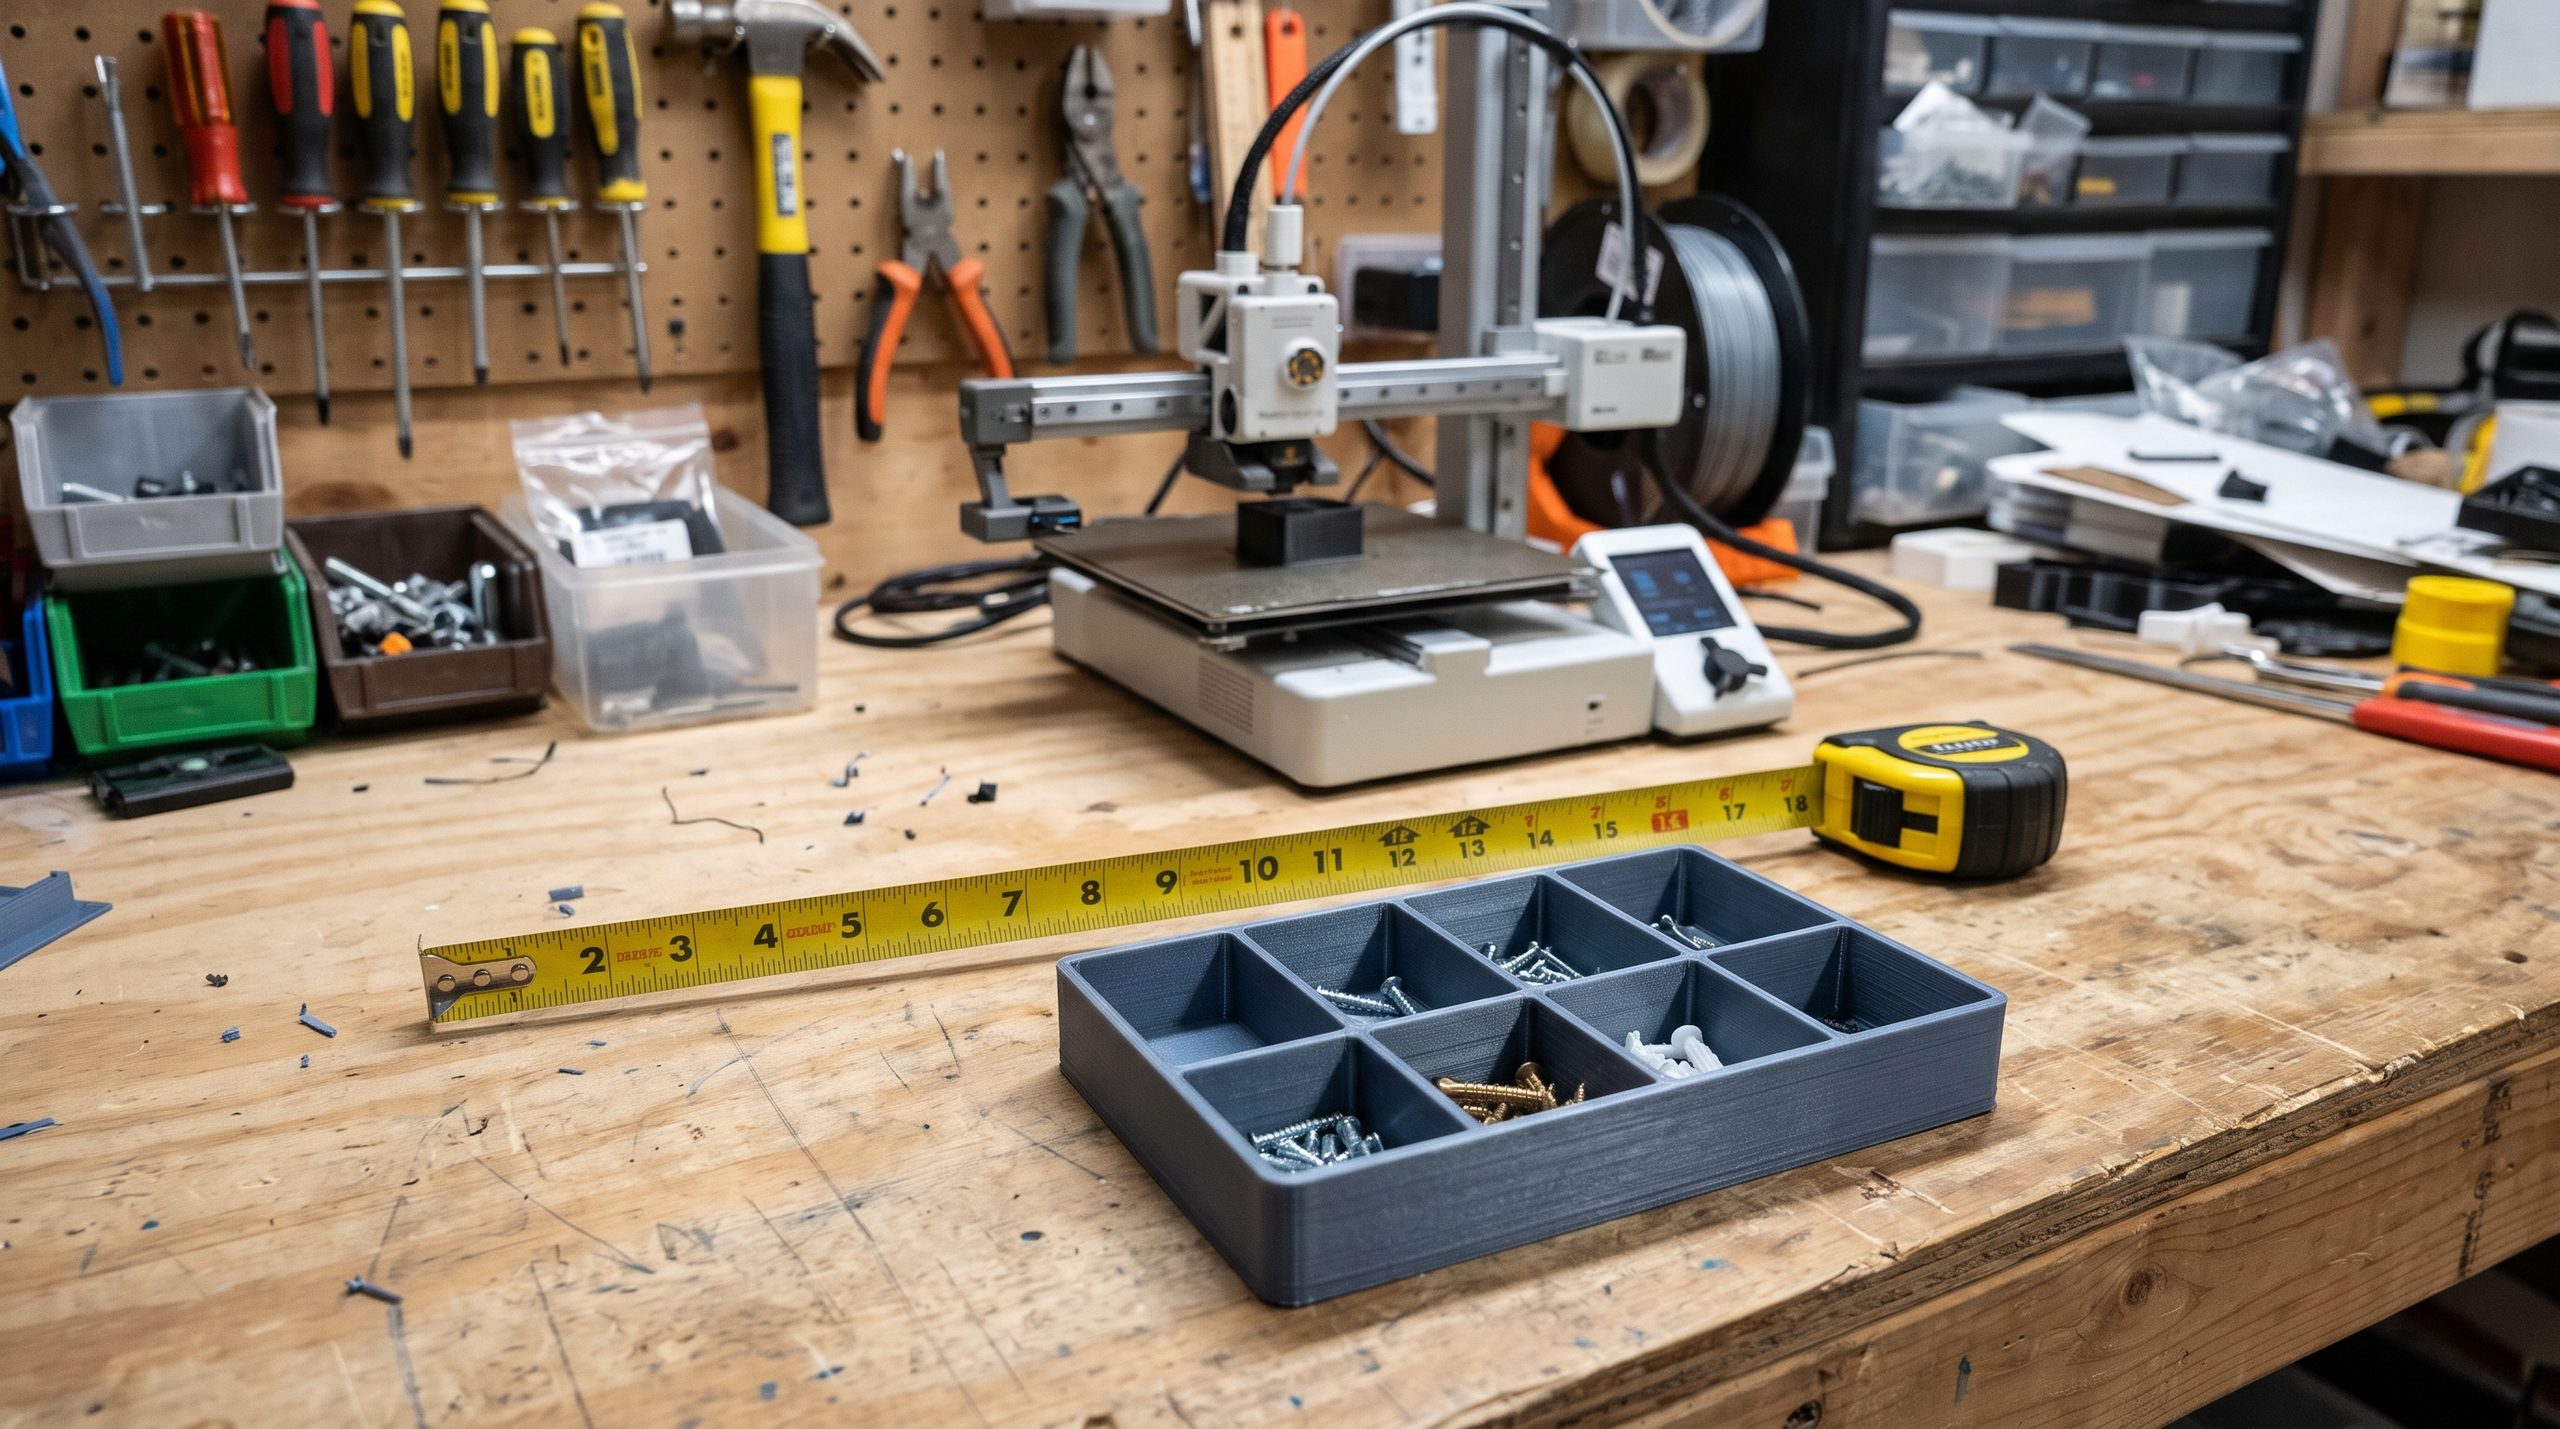
Quick answer
For small indoor projects in PLA and compatible PETG, start by comparing compact filament printers with automatic bed leveling, documented slicer profiles, and spare parts you can buy. Size up for a part you expect to print regularly. If a real project calls for ABS or ASA, check the printer’s material support, chamber guidance, and how you’ll control emissions where you print.
1. Name three things you’ll actually print
Think about your first 90 days. A cable guide, a battery holder, and a drawer divider tell you more about the printer you need than a page of specs. Write down what each part does, its rough dimensions, and which one you expect to make again.
In my shop, the Raise3D Pro2 earns its space on larger jobs. For quick fit checks, I often use a smaller machine. A little test piece that answers “Will this clip snap into place?” can save more time than running the entire part.
Pick one real model file to carry through the next few checks. If you’re starting with a physical part, measure it so you can find or draw a matching model.
2. Match the printer to the material your project needs
A desk organizer lives a different life from a cover in full sun. Start with the conditions your finished part will see, then check which printing process and material fit the job.
- Indoor organizers and fit mockups Start with PLA on a filament printer, also called an FDM or FFF printer. It’s a practical way to learn slicing and first-layer setup.
- Everyday holders and light-duty clips Consider PETG. Check the exact grade and test the part under the load and temperature it will see.
- Outdoor covers or fixtures in full sun Consider UV-resistant ASA. Check the printer’s material profile, chamber guidance, and ventilation requirements.
- Miniatures with fine sculpted details Compare resin setups. Include washing, curing, and safe handling of liquid resin in your workspace and cost plan.
If you already have a nylon or fiber-filled job in mind, check the exact filament’s drying and nozzle requirements. Prusa’s filament material guide
3. Slice your biggest regular print before you buy
Open a real file in a slicer that supports the exact printer you’re considering. Select that machine’s profile, orient the model as you’d print it, and add any supports or brim. A brim adds material around the first layer to help it stick to the plate. If your multicolor setup uses a purge tower, include its footprint too. Prusa’s brim guide
In that orientation, the print needs 6 mm more than the bed has. Look for the full footprint and any marked keep-out zones in the slicer preview.
Check all three axes in the preview. If a single oversized project is driving your choice, test whether it can be rotated or assembled from smaller sections, or get a quote for that one print.
4. Tape out the space the printer needs while it runs
Use the exact model’s setup guide to mark its operating footprint on a stable workbench. Include the bed at the ends of its travel, cable clearance, the spool or feeder, and room to open the door or remove the plate. Check height too, especially under cabinets.
Give the printer a dedicated, ventilated work area away from sleeping and busy living spaces. Keep children and pets away from hot and moving parts. Filament printers can release ultrafine particles and gases, including when printing PLA. A chamber can help control drafts and temperature. To manage emissions, look for source capture with outdoor exhaust where feasible and follow the equipment guidance. NIOSH guidance on 3D printer emissions and controls
Confirm the operating footprint and your ventilation plan before you order. Compare enclosed and open-frame printers
5. Make each feature earn its spot in the cart
Automatic bed leveling helps with first-layer setup. Check how the model sets nozzle height and what plate care it needs. A filament runout sensor can pause a long print when a spool empties. A multicolor feeder earns its place when your projects call for it. Check which spools and materials it accepts and how much time and filament your color changes add.
To compare speed, slice the same part on both machines at the same layer height, material, wall count, and infill. Compare estimated total job time with any supports and color changes included. The hotend’s ability to melt filament, the part’s shape, and acceleration all affect how much of the print can run at higher speeds. Prusa’s explanation of volumetric flow limits
Name the recurring job each paid upgrade helps with.
6. Follow a file from your computer to the printer
A slicer turns your model into instructions the printer can run. Download the supported slicer, load a model, and try preparing and exporting the job. Then look up how that exact machine starts a print. It may use a card, USB drive, local network, or cloud account.
Find the documented steps for both initial setup and everyday file transfer. If you need to work without internet access or keep designs on your own network, confirm the local workflow covers both.
7. Shop for a spare part before you shop for the printer
Find the exact model’s replacement nozzle or hotend assembly and build plate. Check the price, stock, and shipping to your area. Open the service instructions and see what a swap involves. Five minutes of parts shopping can show you what it’ll take to get printing again after a worn nozzle or a damaged plate.
Save the seller’s return window and the manufacturer’s warranty for your region. Check who handles a unit that arrives damaged, what wear items are covered, and who pays return shipping.
8. Price your first successful print
Add the delivered printer price, the material you’ll use first, and any work-area equipment or accessories required for that job. Set aside a little for setup prints and a model-specific spare. A dryer, extra plate, or color feeder can be a later purchase if your first projects can wait for it.
| Item | One color | Four colors |
|---|---|---|
| Printer, delivered | $299 | $299 |
| First spool | $25 | $25 |
| Spare-part reserve | $20 | $20 |
| Color feeder | $0 | $120 |
| Three extra spools | $0 | $60 |
| Total | $344 | $524 |
The prices are illustrative and assume the work area is ready. In this example, four colors add $180 before the first job runs. Use your own cart and the material estimate from your slicer.
Start with one spool that matches your printer and first project. Test it with a supported profile before stocking up. Why COEX stays in my filament rotation
Your P.R.I.N.T. buying planner
Copy these five lines into a note for each printer on your shortlist.
- P · Problem
- My first three projects are ___, ___, and ___. The one I’ll repeat is ___.
- R · Requirements
- My largest regular print is ___ × ___ × ___ mm. The material and profile it needs are ___.
- I · Interfaces
- The part has to fit ___. My operating space and ventilation plan are ___. I’ll send files by ___.
- N · Next-Best Materials & Methods
- My alternative material, machine, or print service is ___. My ready-to-print total is $___, including first-job supplies.
- T · Test & Tune
- I’ve checked a real file in the slicer. My first test print will check ___ before the seller’s return window closes.
Ready to shortlist? Keep the machines that pass your part, space, and budget checks. Compare beginner 3D printer models
Only one part to make? Compare the cart total with a quote for the job. Request a custom 3D printing quote
Four-question knowledge check
Pick your answer, then tap to see what each decision means at the bench.
1. Your tray is 176 mm long and needs a 5 mm brim at each end. What do you check?
- The nozzle diameter
- The full 186 mm footprint in the slicer
- The tray’s 176 mm length by itself
Reveal answer to question 1
B. The brim adds 10 mm in that direction. Preview the full footprint in the orientation you plan to use.
2. You plan to print ASA regularly. What do you check first?
- How many colors the feeder holds
- The maximum nozzle temperature alone
- The printer’s ASA support, chamber guidance, and your ventilation plan
Reveal answer to question 2
C. The chamber helps manage temperature around the part. Your ventilation plan addresses the emissions from printing it.
3. One printer advertises a higher top speed. How do you compare them for your project?
- Slice the same job on both profiles with comparable settings
- Compare the top-speed numbers alone
- Compare the weight of each printer
Reveal answer to question 3
A. Compare estimated job time with the same material and quality settings. Check real test prints if finish or fit is critical.
4. Your cap is $350 and the $344 setup covers your first jobs. When does the $120 feeder make sense?
- As soon as the listing shows a bundle discount
- When a project calls for it and the full upgraded cart fits your budget
- When the printer itself is less than $350
Reveal answer to question 4
B. The feeder alone puts this cart at $464. Add the cost of the extra filament when you budget for the upgrade.
Frequently asked questions
Is a refurbished 3D printer a good first buy?
It can be if the seller documents what was tested, includes the accessories you need, and gives you time to run a real print. Add the cost of any missing pieces and compare that total with a new unit. For a local used purchase, ask to see the printer home its axes and lay down a first layer.
Do I need an enclosed printer for PETG?
Many open-frame printers can print PETG with a compatible plate, a supported profile, and a stable room. Check the machine’s material guide and slicer profile for the specific filament and plate you’ll use.
Do I need a 3D scanner to make replacement parts?
For a simple knob, clip, or spacer, start with calipers and a sketch of the surfaces that touch or fasten. Redraw the part in CAD, then print a small fit test. A scan can help capture complex curves, and the mating features still need to be measured and checked. How to measure a part for 3D printing
What should I print first after setup?
Run the maker’s recommended setup print, then make a small version of something you actually need. For a drawer divider, test one end against the drawer before printing the full length. Follow the first-print walkthrough
What would you print first?
Leave your first project, rough dimensions, and all-in budget in the comments. If you’re comparing two printers, include the exact models. A good starting point is “205 × 110 × 35 mm drawer divider, $450 total, garage workbench.”
For help going from your first print to repeatable results, see P.R.I.N.T. It – Practical 3D Printing for Beginners.
