Making 3D models look truly perfect always grabs attention in design communities, but what goes on behind the scenes might not be what most people expect. From my own experience, it doesn’t just come down to having the latest hardware or downloading a trendy plugin. There’s a less flashy but very real process that really makes the difference. Below, I’m sharing what actually changes a 3D model from just okay to eye-catching and clean.
The Surprising Key: Planning and Reference Gathering
Before even opening my 3D software, careful planning and collecting solid references always set me up for better results. Rushing into modeling without having clear references is a common trap that almost always leads to messy shapes and frustrating revisions. Just taking a quiet moment to set this up saves so much time later.
When I start any project, I make sure to gather multiple images, drawings, and even short videos that show off my subject from different angles. This habit works for everything from a simple chair to complex mechanical scenes. For professional studios and hobbyists alike, planning this first step saves plenty of headaches later when detailing, texturing, and lighting. If you skip this, you might rush into the modeling phase, only to find out you missed major details or sizing issues that take twice as long to correct.
Corporations investing in high-quality 3D for manufacturing and visual effects often spend weeks, sometimes months, on this phase alone. Artists breaking into the industry also notice their models look sharper once they make planning and reference gathering a core step. If you want to get your models to that next-level cool stage, don’t underestimate this part.
Building the Right Foundation: Clean Topology
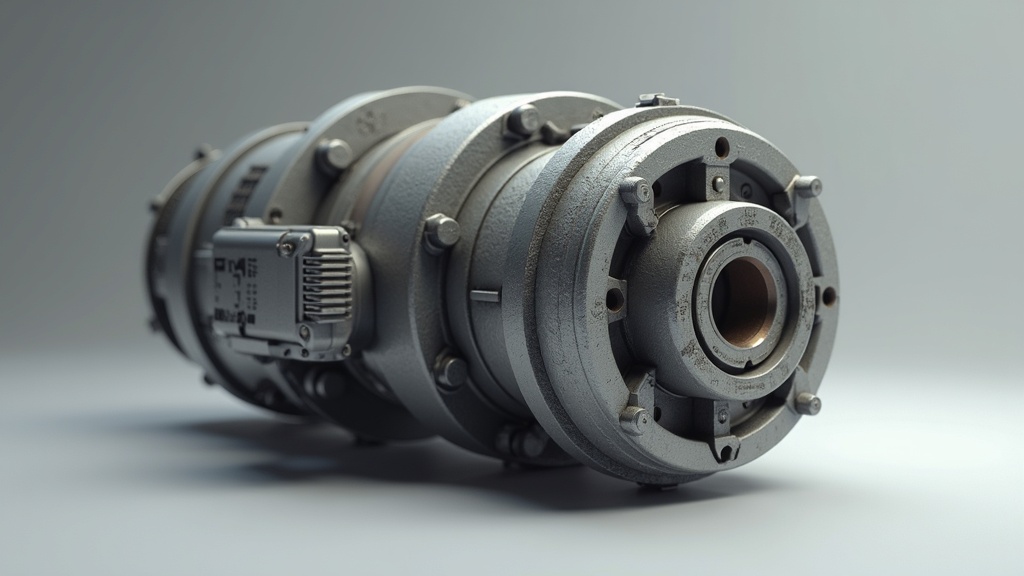
One of the biggest lessons from my own adventure was realizing how much clean topology impacts the final model. Topology is simply the way edges, vertices, and faces are arranged on your 3D mesh. If the base mesh is full of stretched polygons and bad loops, every detail and texture afterwards will look off. This is something that can make or break the realism and efficiency of your model.
Clean geometry helps models deform smoothly in animation, accept textures consistently, and respond predictably to lighting. Here are a few terms and techniques that always come in handy when making sure my meshes are built properly:
- Quads: I try to keep most of my faces as four-sided polygons (quads). Quads subdivide evenly and make sculpting cleaner.
- Edge Loops: These are rows of edges that follow the natural flow of the model. Good edge loops mean sharper features and easier edits down the line.
- Non-manifold Geometry: I keep an eye out for these awkward polygons that mess with smoothing and texturing. Deleting or fixing them avoids nasty surprises later.
If you’re getting into animation, good topology is even more important. The way you structure your model affects how it bends and moves, so investing the time here pays off, especially for organic shapes like characters and creatures.
Workflow: My Practical Checklist for Sharper Modeling
Over time, I built up a quick system to check my work and spot issues before they become bigger problems. This approach saves hours on fixes and cleanup, and I recommend it to anyone aiming for more professional results:
- Use Incremental Saves: Every time I finish a major step, blocking out shapes, refining details, I create a new file version. This habit helps me roll back to a safer stage if something goes wrong.
- Keep Geometry Simple at First: I focus on large shapes before worrying about tiny creases or details. Simplifying early avoids confusion and keeps the project organized.
- Double-check Meshes: I use software tools (like the mesh cleanup in Blender or Maya) to scan for inverted normals, stray vertices, and overlapping faces.
- Smooth Gradually: Subdivision surfaces and smoothing tools come at the end, after my base mesh is tidy and predictable.
- Test Renders: I check basic materials and lighting rigs to see how the forms are catching light. This often shines a light on hidden flaws.
This type of workflow is what production teams in game development and film use daily. Bringing discipline like this into my personal work has made my scenes look more finished and reliable, even when I’m not trying to impress clients. Plus, having a routine like this means less stress during crunch times.
Things That Can Trip You Up: Pitfalls in 3D Modeling
No matter how much experience I gain, there are always a few common mistakes that try to sneak in. Here are the ones you’ll want to watch for if you want results you’re proud to show off:
- Stretchy UVs: When the unwrapping process isn’t done carefully, textures can look blurry and fake, even with good geometry.
- Unnecessary Detail Early: Adding too much complexity at the start makes cleaning up much harder and slows down render times.
- Ignoring Scale: If I skip checking real-world measurements, my scenes look odd or don’t work well if imported into other tools or game engines.
- Messy Naming: Files like “Cube . 0001” pile up surprisingly fast, making it hard for me and others to make changes later on.
Stretchy UVs
UVs are how a 2D texture wraps onto your 3D shapes. If my UVs are stretched or overlap, painted details or procedural textures break up and cause artifacts. I always check UV grids before moving on to painting or shading. Some artists go as far as to check their UV maps by applying a checkerboard pattern, making it simple to spot problems before sinking hours into texturing. Don’t skip this; fixing bad UVs later is a headache.
Scale and Proportion
When working on different assets, especially for games or shared projects, matching scale is super important. If I want chairs, tables, or props to look right next to each other, keeping sizes accurate keeps everything believable and compatible for final scenes. It’s always worth comparing your work to real measurements or using a reference cube to check basic sizes.
Messy File Management
This one bit me a lot when starting out. Giving logical names to objects, layers, and textures saves loads of time and makes team collaboration much easier. If you hand your project to a teammate or reopen it a year later, good file names will save you so much hassle.
Advanced Techniques for Flawless Results
Once I covered the essentials, moving into more advanced tools gave a boost to my models. Here are some approaches and features I keep reaching for when I want to take things up a notch:
High Resolution Sculpting: At later stages, I use tools like ZBrush or Blender’s sculpt mode to add surface bumps, wrinkles, and unique imperfections for realism. This is especially valuable for organic models, where symmetry and natural curves really stand out.
Baking Normal and Ambient Occlusion Maps: These textures help apply fine, shallow, and deep shading without making the geometry heavy. I bake these maps from a high-poly model onto a lower-poly version, and this preserves details while keeping rendering fast. If you want a game-ready asset, getting good at baking is a must.
Procedural Textures: Instead of hand-painting every detail, I build up surface texture using mathematical patterns and layered noise. This method works especially well for small details on metals, rocks, or fabrics. By combining different noise layers, I can create realistic rust, scratches, or cloth weaves quickly.
Lighting Test Setups: I set up a basic three-light studio scene and tested how my model looked in strong and soft light. This process helps me find and fix hidden bumps and dark spots. Rotating the lights around the model sometimes reveals issues with smoothing or uneven textures that aren’t obvious in flat light.
Why Are These Worth Knowing? Adding realistic imperfections, using efficient maps, and dialing in basic lighting are things that always make models look professional without slowing down workflow or overloading computers. Most 3D designers making a living from their craft rely on these tips for consistent quality, and it’s what sets apart hobby work from portfolio-ready models.
Beginner Gear and Software: What Works in Real Life?
Quality 3D modeling doesn’t mean spending thousands on gear. When I started out, I used a regular midrange laptop and free software. Here are some tools I’ve found work well without straining a beginner’s budget:
- Blender: Free open source modeling, sculpting, and animation software that is widely used by hobbyists and pros alike.
- Wacom Tablet: For sculpting and detailed paintwork, a simple drawing tablet can help control details better than a mouse.
- PBR Texture Libraries: Sites like CC0 Textures and Texture Haven offer free materials that add to any scene.
- Basic Reference Apps: PureRef and Pinterest help organize references on a second monitor or screen. Having a reference board open at all times helps keep your models consistent and grounded in reality.
I’ve known teams that shipped entire indie games or short films using just these tools and no dedicated render farm hardware. The essentials are accessible to just about everyone right now. The secret sauce is really in how they’re used, not what brand they are. If you put in the work to learn the tools deeply, you can get professional-tier results from free software alone.
- Blender or Maya for Modeling: I use either of these depending on my workflow needs, but always stick to one per project to avoid confusion. Blender’s constant updates mean it’s getting new features fast, while Maya remains a standard at many studios.
- Substance Painter for Texturing: Great for painting materials and checking maps in real time. It’s worth trying for free if you get the chance; you can always switch back later if you don’t need all of its features.
- Marmoset Toolbag for Previews: Gives fast feedback on lighting and materials before sending out a final render. Quick previews mean you can spot problems before investing super-long render times.
Don’t forget, there are also tons of tutorials and free resources online, often made by working professionals. These guides can speed up your learning curve and introduce tricks you might not stumble upon alone.
Frequently Asked Questions
Question: How long does it take to make a polished 3D model?
Answer: For a simple prop, I spend anywhere from a few hours to a day, depending on the detail. Complex characters or vehicles often take several days to a week. Careful planning and keeping the geometry clean cuts down time spent fixing mistakes, and over time, the process gets faster as you build muscle memory.
Question: What makes a 3D model look realistic?
Answer: Realism comes from correct proportions, smooth topology, detailed textures, and subtle imperfections. Lighting and shading also play a huge role in bringing your models to life. Materials with accurate roughness and reflectivity can make even simple geometry look next-level cool when lit properly.
Question: Can I make great 3D models on a budget computer?
Answer: Yes. I started and still regularly work on midrange computers. Keeping my geometry light and using preview renders helps me work fast, even without the latest hardware. Focusing on good modeling habits and efficient texturing will get you further than a fancy graphics card, especially early on.
Final Thoughts on Consistently Great 3D Models
Throughout all my projects, it’s always preparation, careful geometry work, and smart use of textures or lights that make a model look its best. Most of the time, skipping planning or settling for messy topology leads to wasted time and dull results. Practicing these simple habits makes learning new techniques and tools easier, too, since you’re already working with a solid base each time.
For me, reaching the look I want in a 3D scene starts with these back-to-basics ideas. Practice, attention to technical details, and a willingness to keep improving are what keep my work looking sharp project after project. Whether you’re just starting or have been at it for years, making these “boring” parts of the workflow a habit pays off every single time. Remember: dazzling end results come from a slow, steady process and sticking to the rules that pros use every day.
