
A failed 3D print is evidence, not just wasted filament. A loose first layer, a clicking extruder, or one sudden layer shift tells you where to look—if you resist the urge to change five settings at once.
After years of printing functional parts on different machines, I have found that the fastest fixes usually come from an observation-first routine: name the symptom, check the simplest physical cause, return to a known-good profile, and test one controlled change.
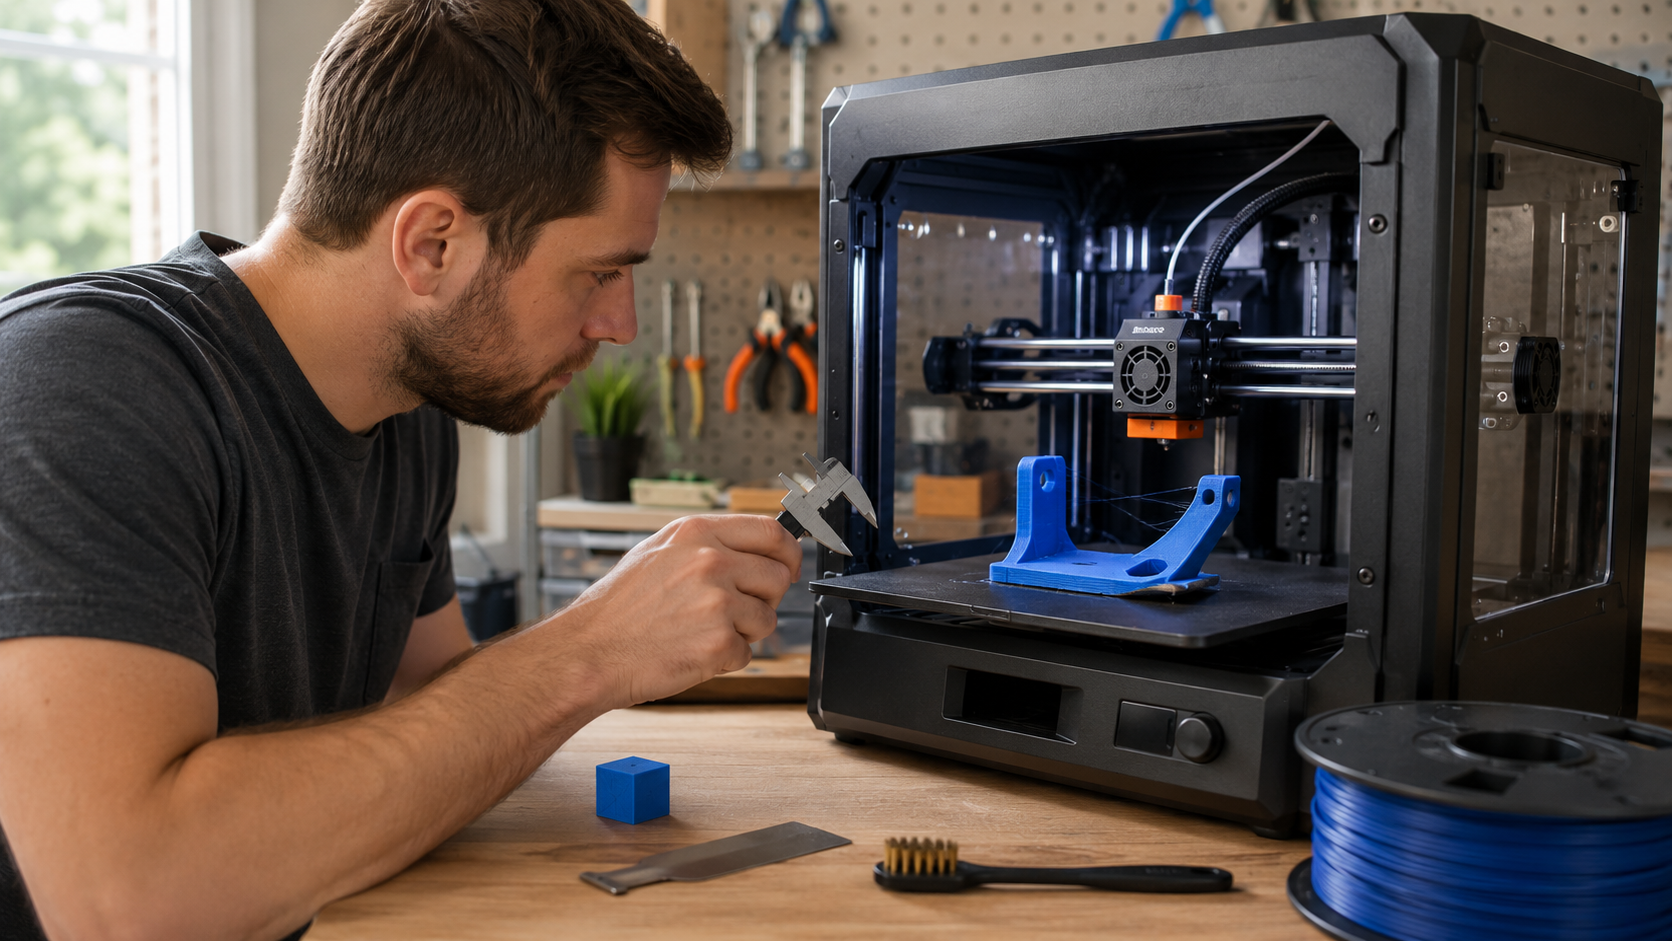
Quick answer: What should you check first when a 3D print fails?
Start with what changed. Confirm the correct build plate, nozzle, filament, and slicer profile. Then inspect the plate for contamination, the spool for resistance or tangles, the sliced preview for mistakes, and the printer for loose or blocked motion.
Change only one likely cause and run a small test. If you adjust temperature, retraction, flow, speed, and Z-offset together, even a successful result will not tell you which change worked.
3D printing symptom map: begin where the failure appears
Check plate condition, plate selection, calibration, Z-offset, first-layer speed, and material profile.
Check spool drag, filament path, temperature, extruder grip, nozzle restriction, and hotend cooling.
Check filament moisture and temperature before making small, profile-specific retraction tests.
Check first-layer consistency, drafts, bed temperature, cooling, footprint, and material shrinkage.
Check for collisions or blocked travel, then inspect belt and pulley condition using the printer manual.
Check temperature, cooling, speed, moisture, wall count, print orientation, and the load direction.
Stop immediately when the problem may be electrical or mechanical
Power down the printer if you see smoke, arcing, damaged wiring, uncontrolled heating, repeated thermal errors, or a persistent burning-electrical smell. Let hot components cool before inspection. Do not reach into a moving printer or improvise a firmware, mains-power, or heater repair from a general troubleshooting article.
Use the instructions for your exact printer. The National Institute for Occupational Safety and Health also recommends appropriate ventilation and manufacturer-supplied controls because filament printers can release particles and gases during operation.
Use the P.R.I.N.T. Method™ to solve the cause—not hide the symptom
The same planning method I use for functional projects works well at the repair bench. It turns a vague complaint such as “the print looks bad” into a short, testable diagnosis.
If you are new to the full workflow, start with my 3D Printing for Absolute Beginners guide. For a reusable project system, P.R.I.N.T. It: Practical 3D Printing for Beginners connects setup, slicing, materials, calibration, maintenance, and testing.
The four-pass troubleshooting order
This order prevents a common mistake: taking apart a hotend when the actual problem is a dirty plate, a tangled spool, or the wrong profile.
10 common 3D printing problems and the best first fix
| Visible symptom | Check first | Next controlled test | Avoid |
|---|---|---|---|
| First layer will not stick | Plate, profile, calibration | Small first-layer patch | Adding adhesive before finding contamination or height errors |
| Nozzle drags or lines look transparent | Z-offset and plate selection | Raise the nozzle by the printer’s smallest supported increment | Continuing while the nozzle scrapes the plate |
| Gaps, clicking, weak flow | Spool and filament path | Known-good material profile and short extrusion test | Increasing flow to mask a restriction |
| Stringing or blobs | Filament moisture and temperature | Temperature tower or small retraction test | Large retraction jumps |
| Lifted corners | First-layer consistency and drafts | Brim or more stable environment | Extreme bed heat or unsuitable adhesives |
| Sudden sideways step | Collision or blocked motion | Reduced speed/acceleration test | Blindly overtightening belts |
| Layers split apart | Temperature, cooling, moisture | Small temperature increase within the material range | Assuming more infill repairs weak layer bonding |
| Ringing after corners | Printer stability and loose hardware | Lower acceleration test | Editing every speed setting |
| Supports collapse or scar the part | Orientation and support interface | Small supported overhang test | Covering the entire model in dense support |
| Holes or fits are inaccurate | First-layer bulge, flow, shrinkage | Purpose-built clearance coupon | Scaling the whole model to fix one feature |
1. The first layer will not stick
What it looks like: Extruded lines stay round, follow the nozzle, separate from neighboring lines, or adhere in one area but not another.
Check in this order:
- Confirm that the correct plate is installed, fully seated, and selected in the printer or slicer.
- Let the plate cool and clean it using the plate manufacturer’s instructions. Finger oils can defeat an otherwise good profile.
- Remove any plastic stuck to the nozzle tip, then run the machine’s normal bed-level or first-layer calibration.
- Verify the material and nozzle profile. Use the manufacturer’s tested profile as the baseline.
- Watch a small first-layer patch. Neighboring lines should gently meet without deep ridges, loose gaps, or nozzle scraping.
A brim can add footprint after the underlying setup is sound. Adhesives may be appropriate for a specific surface or may act as a release layer for materials that bond aggressively, but they are not a universal substitute for cleaning and calibration. Follow the plate maker’s guidance.
2. The nozzle is too close, scraping, or creating elephant’s foot
What it looks like: The first layer is nearly transparent, has rough ridges, or shows little flow because the nozzle is blocking extrusion. The bottom edge may flare outward even though the rest of the part measures correctly.
Stop if the nozzle contacts the surface. Confirm plate type and nozzle installation before changing Z-offset. On machines that permit live adjustment, move in the smallest documented increment and rerun a small test. If the first layer is healthy but the bottom edge still bulges, reduce unnecessary bed heat within the filament maker’s range or use the slicer’s elephant-foot compensation after measuring the error.
Do not “solve” poor adhesion by crushing the first layer. A nozzle that is too close can also contribute to under-extrusion.
3. Under-extrusion, extruder clicking, or a stopped flow
What it looks like: Gaps between lines, thin walls, missing sections, weak layers, clicking from the extruder, or a printer that keeps moving after material stops coming out.
Start outside the hotend. Make sure the spool turns freely, the filament is not crossed under another winding, and the path is not pinched. Confirm that the nozzle temperature matches the actual material and that the selected nozzle diameter matches the hardware.
Next, inspect the drive gears for packed filament dust and verify the idler tension using the printer manual. A partial nozzle restriction, worn nozzle, damaged filament, or heat creep can produce similar symptoms. If extrusion starts normally and then fades during a long print, hotend cooling deserves special attention.
Use model-specific instructions for a cold pull, nozzle change, or hotend disassembly. Do not grip, loosen, or probe hot components unless the manufacturer’s procedure explicitly requires it and you have the correct tools.
For a deeper symptom-by-symptom sequence, see How to Fix Under-Extrusion Without Buying New Parts.
4. Stringing, oozing, and random blobs
What it looks like: Fine hairs between separate features, thick strings across travel moves, or small deposits where the nozzle starts and stops.
Dry filament and the correct temperature come before aggressive retraction changes. Moist filament can ooze and string in ways that retraction alone will not fix. Begin with the stock profile for your printer, nozzle, and material. Then print a small temperature tower or retraction test and change one value at a time.
If the defect appears mainly along one vertical line, you may be looking at a seam rather than random stringing. Inspect seam placement in the sliced preview before tuning flow or retraction.
Excessive retraction distance or speed can grind filament, increase jams, or pull hot material into a cooler part of the hotend. Small evidence-based adjustments are safer than copying a setting from a printer with a different extruder path.
5. Warping and corners lifting from the plate
What it looks like: A corner curls upward, the bottom becomes bowed, or the entire part detaches later in the print.
First confirm that layer one is consistent across the footprint. Then reduce temperature swings: remove direct drafts, use the correct bed setting, and avoid unnecessary first-layer cooling. A brim helps spread holding force around narrow corners.
PLA, PETG, ABS, ASA, nylon, and other materials do not want the same environment. ABS and ASA commonly benefit from a stable enclosed chamber, while excessive chamber heat can contribute to heat creep with some PLA setups. Use the material and printer manufacturer’s limits instead of treating “more heat” as the universal fix.
6. Layer shifting
What it looks like: Every layer above one height is displaced along X or Y, often as a single step or a staircase.
Identify the shifted axis. With the machine cool and powered off, inspect the travel path for stray filament, cable interference, a loose part, or another obstruction. Check whether the nozzle struck a curled edge, failed support, or excess material.
If the path is clear, follow the printer’s instructions for belt tension and pulley inspection. Loose pulley set screws and incorrect belt tension are common causes, but overtightening can create new wear and motion problems. If mechanics look sound, test a lower speed or acceleration with the same model.
7. Weak layers, cracking, or delamination
What it looks like: The part splits cleanly between layers, walls separate under light pressure, or cracks form while the print cools.
Check nozzle temperature, part-cooling fan, print speed, material condition, and enclosure stability. A small temperature increase within the filament maker’s range can improve layer bonding. Too much cooling can weaken the bond, while too little cooling can damage overhang quality—so tune for the material and geometry.
For a functional part, also inspect orientation. FDM parts are usually more vulnerable across layer lines than along continuous roads of material. More infill does not repair poor layer adhesion or an orientation that places the main load across a weak plane. Use my 3D print infill density guide to choose internal structure after the extrusion baseline is sound.
8. Ringing, ghosting, repeating bands, or rough walls
What it looks like: Fading ripples after sharp corners, regular horizontal bands, or a surface that changes texture at repeating heights.
Ringing usually points toward vibration: an unstable table, loose hardware, belt behavior, or acceleration beyond what the machine and part can handle. Repeating bands can also come from Z-axis alignment, leadscrew contamination, wheel or bearing problems, inconsistent extrusion, or periodic spool drag.
Start with stability and a known-good profile. Tighten only fasteners the maintenance guide identifies, clean and lubricate only where instructed, and run the machine’s resonance or vibration calibration if it provides one. Lowering acceleration is a useful diagnostic test; it does not prove that speed was the only underlying cause.
9. Drooping overhangs, failed bridges, or support damage
What it looks like: Unsupported lines sag, a support tower falls, or the underside above support is rough and difficult to remove.
Rotate the model before adding more support. A better orientation can shorten bridges, reduce scars, improve strength, and save material. In the sliced preview, confirm that every critical island begins on the model, plate, or support.
For bridges, test lower bridge speed and an appropriate bridge flow. For supports, inspect the base, spacing, interface layers, Z-distance, and collision risk. A brim around a tall narrow support can help, but an unstable or misplaced support is still a design problem.
Cooling needs are material-specific. My guide to finding the right 3D print cooling level explains why maximum fan speed is not always the best answer.
10. Holes, mating parts, or finished dimensions are wrong
What it looks like: The overall part is close, but holes print small, pins print large, mating parts bind, or the bottom edge ruins an otherwise correct fit.
Measure the cooled part with calipers and locate the error. A bottom-only error suggests first-layer bulge. A consistent wall error may point toward flow, line width, shrinkage, or motion calibration. A hole-only error may require a printer-specific hole compensation or a designed clearance.
Test with a clearance coupon that uses the same orientation, material, nozzle, layer height, and profile as the final part. Scaling the entire model to repair one hole changes every other feature and is rarely the cleanest solution.
How troubleshooting changes by filament type
The material changes the order of likely causes. Always begin with the filament maker’s published range and a tested printer profile; the notes below are diagnosis clues, not universal temperatures.
| Material | Common symptom | Useful first check | Important caution |
|---|---|---|---|
| PLA | Heat creep, soft overhangs, or brittle layers | Hotend cooling, room/chamber heat, temperature, part cooling | A very hot closed chamber can create problems on some setups |
| PETG | Stringing, nozzle buildup, rough support contact | Dryness, temperature, clean nozzle, first-layer height | PETG may bond very strongly to some surfaces; follow plate guidance |
| ABS/ASA | Warping or layer splitting | Stable enclosure temperature, drafts, first layer, cooling | Provide appropriate ventilation and follow material safety information |
| TPU | Buckling, inconsistent flow, or stringing | Dryness, slow feed, low path resistance, extruder path | Retraction and speed settings for rigid filament may not transfer |
| Nylon | Popping, rough surfaces, warping, weak detail | Drying and protected feed path | It can absorb moisture quickly after drying |
| Abrasive composites | Flow slowly degrades or dimensions drift | Nozzle wear and manufacturer-recommended hardware | A standard brass nozzle may wear rapidly |
See the dedicated PETG printing guide or ABS guide when the material—not the machine—is driving the failure.
3D printer troubleshooting planner: build one practical starting plan
Use this before changing the profile. A photo of the failure and a short record are often more useful than another hour of random adjustments.
Failure record
Printer, nozzle, and build plate:
Filament brand, material, color, and age:
Slicer and exact profile:
First layer or height where the defect begins:
Last successful print and what changed afterward:
Visible symptom in one sentence:
Pre-test checks
- Correct printer and nozzle profile
- Correct plate selected and seated
- Plate cleaned as instructed
- Spool turns freely
- Filament identity and condition confirmed
- Sliced preview inspected layer by layer
- Motion path clear
- No safety warning signs
My single test change:
What I will keep unchanged:
Result and next decision:
A 15-minute recovery plan
- Minutes 0–3: Photograph the failure before removing it. Record the layer or region where it began.
- Minutes 3–6: Check the sliced preview, active profile, plate, nozzle, filament, and last change.
- Minutes 6–9: Inspect the simplest physical cause—contamination, spool drag, collision, obstruction, or loose hardware.
- Minutes 9–12: Choose one low-risk change tied directly to the evidence.
- Minutes 12–15: Start a small test and write down what “better” will look like before judging it.
When a calibration model is the wrong test
A calibration cube cannot reproduce every failure. If the problem happens only on a tall narrow part, a long bridge, a multi-color purge tower, or a large ABS footprint, use a reduced test that preserves that exact challenge. The test should be smaller than the final job without removing the condition that caused the failure.
Maintenance that prevents repeat failures
A calendar cannot replace observation. A printer used daily with abrasive filament needs different attention from one that prints PLA twice a month. Track print hours, nozzle materials, maintenance, and recurring defects so you can see the pattern.
Want a repeatable system instead of another random setting?
Explore P.R.I.N.T. It: Practical 3D Printing for Beginners for Kevin’s complete planning, setup, slicing, material, maintenance, and test workflow.
If inconsistent material is part of the problem, see COEX 3D filament and use code 3DPRINTINGBYKEVIN for 15% off.
Disclosure: I partner with COEX 3D. If you buy through that link, I may earn a commission at no additional cost to you. I recommend beginning with diagnosis; new filament cannot repair a mechanical or slicer error.
Quick knowledge check
1. A print has thin gaps and the extruder is clicking. What should you check before increasing flow?
2. Why should you change only one troubleshooting variable at a time?
3. A first layer has translucent lines and the nozzle scrapes. Is more adhesive the best first response?
4. A functional part breaks between layers. Will raising infill automatically fix it?
Frequently asked questions
Why did my 3D print suddenly start failing with the same settings?
Look for a physical or material change: plate contamination, a different plate or nozzle, damp filament, spool drag, nozzle wear, a partial clog, loose hardware, a fan problem, room-temperature changes, or a software/profile update. “Same settings” does not always mean the same conditions.
Should I recalibrate everything after one failed print?
No. Inspect the failure and recalibrate the subsystem the evidence points toward. A full reset can erase a useful baseline and add variables. After changing a nozzle or build surface, however, run the calibrations your printer manufacturer requires.
How do I know whether filament is wet?
Popping, bubbling, rough surfaces, inconsistent extrusion, excess stringing, or a defect that follows one spool can suggest moisture. Compare with properly dried known-good filament, and follow the filament maker’s drying temperature and time. Avoid improvised heat sources that cannot control temperature safely.
When should I replace a 3D printer nozzle?
Replace it when inspection and testing point to damage, persistent restriction, or wear that changes extrusion width or detail. Abrasive filled materials can wear a soft nozzle much faster than unfilled PLA. Match the replacement material and diameter to the printer and profile.
Why is my print fine at the bottom but bad near the top?
Tall features amplify motion and cooling problems. Check whether the part wobbles, the nozzle collides with curled material, layer time becomes too short, a narrow support loses stability, or the filament path tightens as the toolhead moves. Use a reduced tall test rather than a short calibration cube.
Can I leave a test print running unattended?
Do not leave a new, modified, or unproven setup unattended. Watch the entire first layer and check the print at sensible intervals. Stop if you see smoke, electrical warning signs, uncontrolled heating, repeated collisions, or a growing blob around the hotend.
Reliable troubleshooting references
Printer-specific instructions should take priority over general advice. These manufacturer and safety resources support the diagnosis order used in this guide:
What failure are you trying to solve?
Leave a comment with your printer, nozzle size, filament, slicer profile, the layer where the problem begins, and what changed before the failure. A clear symptom and one photo usually reveal more than a long list of settings.