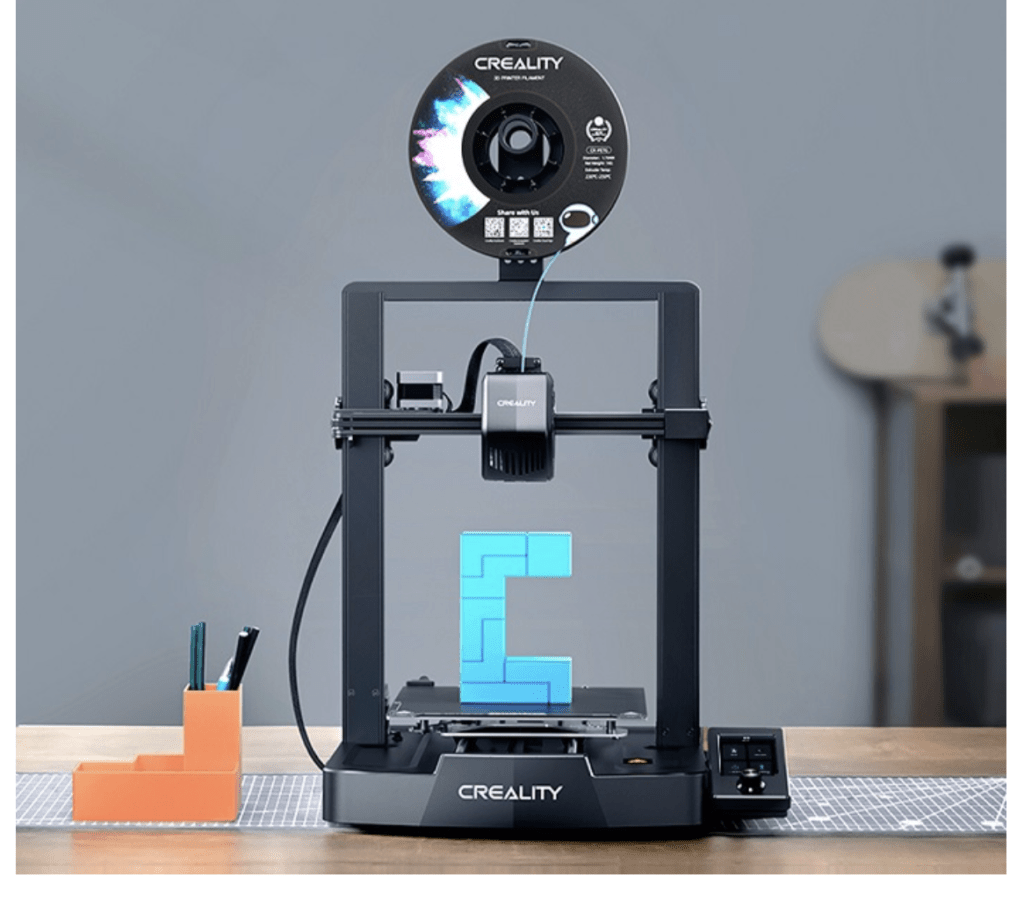
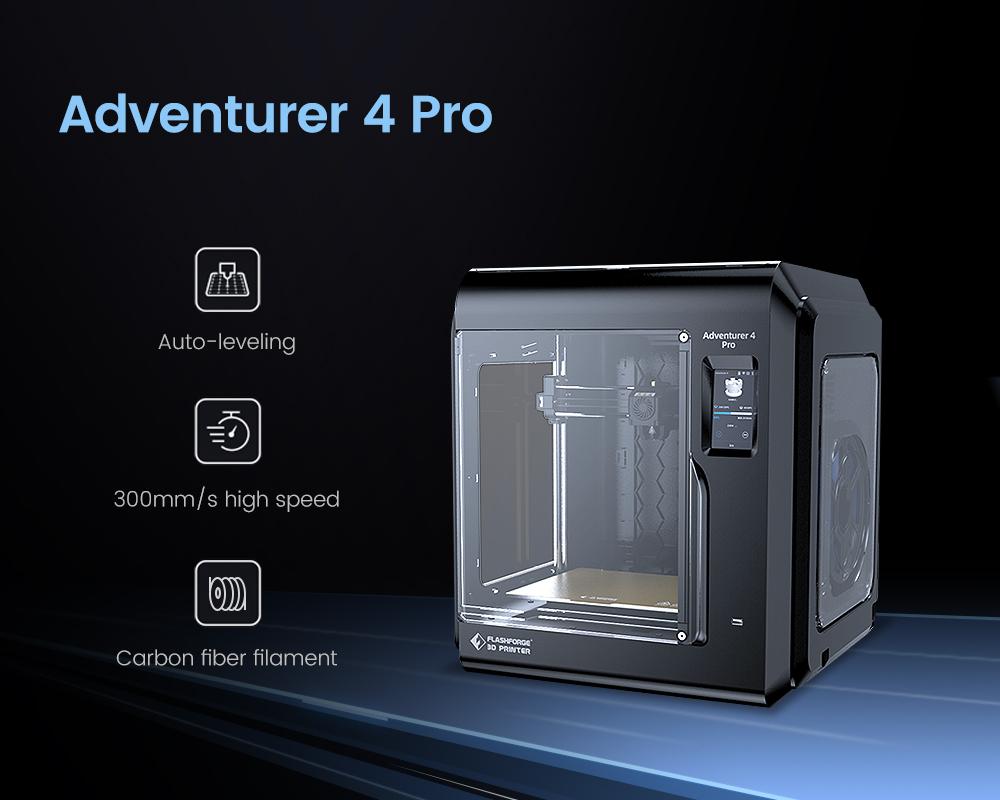
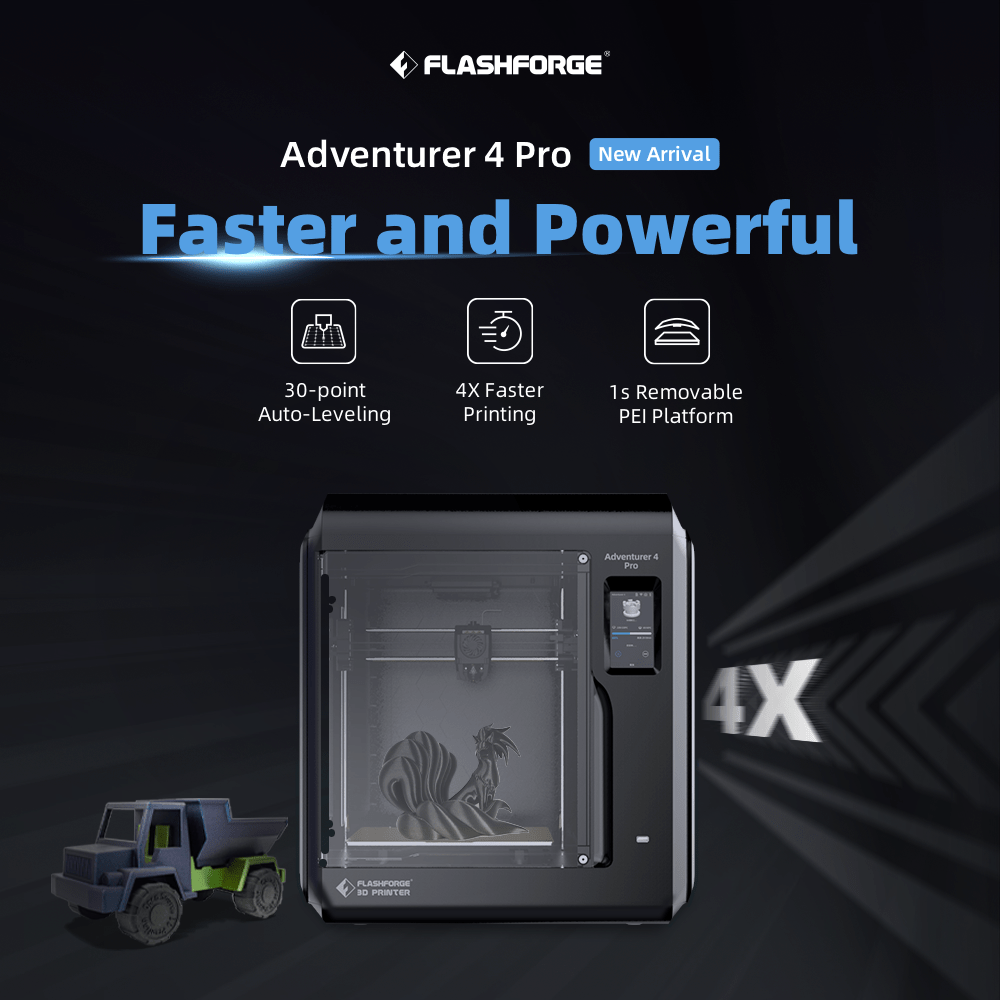
3D Printing is a method of creating physical objects from a digital design. This process involves depositing successive layers of material, each adhering to the previous layer until the object is fully formed.
ABS (acrylonitrile butadiene styrene) is a commonly used thermoplastic material in 3D Printing. It is popular due to its strength, durability, and ability to withstand high temperatures and chemicals. ABS is also cost-effective, making it an ideal choice for various applications.
Table of Contents
Introduction
-
- What is 3D Printing?
- Why ABS?
- Who is this book for?
Getting Started
-
- Choosing a 3D Printer
- Understanding ABS Material
- Tools and Supplies Needed
Setting Up Your 3D Printer
-
- Unboxing and Assembly
- Calibration
- Safety Precautions
Software Essentials
-
- Slicing Software
- CAD Software
- Firmware Updates
Designing Your Model
-
- Basics of 3D Modeling
- Design Considerations for ABS
- Exporting Your Model
Preparing the Model for Printing
-
- Importing into Slicing Software
- Orientation and Supports
- Slicing Settings for ABS
Printing Your Model
-
- Preheating the Printer
- Loading the ABS Filament
- Starting the Print
Monitoring and Troubleshooting
-
- Common Issues and How to Solve Them
- When to Abort a Print
- Quality Checks
Post-Processing
-
- Removing Supports
- Sanding and Smoothing
- Painting and Finishing
Maintenance and Upkeep
-
- Cleaning the Nozzle
- Lubricating Moving Parts
- Firmware Updates
Advanced Techniques
-
- Multi-material Printing
- Large Scale Prints
- Time-lapses
Conclusion
-
- What You’ve Learned
- Next Steps
- Resources
3D printing ABS, including what it is, why it is used, and who this book is for:
Introduction
3D Printing is a process of creating three-dimensional objects from a digital file. The process works by depositing layers of material, one on top of the other, until the object is complete.
ABS (acrylonitrile butadiene styrene) is a thermoplastic material that is commonly used in 3D Printing. It is known for its strength, durability, and resistance to heat and chemicals. ABS is also relatively inexpensive, making it a popular choice for various applications.
Why ABS?
There are several reasons why ABS is a popular choice for 3D Printing:
- Strength and durability: ABS is a strong and durable material that can withstand a lot of wear and tear. This makes it a good choice for objects that need to be tough, such as toys, tools, and prototypes.
- Heat resistance: ABS is resistant to heat, making it a good choice for objects that will be exposed to high temperatures. This includes objects that will be used outdoors or in industrial applications.
- Chemical resistance: ABS is resistant to chemicals, making it a good choice for objects that will be exposed to solvents or other harsh chemicals. This includes objects that will be used in the medical or food industries.
- Low cost: ABS is relatively inexpensive, making it a good choice for budget-minded users.
Who is this book for?
This book is for anyone who wants to learn more about 3D Printing ABS. Whether you are a beginner or an experienced user, this book will provide the information you need to start printing with ABS.
The book covers the basics of 3D Printing ABS, including:
- The properties of ABS
- The different types of ABS filament
- The equipment and software you need to get started
- The basic steps of 3D Printing ABS
- Tips and tricks for troubleshooting problems
The book also includes a variety of projects that you can use to practice your skills. These projects range from simple to complex, so you can find something that is challenging but achievable.
Whether you are a beginner or an experienced user, this book is a valuable resource for anyone who wants to learn more about 3D Printing ABS.
Flashforge Adventurer 4 Lite. The same build volume & printing quality as Adventurer 4, yet at a more affordable price.
Choosing a 3D Printer
The first step is to choose a 3D printer that is compatible with ABS. Most FDM printers (Fused Deposition Modeling) can print with ABS, but some printers are better suited for it than others. Look for a printer with a heated bed and an enclosed build chamber. These features will help to prevent warping and curling, which are common problems with ABS printing.
Understanding ABS Material
ABS is a thermoplastic material, meaning it can be melted and reformed. It is made from three different materials: acrylonitrile, butadiene, and styrene. These materials give ABS its strength, durability, and heat resistance.
Tools and Supplies Needed
In addition to a 3D printer, you will need some basic tools and supplies to start with ABS printing. These include:
- Adhesive for the build plate
- Filament cutter
- Soldering iron (optional)
- Heat gun (optional)
- Safety glasses
- Gloves
- Mask
Getting Started
Once you have all your equipment, you can start printing with ABS. The basic steps are:
- Prepare the build plate. This involves cleaning the plate and applying adhesive.
- Load the filament into the printer.
- Slice the 3D model file. This process converts the file into instructions that the printer can understand.
- Start the print job.
- Monitor the print job and make adjustments as needed.
Troubleshooting
There are a few common problems that you may encounter when printing with ABS. These include:
- Warping: This problem occurs when the print curls up at the edges. It is usually caused by temperature fluctuations or a lack of adhesion to the build plate.
- Layer adhesion problems: This problem occurs when the print layers do not stick together properly. A dirty build plate or a low temperature usually causes it.
- Bubbles: These are tiny air bubbles that appear in the print. A wet filament or a low temperature usually causes them.
If you encounter any of these problems, there are a few things you can do to troubleshoot them. These include:
- Adjust the temperature of the print bed and the nozzle.
- Use a different adhesive for the build plate.
- Increase the print speed.
- Use a different type of filament.
With a little practice, you will be able to successfully print with ABS.
Unboxing and Assembly
The first step is to carefully unpack your 3D printer and inspect it for any damage. If you find any damage, contact the manufacturer immediately.
Once you have inspected the printer, you can begin assembling it. The assembly instructions will vary depending on the printer, so be sure to follow them carefully.
Calibration
Once the printer is assembled, you need to calibrate it. This ensures the printer is aligned correctly and the print quality is good.
The calibration process will vary depending on the printer, so be sure to consult the manual.
Safety Precautions
When using a 3D printer, it is vital to take some safety precautions. These include:
- Always wear safety glasses when operating the printer.
- Keep the printer away from children and pets.
- Do not operate the printer in an enclosed space.
- Be aware of the fumes that are emitted from the printer.
- Do not touch the hot parts of the printer.
Additional Tips
Here are some additional tips for setting up your 3D printer:
- Read the manual carefully before starting.
- Take your time and be careful not to damage the printer.
- If you are not comfortable assembling the printer yourself, you can hire a professional to do it for you.
With a little care and attention, you can easily set up your 3D printer and start Printing.
Software Essentials, Slicing Software, CAD Software, and Firmware Updates—are commonly associated with different aspects of computing and technology. Here’s a breakdown of each:
Software Essentials
This term generally refers to software that is considered basic or crucial for a specific task or for general-purpose computing. For example, for general-purpose computing, software essentials might include:
– Operating System: Windows, macOS, Linux, etc.
– Web Browser: Chrome, Firefox, Safari, etc.
– Office Suite: Microsoft Office, Google Workspace, LibreOffice, etc.
– Security Software: Antivirus, Firewall, etc.
– File Management: Compression tools, cloud storage, etc.
Slicing Software
Slicing software is specifically used in the realm of 3D Printing. It converts a 3D model file into machine-readable code that the 3D printer can understand. The software ‘slices’ the 3D model into layers and generates a path for the printer’s extruder to follow.
Popular Slicing Software:
– Cura
– PrusaSlicer
– MatterControl
– Repetier-Host
CAD Software
CAD stands for Computer-Aided Design. This type of software is used for creating 2D and 3D models for engineering, architecture, and other design-related fields.
Popular CAD Software
– AutoCAD
– SolidWorks
– CATIA
– TinkerCAD
Firmware Updates
Firmware is a specific type of software that is embedded in hardware devices. Unlike regular software, firmware is not meant to be changed or updated frequently. However, manufacturers release firmware updates to fix bugs, add features, or improve performance.
Examples of devices that may require firmware updates:
– Routers
– Printers
– Smart TVs
– Cameras
—
Each of these categories of software or updates serves specific needs and is essential in its domain. Would you like to know more about any of these topics? Contact us at contact@3dprintingbykevin.com
Certainly! If you’re interested in 3D modeling, mainly focusing on printing with ABS (Acrylonitrile Butadiene Styrene) plastic, there are several stages and considerations to remember. Let’s dive in:
Designing Your Model
Basics of 3D Modeling
1. **Choose the Right Software**: You could choose from various CAD (Computer-Aided Design) software depending on your needs. Beginners might opt for TinkerCAD, while more experienced users might go for SolidWorks, AutoCAD, or Blender for more complex models.
2. **Start with a Sketch**: Most CAD software allows you to create a 2D sketch as the basis for your 3D model. This is useful for getting dimensions and shapes correct.
3. **Extrude and Modify**: After completing your sketch, you can extrude it into a 3D shape. From there, you can add or subtract material, round edges, and more.
4. **Assemble Components**: If your design has multiple parts, you’ll need to assemble them in the CAD software to see how they fit together.
5. **Texture and Color**: Some software allows you to add textures and colors, though this is often for visualization purposes only and won’t be reflected in most 3D prints.
Design Considerations for ABS
1. **Wall Thickness**: ABS tends to warp if the walls are too thin. A reasonable minimum thickness is around 1.2mm.
2. **Overhangs and Supports**: ABS is not great for steep overhangs. Design your model to require minimal support material, or plan for removable supports.
3. **Bed Adhesion**: Design with a larger base, if possible, to improve bed adhesion, as ABS tends to warp.
4. **Enclosure Needed**: ABS emits fumes and is sensitive to temperature changes. If your printer doesn’t have an enclosure, you might need to design one.
5. **Layer Height**: A smaller layer height can result in better detail but might require slower printing speeds to ensure the material flows correctly.
6. **Orientation**: Consider how your part will be oriented during Printing; this can affect both structural integrity and the amount of support material needed.
Exporting Your Model
1. **File Type**: Most slicing software accepts STL files. Some can also work with OBJ, 3MF, or native CAD files.
2. **Resolution**: Higher resolution will capture more details, resulting in larger file sizes and longer print times.
3. **Check for Errors**: Many CAD programs have built-in tools to check for issues like non-manifold edges or intersecting faces. Use these to ensure a clean model.
4. **Export Settings**: Some programs allow you to specify settings like unit type or mesh resolution during export. Make sure these are set according to your needs and the capabilities of your slicing software.
Once your model is designed, checked, and exported, it’s ready to be loaded into your slicing software to prepare it for 3D Printing with ABS.
Would you like more details on any of these steps or aspects? Contact us at contact@3dprintingbykevin.com
Great, let’s move on to the actual 3D printing process, mainly focusing on printing with ABS filament.
Printing Your Model
Preheating the Printer
1. **Heated Bed**: ABS requires a heated bed to minimize warping—typical bed temperatures for ABS range from 90°C to 110°C.
2. **Hotend Temperature**: The hotend (the part that melts the filament) must also be preheated. For ABS, this is generally between 220°C and 250°C.
3. **Enclosure**: If your printer has an enclosure, make sure it is closed to keep the printing environment warm and minimize warping.
4. **Preheat Time**: Depending on your printer, reaching the required temperatures may take a few minutes to over half an hour.
Loading the ABS Filament
1. **Unload Previous Filament**: If another type of filament is loaded, you’ll need to unload it first. Follow your printer’s instructions for this.
2. **Feed the ABS**: Insert the end of the ABS filament into the extruder, following the path specified in your printer’s manual.
3. **Load Filament**: The printer’s interface initiates the filament loading sequence. The extruder will grip the filament and feed it through to the hotend.
4. **Test Extrusion**: Before starting your print, it’s an excellent idea to extrude a small amount of filament to ensure it flows correctly.
Starting the Print
1. **Load the Model**: Insert the SD card or connect to your printer to load the sliced model file, often in G-code format.
2. **Printer Settings**: Make sure your printer settings match the requirements for ABS. This usually includes setting the correct bed and hotend temperatures and print speed.
3. **Level the Bed**: If your printer doesn’t have auto-leveling, manually level the bed to ensure good adhesion and print quality.
4. **Start the Print**: Once everything is set up and the printer is preheated, you can initiate the print via the printer’s control interface.
5. **Monitor the Print**: Especially for the first few layers, it’s essential to keep an eye on the print to make sure it’s adhering well to the bed and that there are no visible issues like warping or under-extrusion.
6. **Safety Measures**: Make sure the printer is in a well-ventilated area, especially when printing with ABS, which can emit fumes.
7. **Completion**: Once the print is complete, allow the print bed to cool down before removing your model to minimize the risk of warping or cracking.
By following these steps and considerations, you should be able to successfully 3D print a model using ABS filament. Would you like to explore any of these topics further?
Monitoring and troubleshooting are crucial parts of the 3D printing process, especially when working with a material like ABS, with its challenges.
Monitoring and Troubleshooting
Common Issues and How to Solve Them
1. **Warping**: This is a common issue with ABS. If you notice the corners of your print lifting off the bed, try increasing the bed temperature or using an adhesive on the bed surface.
2. **Layer Separation**: If the layers aren’t sticking well to each other, you may need to increase the hotend temperature slightly.
3. **Under-extrusion**: If the print appears spotty or incomplete, you might be experiencing under-extrusion. Check if the filament is tangled or if the extruder is clogged.
4. **Over-extrusion**: If the print seems blobby or has excess material, reduce the flow rate in your slicer settings.
5. **Stringing**: If you see thin “strings” of plastic between parts of your model, you might need to adjust the retraction settings in your slicer.
6. **Print Not Sticking**: If the first layer isn’t adhering to the bed, double-check bed leveling and try cleaning the bed surface.
When to Abort a Print
1. **Safety Concerns**: Stop the print immediately if you smell burning or see smoke.
2. **Major Errors**: If the print has already failed in a way that can’t be fixed—like the model coming off the bed—it’s better to stop the print and start over.
3. **Filament Issues**: Abort the print if you run out of filament or experience a jam that can’t be quickly cleared.
4. **Structural Concerns**: If it’s evident that the print will not be functional due to layer separation or warping, it’s often best to stop the print and adjust settings.
Quality Checks
1. **First Layer**: The first layer is crucial for print success. If it adheres well and is even.
2. **Infill**: Check that the infill is printed solidly and consistently. Gaps or holes in the infill can indicate issues.
3. **Overhangs**: Monitor how the printer handles overhangs and supports. You may need to adjust settings or add more supports if they’re drooping or failing.
4. **Surface Quality**: Look for a smooth, consistent surface finish. Inconsistencies can indicate various problems, from mechanical issues to incorrect settings.
5. **Dimensions**: After the print is complete and has cooled, measure its dimensions to ensure they match the intended design. Some deviation is normal, but significant differences could indicate calibration issues.
Monitoring and troubleshooting are often learned best through experience, but these guidelines should give you a good starting point for achieving high-quality prints with ABS. Would you like more information on any particular aspect?
After successfully printing your 3D model, especially one made with ABS, you’ll likely need to engage in some post-processing to improve its appearance and functionality. Here are some common post-processing steps:
Post-Processing
Removing Supports
1. **Cool Down**: Wait for the model to fully cool down before attempting to remove any supports. This makes the supports more brittle and easier to remove.
2. **Use Tools**: Use pliers, tweezers, or specialized 3D print removal tools to remove supports from your model gently.
3. **Be Careful**: Supports can be attached to delicate parts of your model. Permanently remove supports carefully to avoid damaging the actual print.
Sanding and Smoothing
1. **Coarse to Fine**: Start with coarse-grit sandpaper to remove larger imperfections and gradually move to finer grits for a smooth finish.
2. **Wet Sanding**: ABS responds well to wet sanding. Use water to lubricate the sandpaper and the surface, which can result in a smoother finish.
3. **Safety First**: Always wear a mask to avoid inhaling any particles and work in a well-ventilated area.
4. **Chemical Smoothing**: ABS can also be smoothed using acetone vapor, although this technique requires caution due to the flammable and toxic nature of the solvent.
Painting and Finishing
1. **Primer**: Applying a primer can help paint adhere to the surface more evenly and can also help to show any imperfections that might need further sanding.
2. **Acrylic Paints**: ABS generally takes well to acrylic paints. Apply in thin layers, allowing each to dry before applying the next.
3. **Sealant**: After painting, applying a sealant can protect the paint and provide a choice of finishes, from matte to glossy.
4. **Other Finishes**: You can also consider other finishes like epoxy resins for a high-gloss protective layer.
5. **Testing**: Always test your chosen paints and finishes on a small or inconspicuous area first to make sure they adhere well and give the desired effect.
Post-processing is almost an art form in itself and offers a chance to add your personal touch to a 3D-printed object. It’s also a stage where you can correct some imperfections or limitations inherent in the 3D printing process. Would you like to dive deeper into any of these post-processing methods?
Maintaining your 3D printer is essential for ensuring its longevity and getting consistently high-quality prints. Here are some common maintenance tasks you should regularly perform, particularly if you’re working with materials like ABS that have their own set of challenges.
Maintenance and Upkeep
Cleaning the Nozzle
1. **Cold Pull**: This technique involves heating the nozzle, inserting a piece of filament, cooling it down, and then pulling it out to remove any debris.
2. **Nozzle Brushes**: Special brushes are available that can help you clean out any residual material from the nozzle.
3. **Chemical Cleaning**: You might consider soaking the nozzle in a solvent compatible with the filament material for more severe clogs, but this is generally a last resort.
4. **Replacement**: If the nozzle is worn out or damaged, it may need to be replaced.
Lubricating Moving Parts
1. **Rails and Rods**: Use a light machine oil or specialized 3D printer lubricant to smooth movement.
2. **Lead Screws**: These may require thicker lubricants like white lithium grease.
3. **Bearings**: Some bearings are sealed and don’t require lubrication, but open bearings might.
4. **Frequency**: How often you need to lubricate will depend on how much you use the printer and the manufacturer’s recommendations.
Firmware Updates
1. **Check for Updates**: Periodically check the manufacturer’s website for firmware updates that may add features, improve performance, or fix bugs.
2. **Backup**: If possible, back up your current settings before updating.
3. **Follow Instructions**: Always follow the manufacturer’s guidelines for updating firmware to avoid bricking your printer.
4. **Test**: After updating, perform some test prints to ensure everything functions as expected.
Regular maintenance ensures that your 3D printer continues to operate efficiently and can help you avoid costly repairs down the line. It’s a good habit to set a maintenance schedule based on your printer’s usage and adhere to it diligently.
Would you like more details on any of these maintenance tasks or perhaps a schedule recommendation based on usage?
As you gain experience with 3D Printing, you may want to explore some advanced techniques to enhance your projects and overall printing experience. Here’s an overview of some of those techniques:
Advanced Techniques
Multi-material Printing
1. **Dual Extruders**: Some 3D printers come with dual or even multiple extruders that allow you to simultaneously print with more than one type of material or color.
2. **Purge Tower**: When using multiple materials, a purge tower can be printed alongside the main object to clean the nozzle when switching materials.
3. **Material Compatibility**: Make sure the materials you use are compatible with printing temperature and adhesion properties.
4. **Software**: Slicing software that supports multi-material Printing is essential. Software like PrusaSlicer or Cura can handle these tasks.
Large Scale Prints
1. **Segmentation**: For printers with a smaller build volume, consider breaking the model into smaller parts and then assembling them post-print.
2. **Adhesion**: Larger prints have a higher risk of warping. Make sure to use appropriate bed adhesion techniques.
3. **Printer Calibration**: Ensure your printer is well-calibrated to handle the intricacies of large-scale Printing.
4. **Time and Material**: Be prepared for long print times and higher material usage.
Time-lapses
1. **Camera Setup**: You’ll need a camera and a way to mount it to capture your prints. Some printers come with built-in cameras.
2. **Interval Timing**: Decide how frequently you want the camera to take pictures. Too frequent, and you’ll have an overly long video; too infrequent, you may miss important details.
3. **Trigger Mechanism**: Some setups can trigger a photo at each layer change, resulting in a very smooth time-lapse video.
4. **Software**: Use video editing software to compile the images into a time-lapse video.
5. **Safety**: Make sure your camera setup does not interfere with the printer’s moving parts.
-
- Exploring advanced techniques can make 3D Printing even more rewarding, allowing you to take on more complex projects and achieve more professional results.
- Each of these techniques comes with its own set of challenges and considerations, but mastering them can be highly rewarding.
- Would you like to delve into any of these advanced techniques in more detail?
Conclusion
What You’ve Learned
Throughout this discussion, we’ve covered a broad spectrum of topics related to 3D Printing, particularly with ABS filament:
1. **Software Essentials**: You’ll need software, including CAD for designing and slicing software for preparing your model.
2. **Designing Your Model**: How to create a 3D model, focusing on ABS-specific considerations like wall thickness and temperature sensitivity.
3. **Printing Your Model**: Steps to preheat your printer, load ABS filament, and initiate the print, as well as monitoring and troubleshooting.
4. **Post-Processing**: Techniques for removing supports, sanding, smoothing, and adding finishes to your print.
5. **Maintenance and Upkeep**: How to clean your nozzle, lubricate moving parts, and keep your printer’s firmware updated.
6. **Advanced Techniques**: Exploring multi-material Printing, large-scale prints, and how to capture your printing process with time-lapses.
Next Steps
1. **Hands-On Practice**: Doing is the best learning method. Start with simple projects and gradually move on to more complex models as you get comfortable.
2. **Stay Updated**: The world of 3D printing is constantly evolving. Keep an eye on updates from your printer manufacturer and new techniques in the community.
3. **Join a Community**: Whether it’s online forums, social media, or local meetups, being part of a community can provide valuable insights and troubleshooting help.
Resources
1. **Online Tutorials**: Websites like YouTube, Instructables, and specialized 3D printing blogs offer a wealth of information.
2. **Books**: There are several comprehensive guides and textbooks on 3D Printing that cover everything from beginner to advanced topics.
3. **Software Manuals**: Remember to consider the value of thoroughly reading the manuals and documentation for your CAD and slicing software.
4. **Forums and Communities**: Websites like Reddit’s r/3Dprinting and specialized forums like the Ultimaker Community are great for asking specific questions and sharing your work.
5. **Manufacturer Support**: Many manufacturers offer comprehensive support, including troubleshooting guides, FAQs, and customer service.
By following these steps and utilizing these resources, you can become proficient in 3D Printing, opening the door to countless creative and functional projects.
Thank you for exploring this fascinating world with me.
If you have any more questions or need further clarification in the future, feel free to ask. Happy Printing!
Bullwinkle
