
Updated for 2026: This hands-on review now separates the original Flashforge Dreamer from newer Flashforge models and corrects several specifications commonly mixed together online.
Affiliate disclosure: Some links in this article are affiliate or partner links. If you buy through one, I may earn a commission at no additional cost to you. My conclusions about the Dreamer are based on project fit, not commission.
I had the opportunity to try the Flashforge Dreamer when an enclosed, Wi-Fi-equipped desktop printer with two nozzles felt unusually ambitious. What impressed me most was not one flashy specification. It was the way the enclosure, touchscreen, heated platform, and shared dual-extruder carriage made the machine feel like a complete workstation.
That experience still matters, but the buying advice has changed. The Dreamer is now a legacy machine competing with printers that calibrate themselves, print much faster, use current software ecosystems, and make replacement parts easier to find.
If you already own a reliable Dreamer, it can still be a useful enclosed printer for PLA, carefully managed ABS, and small dual-color or support-material experiments. If you are buying your first printer in 2026, a modern auto-calibrating machine will usually be easier, faster, and better supported.
A used Dreamer makes sense only when the price reflects its age and the seller can demonstrate both nozzles, the heated bed, manual leveling, fans, motion system, touchscreen, and file-transfer method working correctly.
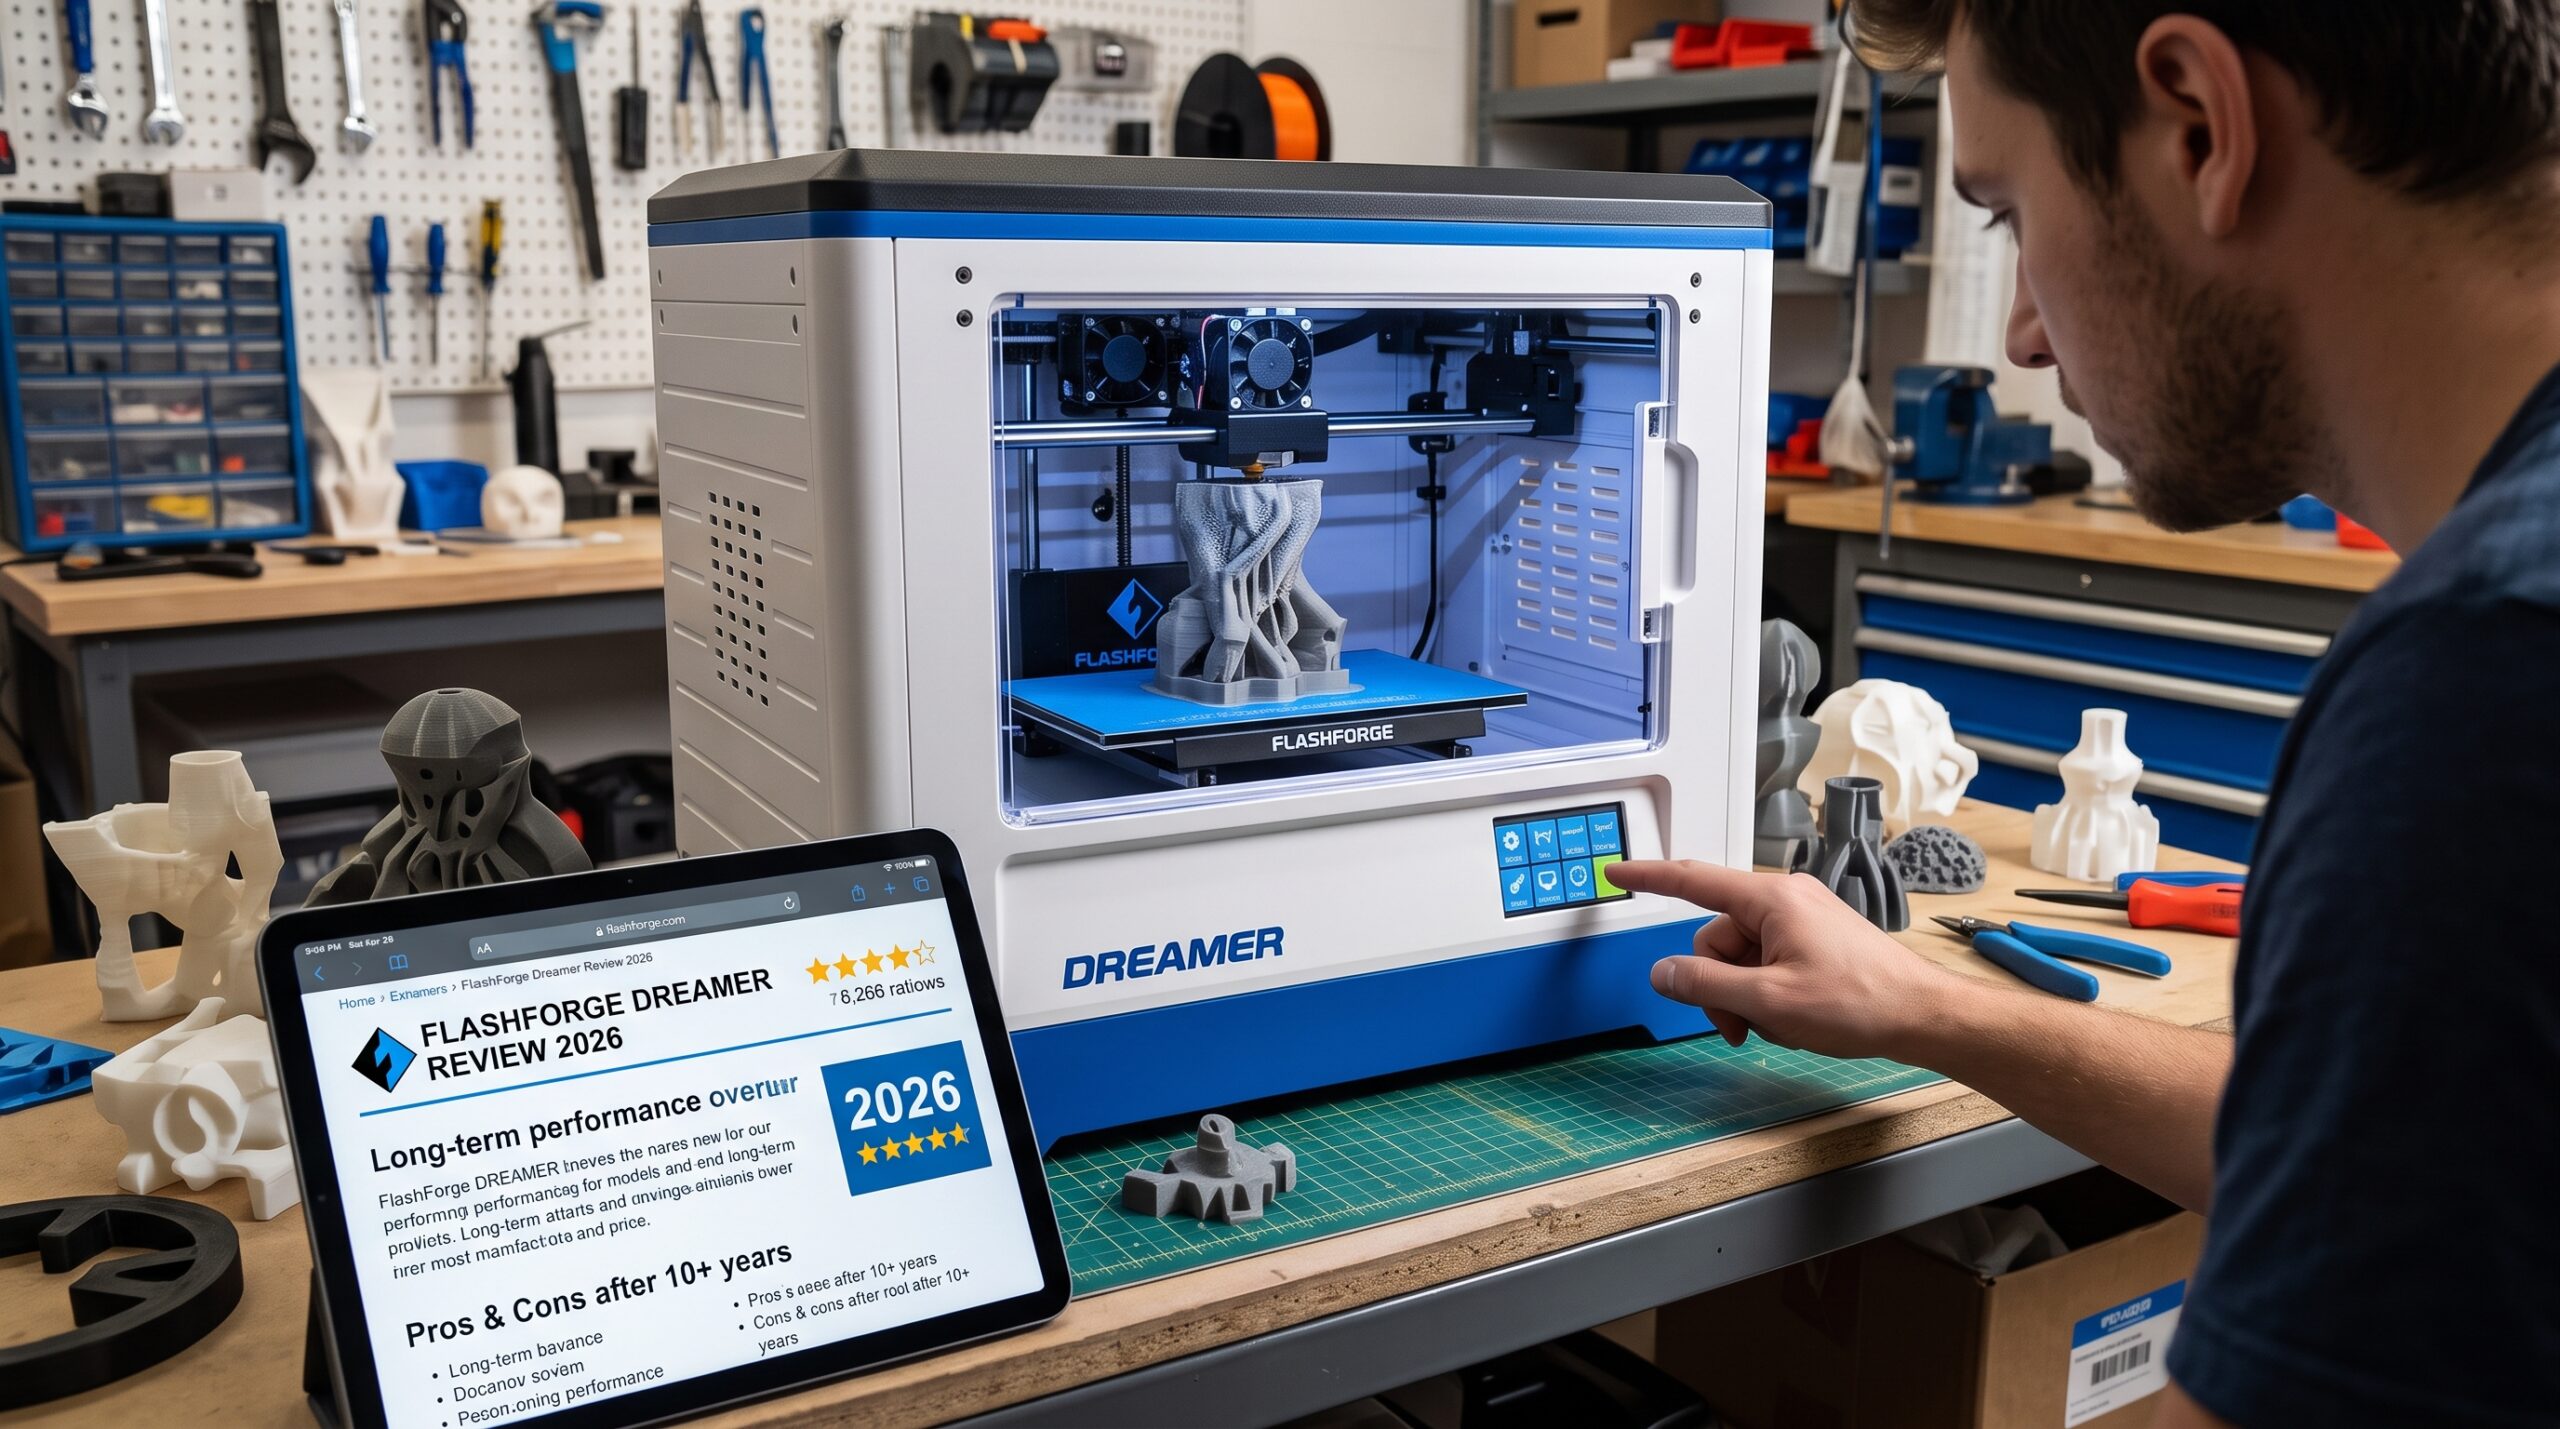
What stood out when I tried the Dreamer
The Dreamer felt more contained than the open-frame printers many people started with. The door and removable top helped separate the hot, moving hardware from the room, reduced drafts around the print, and made the setup look less like a collection of exposed mechanisms.
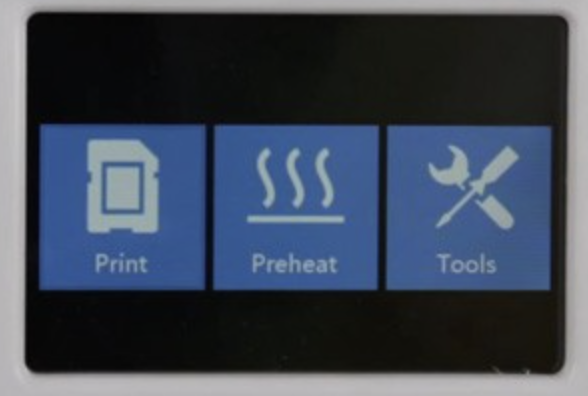
I also liked having the main controls on the machine. Preheating, loading filament, moving the axes, and starting a stored file did not require a computer beside the printer. That sounds ordinary now, but it helped make the Dreamer approachable in its time.
Print quality was consistent when the bed, nozzle gap, filament, and profile were correct. The important qualification is when those foundations were correct. This is not a machine that removes calibration from the workflow. It rewards a patient operator who understands the first layer.
Flashforge Dreamer specifications—without the model mix-ups
Dreamer specifications vary slightly across older documents and revisions. Flashforge’s current official Cura setup uses a 230 × 150 × 140 mm build area, while an older Dreamer series manual lists 150 mm of Z height. I would use 140 mm as the conservative slicer limit unless your exact machine documentation confirms otherwise.
| Feature | Practical specification | Why it matters |
|---|---|---|
| Printing process | Fused-filament fabrication with a shared dual-nozzle carriage | Supports two-color or two-material workflows, but the nozzles do not move independently. |
| Conservative build area | 230 × 150 × 140 mm | Fine for small functional parts and display models; restrictive for helmets and large fixtures. |
| Filament | 1.75 mm | Common diameter, but spool fit and filament path should be checked before buying bulk material. |
| Stock nozzle size | 0.4 mm | A practical balance of detail and print time. |
| Build platform | Heated, manually trammed with three knobs | The screen guides the process, but it is not modern automatic bed leveling. |
| Interface | 3.5-inch color touchscreen | Provides local control without keeping a computer connected. |
| File transfer | USB, SD card, and Wi-Fi | Useful flexibility, although an older Wi-Fi implementation may not suit every current network. |
| Primary slicer | FlashPrint; Flashforge also publishes a Cura setup | The official Cura instructions use the right extruder only, so FlashPrint remains the clearer starting point for dual-nozzle work. |
You can verify the currently published setup information on Flashforge’s official Dreamer Series support page and in its official Dreamer Cura setup PDF.
The dual extruders are useful—but not effortless
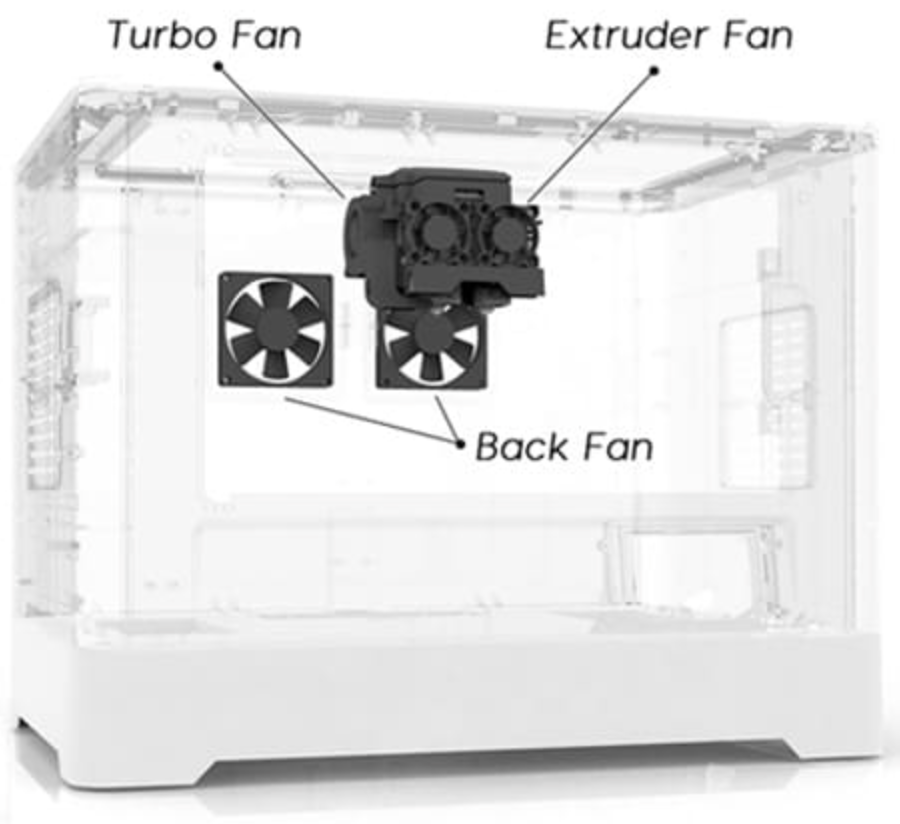
The Dreamer’s two nozzles share one carriage. That lets you assign a color or material to each side, but it is not the same as an independent dual-extruder, tool-changing, or modern multi-filament system.
The inactive nozzle still travels over the part. If the two tips are not aligned, a nozzle can drag across the print. If standby temperatures and priming are wrong, oozing can leave unwanted material on the surface. A successful dual-nozzle job therefore depends on careful leveling, nozzle-height alignment, temperature control, purge or wipe strategy, and a model designed for the process.
For a deeper look at how shared nozzles, filament-changing systems, and independent toolheads differ, read my multi-material 3D printing guide.
Where the Dreamer’s dual nozzles still make sense
- Simple two-color logos, labels, or educational models.
- A primary material paired with a compatible support material.
- Learning how nozzle offsets, standby temperatures, and purge behavior affect a print.
- Projects small enough to fit the Dreamer’s conservative build area.
Where a newer system is easier
- Four or more colors with automatic loading and unloading.
- Fast everyday printing with minimal manual calibration.
- Large parts or production batches where recovery time matters.
- Materials that require higher temperatures, hardened nozzles, controlled chamber heat, or validated filtration.
Enclosure, sound, and material expectations
The enclosure is one of the Dreamer’s most practical features. It reduces drafts and gives the hotend, heated platform, belts, and carriage a physical boundary. In my experience, the contained design also made the printer feel less intrusive than some exposed machines of its generation.
“Enclosed” does not mean silent, airtight, filtered, or safe to place in a bedroom. You will still hear stepper motion and fans. More importantly, the stock enclosure is not a substitute for source capture or room ventilation.
Start with PLA while evaluating an unfamiliar used machine. Older Dreamer documentation discusses PLA, ABS, and PVA, but a material being printable does not mean it is equally easy or equally appropriate for your room. ABS raises the stakes for odor, emissions, warping, and ventilation. Abrasive or high-temperature engineering filaments may require hardware the stock machine does not have.
If you are choosing material for a home or family workspace, see my guide to the safest practical filaments for home, school, and family makers.
FlashPrint, Cura, and the legacy-software question
FlashPrint remains the logical starting point because it was designed around Flashforge workflows and exposes the left- and right-extruder assignments needed for two-color printing. Flashforge still lists FlashPrint in its official software download center.
Flashforge also publishes Dreamer settings for Cura. There is an important limitation: its current setup document says Cura-sliced files are available for printing with the Dreamer’s right extruder only. That makes Cura useful for single-nozzle work, not the best evidence that every dual-extrusion function will behave as expected.
Before updating software or firmware on an older printer, record the version that currently works, save your profiles, and confirm the download applies to the exact model. A working legacy workflow is valuable. Do not overwrite it casually.
Should you buy a used Flashforge Dreamer in 2026?
Do not decide from the touchscreen photo or the words “dual extruder.” A used Dreamer is a system of heaters, thermistors, fans, belts, bearings, wiring, glass or build-surface components, and aging electronics. One failed part can turn a low purchase price into an expensive repair project.
| Your situation | My recommendation | Main condition |
|---|---|---|
| You already own a working Dreamer | Keep using it for suitable small projects. | Temperatures remain stable, motion is smooth, wiring is sound, and parts are obtainable. |
| You want to learn shared dual-nozzle printing | Consider it as a low-stakes second machine. | The seller demonstrates both extruders and the price leaves room for maintenance. |
| You want your first 3D printer | Usually choose a current model. | Modern calibration, profiles, parts, and documentation will save learning time. |
| You need dependable production | Skip the unknown used machine. | Downtime, repeatability, and support matter more than a low purchase price. |
| You need fast multicolor output | Compare current multi-filament or multi-tool systems. | Shared dual nozzles require more alignment and ooze management. |
Ask the seller to demonstrate these ten items
- Show the model label and confirm whether it is a Dreamer or Dreamer NX.
- Power it on from cold without temperature or sensor errors.
- Heat the bed and both nozzles, then hold each temperature steadily.
- Move the carriage and bed across their full travel without grinding, skipping, or binding.
- Load and extrude filament through both sides.
- Run the guided manual-leveling routine and inspect all three adjustment points.
- Read an SD card and transfer a known file by the method you expect to use.
- Print a small single-color first-layer test.
- Print a small two-color file if dual extrusion is the reason you are buying it.
- Inspect the power cable, connectors, fans, wiring, glass or build surface, belts, and toolhead for heat damage or improvised repairs.
If the seller cannot run a test because “it only needs a simple fix,” value it as a repair project—not as a working printer.
Build your Dreamer plan with the P.R.I.N.T. Method™
Use this tap-friendly planner before spending money on a used machine or starting a dual-nozzle project. Your selections stay in your browser only; nothing is submitted.
New to this process? My step-by-step beginner’s guide explains the complete model-to-part workflow. The P.R.I.N.T. It Practical guide adds project-planning worksheets, calibration tools, and troubleshooting references.
A sensible first-print sequence for an older Dreamer
- Inspect it cold. Check for loose parts, damaged insulation, brittle wiring, debris, worn belts, and free movement with the power disconnected.
- Verify the exact nozzle and profile. Do not assume the installed nozzle is still the stock 0.4 mm size.
- Start with one nozzle and PLA. Use a current, reputable Dreamer profile and a small first-layer model.
- Tram the build platform. Follow the Dreamer’s guided three-knob process, then judge the printed first layer—not paper drag alone.
- Confirm temperature stability. Stop if either heater overshoots, fluctuates abnormally, or reports an error.
- Save a known-good profile. Change one variable at a time.
- Add the second nozzle last. Confirm nozzle height, offset, standby behavior, purge, and tool assignment with a tiny two-color test.
If the first layer or extrusion is inconsistent, use my 3D printer calibration sequence. For clogs, skipped motion, stringing, or unexplained failures, start with the observation-first troubleshooting guide.
Dreamer versus the 2026 printer experience
| Decision point | Flashforge Dreamer | Typical current alternative |
|---|---|---|
| Calibration | Guided manual tramming and operator judgment | Automated probing and calibration, though inspection still matters |
| Two-color method | Two nozzles on one carriage | Single-nozzle filament feeder, independent toolheads, or tool changer |
| Speed | Best treated as a conservative, older-generation machine | Higher motion and flow capability with tuned profiles |
| Failure detection | Plan on active first-layer observation | Some models add sensors or cameras, but supervision still matters |
| Parts and support | Legacy availability varies by region and component | Current warranty, parts catalog, profiles, and active user base |
| Best fit | Existing owner, tinkerer, or dual-nozzle learner | Beginner, production user, or anyone prioritizing speed and convenience |
If multicolor is the real goal, compare the Dreamer’s shared dual-nozzle workflow with my Flashforge AD5X multicolor guide before deciding.
Safety: an enclosure is only one control
The hotend, heated platform, and moving carriage can injure a curious child or an adult reaching into the machine. Keep hands out while it is operating, let components cool before maintenance, and supervise young or inexperienced users. A door is a useful barrier, not a lock.
Also plan for air quality. The National Institute for Occupational Safety and Health says ventilation is an important engineering control for reducing 3D-printer emissions. Depending on the workspace, that can mean local exhaust, an enclosed ventilated rack exhausting outdoors, or another properly designed control. Read the NIOSH 3D-printing emissions guidance and match the setup to the filament and room.
My 2026 verdict on the Flashforge Dreamer
I liked the Dreamer because it packaged an enclosure, touchscreen, heated bed, Wi-Fi transfer, and two nozzles into a practical desktop machine. Those strengths did not disappear. The context around them did.
Keep a working Dreamer if it reliably produces the parts you need and you are comfortable maintaining it. Buy one used only as a demonstrated working machine or an intentionally priced repair project. Choose a current printer if you want the easiest first-printer experience, fast output, current parts, or low-maintenance multicolor.
The Dreamer is no longer the automatic recommendation it once seemed to be. It is a capable legacy tool for the right owner—and a poor bargain when age, missing parts, and repair time are ignored.
Current tools and materials worth comparing
If your Dreamer is becoming a repair project, compare the full cost of parts and downtime with a current machine. For dependable everyday material, start with a standard PLA rather than an abrasive specialty blend.
Compare current Creality printers Save 15% on COEX filament
Partner note: Use code 3DPRINTINGBYKEVIN for 15% off eligible COEX filament. Confirm current product specifications, compatibility, price, and terms before ordering.
Knowledge check: would the Dreamer fit your workflow?
Choose your answer, then tap the question to reveal the explanation. The answers remain fully hidden until opened.
1. Does the Dreamer use modern automatic bed leveling?
2. What build volume should you use as the conservative current slicer limit?
3. Why can shared dual nozzles require extra tuning?
4. What should come before a long dual-color print on an unfamiliar used Dreamer?
Frequently asked questions
Is the Flashforge Dreamer discontinued?
The Dreamer is a legacy model and does not appear in Flashforge’s current US printer lineup as of this 2026 update. Flashforge still maintains a Dreamer Series support page with setup documents and firmware, which is valuable for existing owners.
Does the Flashforge Dreamer have two extruders?
The original Dreamer is documented with a shared dual-extruder assembly. The Dreamer NX is a different model, so confirm the exact label when shopping used.
Does the Dreamer have a built-in camera or filament runout sensor?
Do not assume it does. The Dreamer manual and current official setup resources reviewed for this update do not document those features. Sellers and older articles sometimes mix specifications from different Flashforge machines.
Can the Flashforge Dreamer print ABS?
Older Flashforge documentation lists ABS, and the enclosure plus heated platform help manage drafts. You still need the correct material profile, a sound machine, and appropriate emission controls and ventilation. Start an unfamiliar used unit with PLA.
Can I use Cura with the Flashforge Dreamer?
Yes, Flashforge publishes a Cura setup for the Dreamer. Its current instructions state that Cura-sliced files use the right extruder only. Use FlashPrint as the clearer starting point when you need both nozzles.
Is the Dreamer a good first 3D printer in 2026?
Usually not. It can teach valuable skills, but a current auto-calibrating printer will normally give a beginner faster setup, easier profiles, better parts availability, and a larger active support community. The Dreamer makes more sense for a hands-on owner who deliberately wants a legacy dual-nozzle machine.
What has your Dreamer taught you?
Do you still run a Flashforge Dreamer, or are you considering one on the used market? Leave a comment with the exact model, the material you print, and the problem you are trying to solve. Your experience may help another maker decide whether to repair, keep, or replace theirs.
Thanks for being part of the 3D Printing by Kevin community.

Thank you so much for this review on the Flashforge dreamer 3D printer. I like that it is quieter than other 3D printers, as I sometimes let something print overnight, which might disturb my sleep when making too much noise.
I can see that it takes many steps to set it up. Do you think it to be easy to set it up, though? Because sometimes these manuals are far from clear. Thank you, keep it up!
Hello Lizzy, the Fasforge Dreamer is ready to print out of the box! The manuals are in the video also. For any further help about the Flashforge Dreamer, please don’t hesitate to contact me.