
Practical 3D Printing
Before replacing a hotend, adding another fan, or chasing slicer settings, look at the air around your printer. For the right material and defect, a properly managed enclosure can remove drafts and temperature swings in one move.
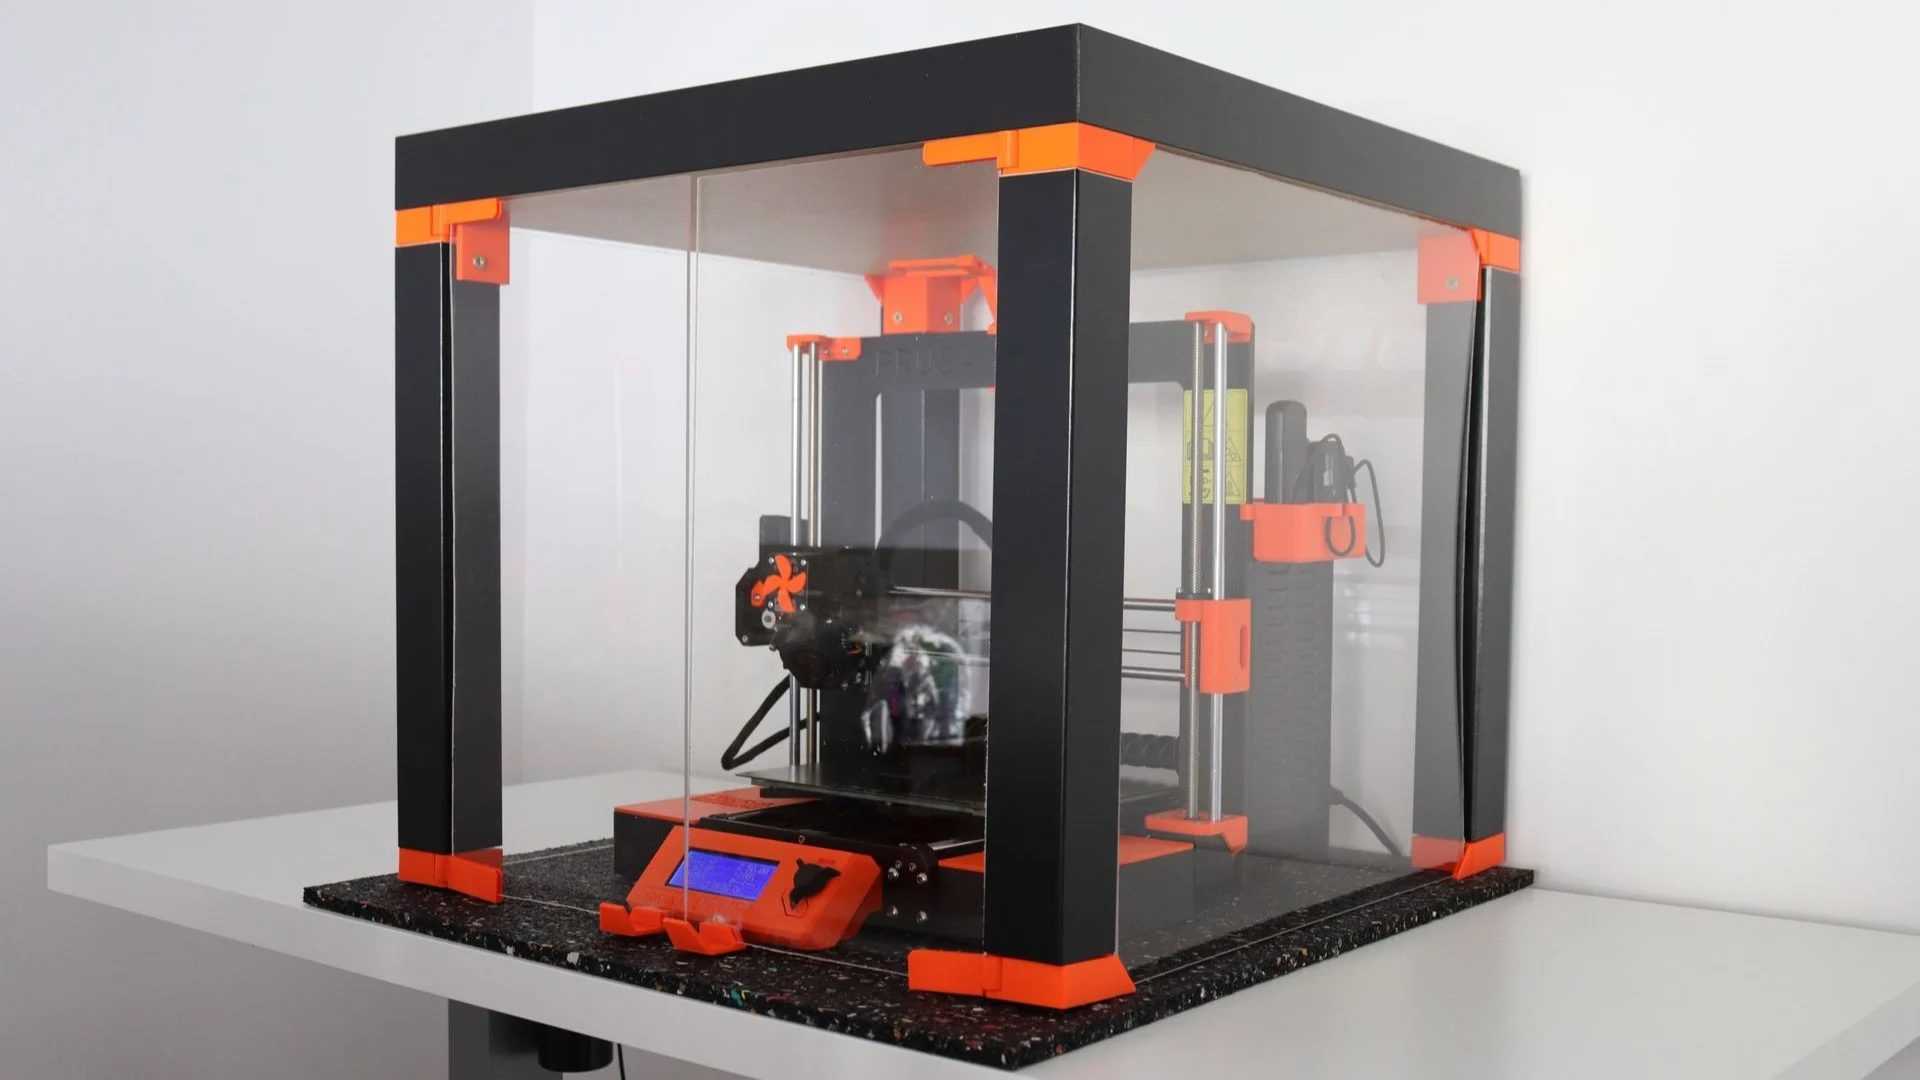
Quick answer: What upgrade can immediately improve print quality?
A properly configured 3D printer enclosure can immediately reduce drafts, corner lift, warping, and layer-separation risk when printing shrink-prone materials such as ABS, ASA, polycarbonate, and some nylons. It is not a universal upgrade: a hot, sealed enclosure can cause PLA heat creep, poor bridging, soft details, or extruder jams.
The honest answer is not simply “buy an enclosure.” It is control the print environment for the material you are using. Sometimes that means closing the doors and retaining heat. Sometimes it means opening the top, opening the door, or adding controlled exhaust.
The headline has a condition: the improvement feels instant only when uncontrolled cooling is the real problem. An enclosure will not repair wet filament, a loose belt, worn motion components, incorrect flow, poor first-layer calibration, a damaged nozzle, or a weak model.
First, Diagnose the Print Defect
Most print-quality advice fails because it starts with the upgrade instead of the symptom. Use the defect to decide whether an enclosure belongs in the solution.
An enclosure may help
Corner lift, edge cracking, warping that worsens as the print grows, layer separation on high-shrink materials, or failures that coincide with a door, window, fan, or HVAC cycle.
Look elsewhere first
Ringing, layer shifts, repeating Z-banding, random under-extrusion, wet-filament popping, blobs, inconsistent first layers, or dimensional errors that remain constant in every room.
Here is a useful clue: if the same g-code succeeds at one time of day and fails after a garage door opens or an air conditioner starts, the room may be influencing the print. If the defect repeats at the same exact height or feature, inspect the machine, model, or toolpath instead.
If your printer operates in a garage, read Is Your Garage Too Hot for 3D Printing? before adding another layer of heat around it.
What an Enclosure Actually Changes
An enclosure does not magically improve extrusion. Its main job is to reduce rapid air movement and slow the temperature changes around the part.
It blocks drafts
Cold air from a vent, doorway, window, or garage opening can cool one side of a print faster than the other. A physical barrier reduces that uneven exposure.
It creates a warmer, more stable chamber
The heated bed and hotend warm the enclosed air. Slower, more uniform cooling can reduce internal stress in shrink-prone parts and help layers remain bonded while the print grows.
It contains—not automatically removes—emissions
A closed box may keep odors and particles from immediately spreading through the room, but containment is not the same as filtration or safe exhaust. The air still has to go somewhere when the door opens.
It changes the cooling assumptions in your slicer
Bridging, overhangs, small layers, and PLA details may need more airflow or an open door. A profile tuned on an open printer should be retested after the chamber changes.
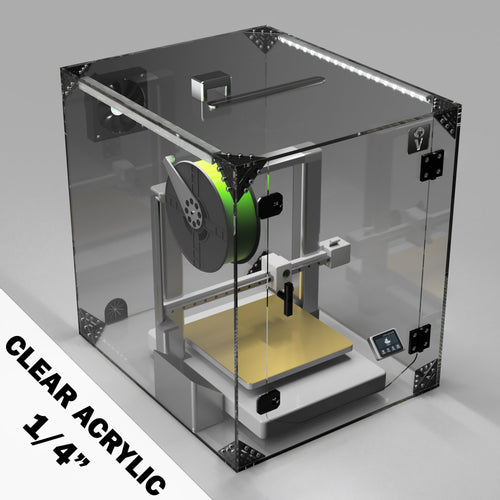
Does Your Filament Benefit From an Enclosure?
| Material | Typical enclosure approach | Important caution |
|---|---|---|
| PLA | Usually open-air, or enclosure door/top open | A hot, sealed chamber can contribute to heat creep, clogs, poor bridging, and soft detail |
| PETG | Often open or partially vented; shield from strong drafts when needed | Excess heat can reduce detail and bridging performance; follow the exact filament profile |
| TPU | Often open or vented, depending on grade and extrusion setup | Heat can affect feeding and hotend behavior; manufacturer guidance varies |
| ABS | Closed, stable enclosure commonly recommended | Manage emissions and keep heat-sensitive electronics within rated conditions |
| ASA | Closed, stable enclosure commonly recommended | Ventilation matters; do not open the chamber abruptly while the part is hot |
| PC and nylon families | Enclosure frequently helpful or required; dry filament is also critical | Requirements vary widely by formulation, reinforcement, printer, and part size |
Prusa’s enclosure documentation notes that a stabilized chamber is particularly important for warp-prone materials such as ASA, polycarbonate blends, polypropylene, and related technical filaments. Its enclosure guidance is a useful reference even if you use another printer brand.
PLA needs special attention. Prusa identifies a fully closed, unventilated enclosure as a common contributor to PLA heat creep. If extrusion fades or stops after the chamber warms, open the door or top, verify hotend cooling, and follow the printer manufacturer’s chamber guidance. See Prusa’s heat-creep troubleshooting guide.
Run This Test Before Buying an Enclosure
A simple controlled test can tell you more than a week of random slicer changes.
- Choose a representative part. Use a model that has already shown corner lift, cracking, or inconsistent results. Do not use a ten-hour print for the first test.
- Record the room. Note room temperature, printer location, active vents, doors, fans, and the material’s storage condition.
- Lock the variables. Use the same filament, g-code, build plate preparation, and printer settings for both runs.
- Test a draft shield first. A slicer-generated draft shield or temporary barrier placed safely away from moving and hot components may reveal whether air movement is the problem.
- Compare the evidence. Measure corner lift, inspect layer separation, photograph the same surfaces, and record whether the failure changed.
If a draft shield solves the problem, you have evidence that a proper enclosure may help. If nothing changes, return to bed adhesion, filament condition, machine mechanics, extrusion, part orientation, and model design.
Do not use a cardboard box as a long-term enclosure. A quick diagnostic barrier is not a safe permanent system. Keep temporary materials away from the hotend, bed, power supply, wiring, electronics, and printer travel.
Use the P.R.I.N.T. Method™ to Plan the Upgrade
P — Problem: Is the defect warping, layer separation, a cold draft, noise, dust, or emissions control?
R — Requirements: Which filament, chamber temperature, printer dimensions, room conditions, access, visibility, and ventilation must the enclosure support?
I — Interfaces: Where do the spool path, cables, electronics, doors, exhaust, camera, and moving printer components intersect the enclosure?
N — Next-Best Materials & Methods: Would a draft shield, rigid enclosure, soft tent, filtered enclosure, or manufacturer-integrated chamber best match those requirements?
T — Test & Tune: Monitor chamber temperature, retest cooling and bridging, compare print evidence, and revise the setup before running long jobs.
DIY vs. Prebuilt 3D Printer Enclosures
| Decision factor | DIY enclosure | Prebuilt enclosure |
|---|---|---|
| Fit | Can be tailored to an unusual printer, spool path, or room | Confirm exact internal dimensions and moving clearances before buying |
| Upfront cost | Can be lower if you already own suitable materials and tools | Usually higher, but hardware and access panels are included |
| Time | Requires design, fabrication, testing, and revisions | Faster to install when it is designed for the printer |
| Temperature control | Depends entirely on volume, leakage, material, and ventilation design | May be more predictable, but passive tents still require monitoring |
| Emissions control | Requires a deliberate filtration or external-exhaust design | Do not assume a zippered tent filters particles or vapors |
| Fire risk | Depends on every material, opening, cable, and heat source | “Fire-resistant” marketing does not make the printer or enclosure fireproof |
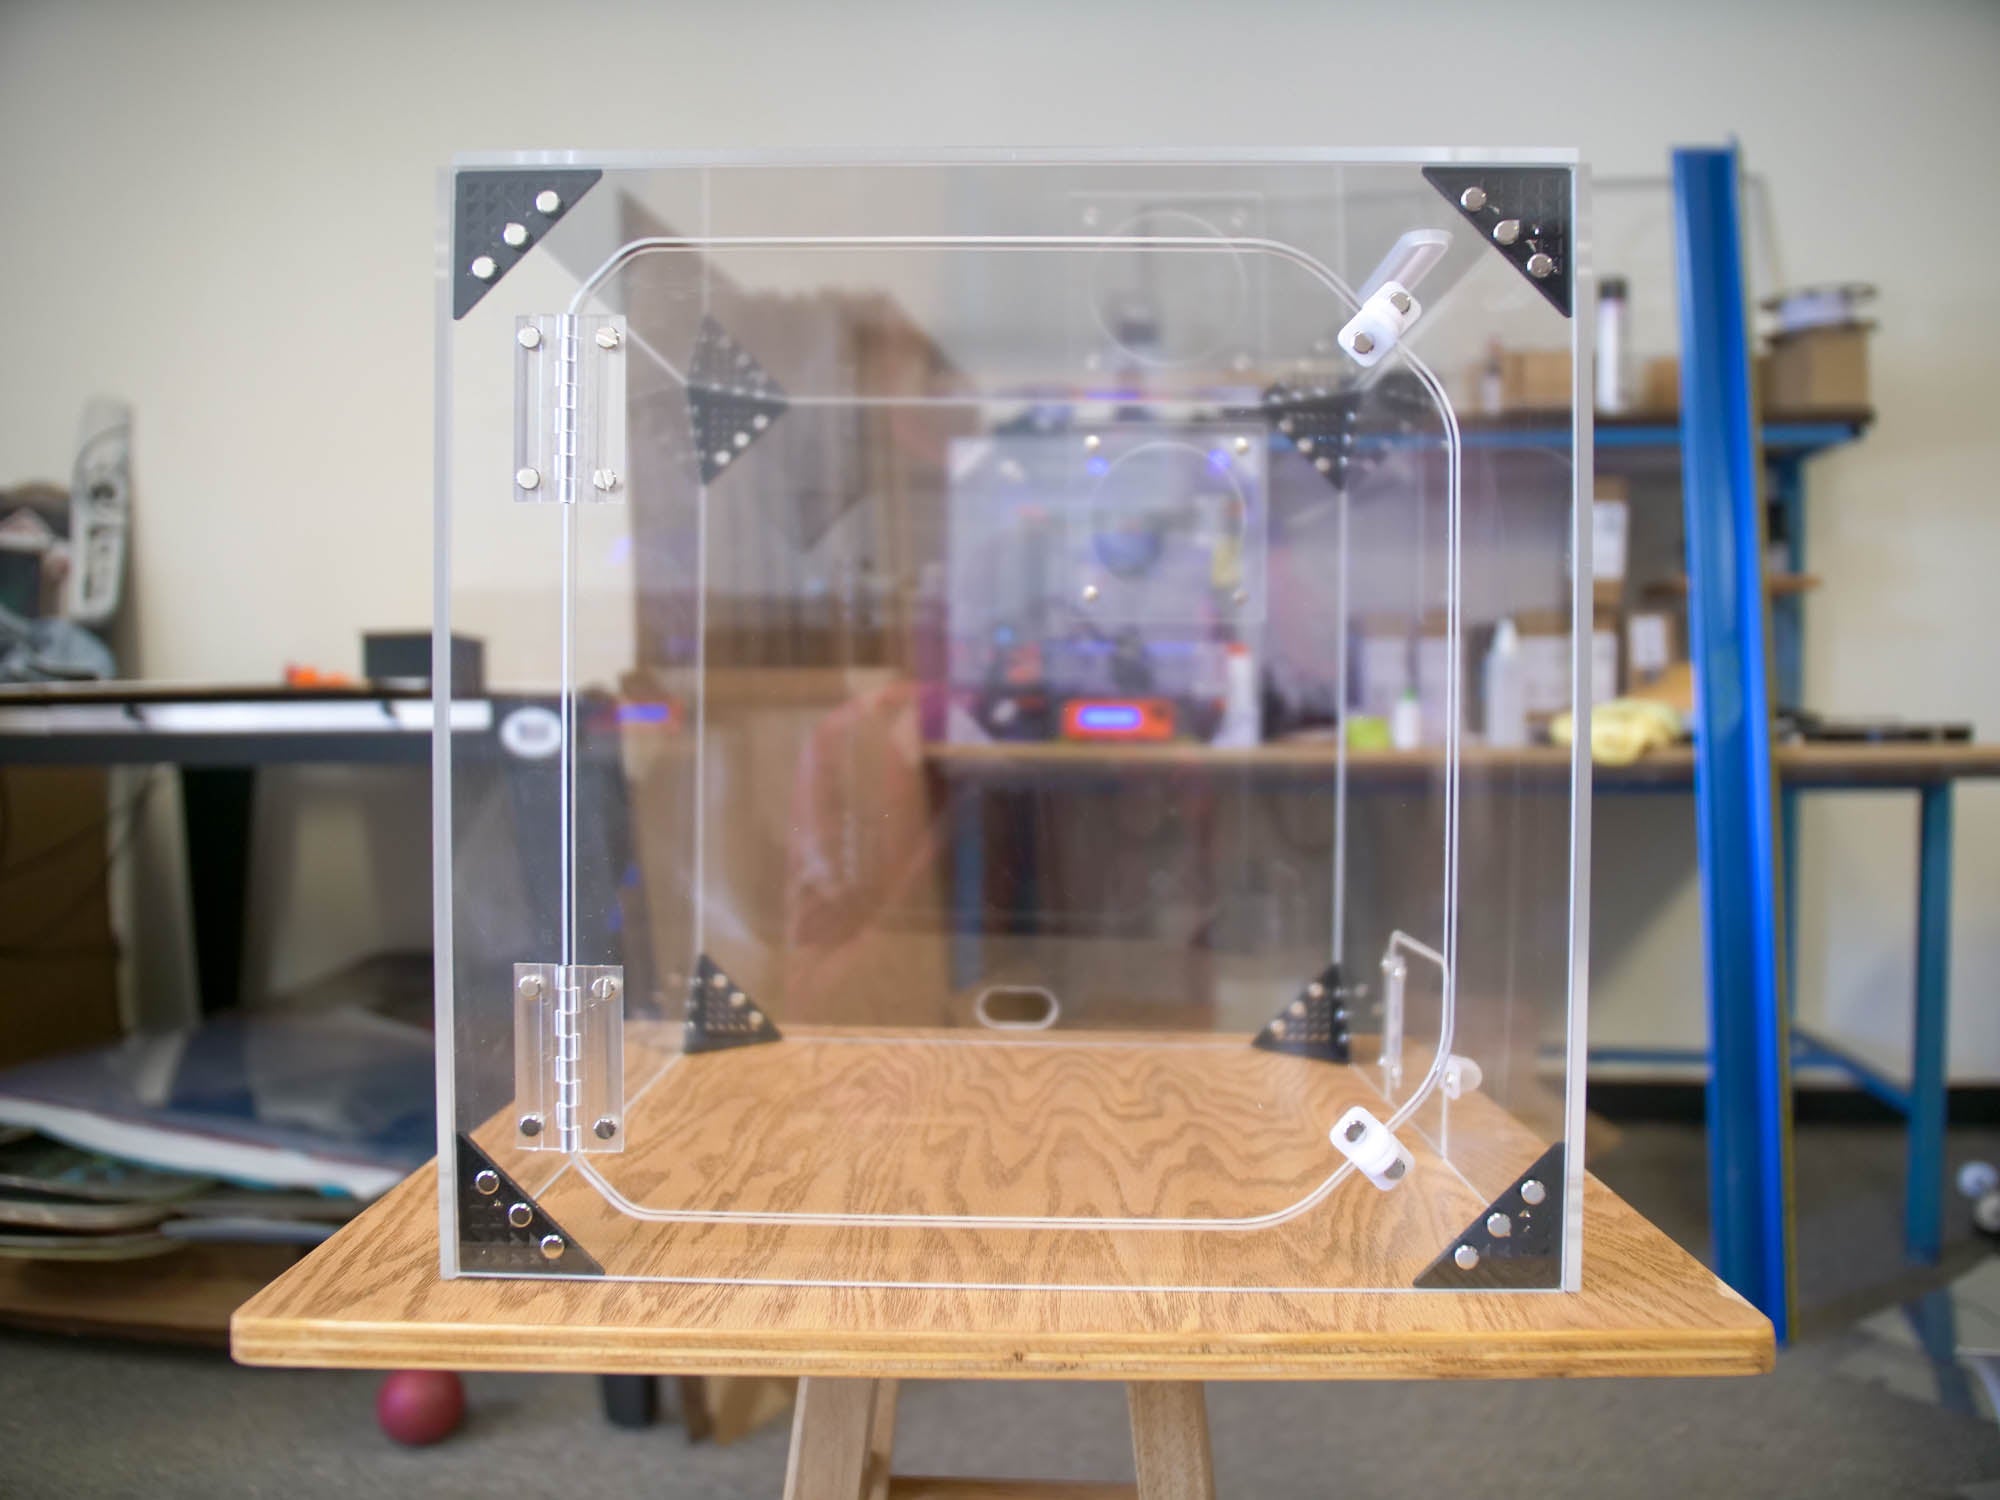
When a prebuilt enclosure makes sense
A prebuilt enclosure is attractive when you want fast installation and a known physical fit. For a Creality printer, you can review Creality’s current printer and enclosure options, then confirm the supported model, internal dimensions, cable clearance, material specifications, and ventilation provisions before purchasing.
Do not buy solely from a product photo. Bed-slinger printers need room for the bed and cable to travel, top-mounted spools need vertical clearance, and larger printers may require far more internal volume than their advertised build area suggests.
When DIY makes sense
A rigid DIY enclosure can accommodate custom filtration, lighting, cameras, dry-box feeds, and an unusual machine footprint. The tradeoff is that you become responsible for temperature limits, material choices, electrical routing, ventilation, and safe access.
Whenever possible, keep power supplies and other heat-sensitive electronics outside a hot chamber—but do not modify safety-critical wiring or relocate electronics unless the printer manufacturer supports it and you are qualified to perform the work.
An Enclosure Is Not a Safety Certificate
This is the most important correction to the original article: a zippered tent or clear box should never be described as automatically safe, correctly ventilated, tested, or fireproof.
Monitor chamber temperature
Measure near the print without placing the sensor where it can interfere with motion. Stay within the printer and enclosure manufacturers’ rated conditions.
Protect electronics cooling
Do not block control-board, motor-driver, power-supply, or hotend heatsink airflow. A stable print chamber can still overheat electronics.
Plan source control
Use suitable filtration or externally exhausted ventilation when required. A fan that merely recirculates chamber air is not the same as removing particles and vapors.
Keep normal precautions
Maintain the printer, inspect wiring and connectors, keep combustibles away, use appropriate detection, and follow manufacturer guidance. An enclosure does not justify unattended printing.
NIOSH recommends engineering controls such as local exhaust, filtration, or ventilated enclosures to reduce exposure to 3D-printer emissions. Its evaluations found large reductions in specific filtered or ventilated configurations, but those findings should not be generalized to every sealed box. Review the agency’s Approaches to Safe 3D Printing.
What an Enclosure Will Not Fix
| Symptom | Is an enclosure the first move? | Check first |
|---|---|---|
| Warped ABS or ASA corners | Often helpful | Bed adhesion, clean surface, first layer, draft exposure, chamber stability |
| PLA stops extruding after the chamber heats | No—open or vent it | Heat creep, hotend fan, ambient temperature, door/top position |
| Ringing or ghosting | Usually no | Acceleration, belts, frame stability, input shaping, loose components |
| Popping and rough extrusion | No | Wet filament, material storage, contamination, nozzle condition |
| Layer shifts | No | Belt tension, pulley fasteners, collisions, motor current, cable interference |
| One side fails near an HVAC vent | Potentially | Shield the draft and repeat the same controlled test |
Learn the decision process—not just the settings
P.R.I.N.T. It Practical: 3D Printing for Beginners helps you move from problem to requirements, material, method, and controlled testing.
Explore the P.R.I.N.T. It ebookFour-Question Knowledge Check
1. A large ASA print lifts at the corners whenever the garage door opens. Is an enclosure a reasonable next test?
Yes. The symptom and timing suggest that uneven cooling may be contributing. Confirm bed adhesion and first-layer setup, then run a controlled draft-shield or enclosure test.
2. PLA stops extruding 40 minutes into a print inside a sealed enclosure. Should you raise chamber temperature?
No. Open or vent the enclosure and investigate heat creep, ambient temperature, and hotend cooling before changing other variables.
3. Does a closed enclosure automatically provide safe emissions control?
No. Containment, filtration, and external exhaust are different. Use a source-control strategy appropriate to the material, printer, room, and manufacturer guidance.
4. Will an enclosure repair ringing caused by loose belts?
No. Ringing is commonly linked to motion, acceleration, resonance, or mechanical looseness. Fix the actual machine variable.
Frequently Asked Questions
Does every 3D printer need an enclosure?
No. Open printers commonly handle PLA and many PETG jobs well in a stable room. Enclosures become more valuable with drafts, warp-prone materials, large temperature-sensitive parts, or a deliberate emissions-control system.
Will an enclosure improve PLA print quality?
It may help protect a large print from a cold draft, but a sealed hot chamber can reduce cooling performance and cause heat creep. PLA often benefits from an open door, open top, or controlled ventilation.
Do I need an enclosure for PETG?
Usually not for ordinary parts in a stable room. A shield may help with a strong draft or a large part, but excessive chamber heat can create other problems. Follow the exact filament and printer guidance.
What temperature should a 3D printer enclosure be?
There is no universal target. Safe and useful chamber temperature depends on the printer, electronics, hotend, filament formulation, part size, cooling strategy, and whether the chamber is passive or actively heated. Use manufacturer specifications rather than a generic number.
Are soft 3D-printer tents fireproof?
No enclosure should be assumed fireproof. Terms such as fire-resistant or flame-retardant describe limited material behavior under specified conditions; they do not eliminate ignition risk or replace inspection, maintenance, detection, and manufacturer precautions.
Should I vent an enclosure outdoors?
External exhaust can be an effective source-control approach when correctly designed, but airflow can also change chamber temperature and part quality. Follow applicable building requirements and obtain qualified help if ducting, electrical work, or workplace exposure controls are involved.
A Better Upgrade Decision
The best 3D-printing upgrade is not always the newest component. It is the change that removes the variable causing your failure.
If ABS or ASA corners lift when cold air crosses the bed, a proper enclosure may produce the most immediate improvement you have seen. If PLA jams after the chamber heats, the same enclosure may be the problem. Match the chamber to the material, measure the temperature, preserve electronics cooling, and retest instead of assuming “more heat” means “more quality.”
That is the practical lesson: control the environment—but only after you understand what the print requires.
Workflow note: If you manage repeated or multi-printer jobs, GridPilot may help organize the production workflow. It does not replace chamber monitoring, printer maintenance, or safe operating practices.
Affiliate disclosure: Some links in this article are affiliate links. If you purchase through one, 3D Printing by Kevin may earn a commission at no additional cost to you. Recommendations are selected for practical relevance, and readers should confirm compatibility and current specifications before purchasing.
