
A 3D printer rarely goes from “fine” to “broken” without warning. The clues usually appear first: a rough bearing sound, dust on a rail, a frayed belt edge, a dirty build plate, a fan that takes longer to start, or print quality that slowly drifts.
I maintain several very different FDM machines—including a Bambu Lab X1 Carbon, Raise3D Pro2, Creality CR-M4, and MakerGear M3. That variety has taught me one important lesson: the best maintenance routine is consistent, documented, and specific to the machine—not a generic list of parts to tighten.
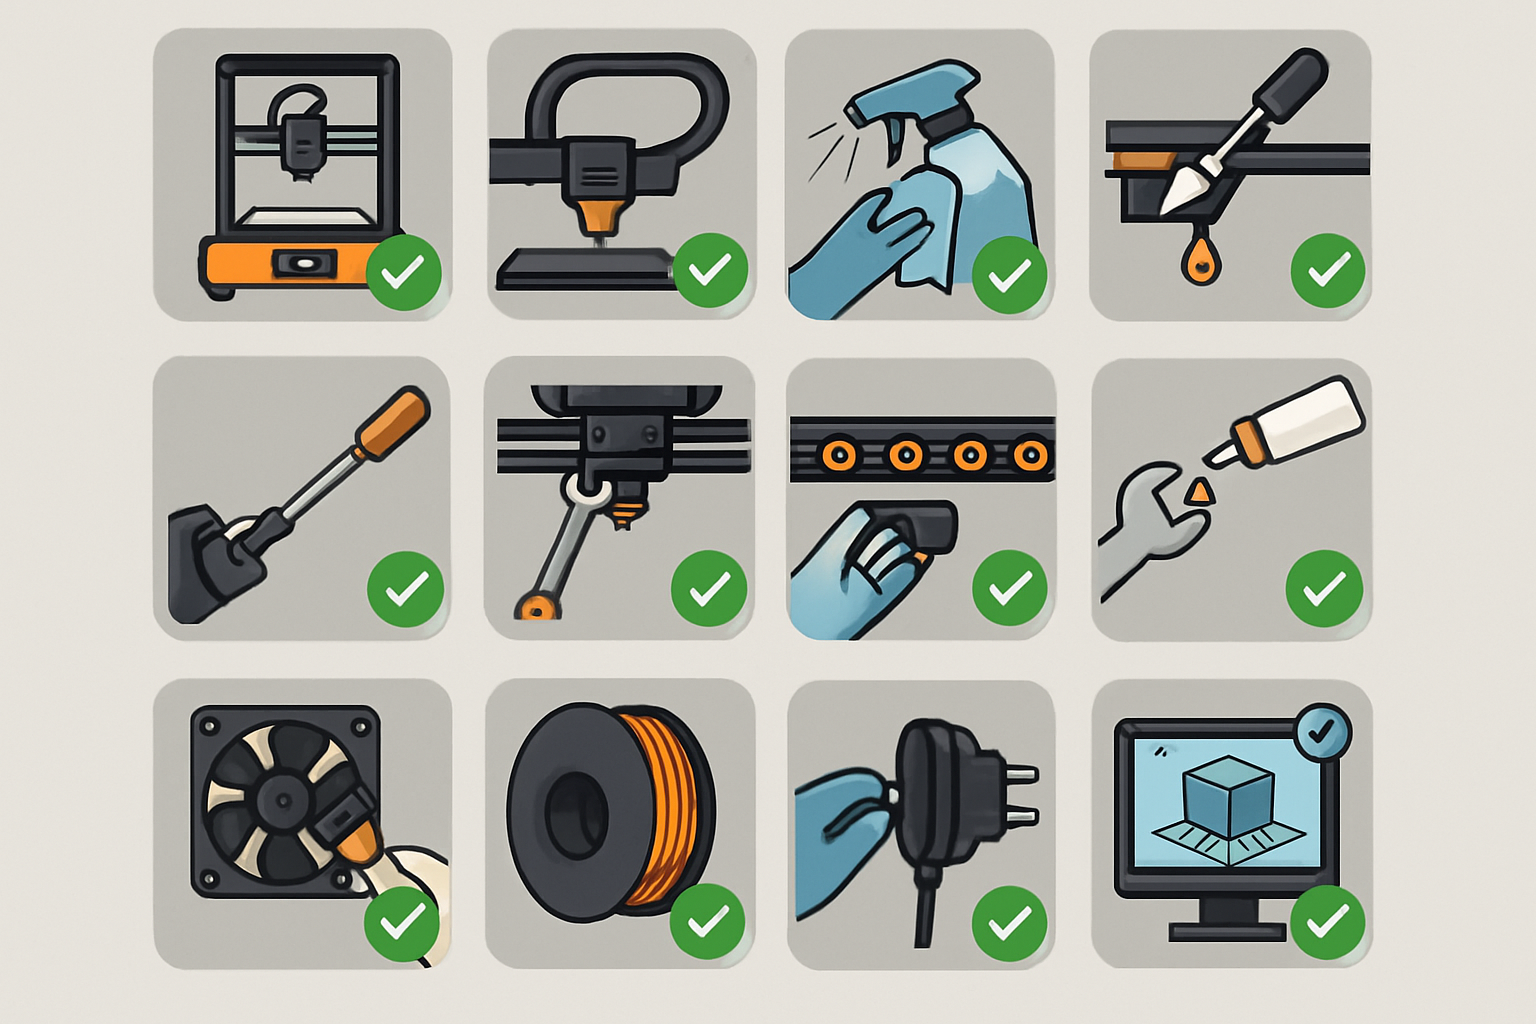
Quick answer: What maintenance does a 3D printer need?
Before printing, inspect the build surface, nozzle area, filament path, fans, and axes. Clean contamination instead of compensating for it with settings. At regular usage intervals, inspect belts, pulleys, fasteners, cables, bearings or wheels, and lubrication points—but follow the manual for your exact model before adjusting or lubricating anything.
Most important: record what you observed and change only what needs attention. Unnecessary tightening, lubrication, or recalibration can create a new problem.
Use printer hours and symptoms—not just the calendar
A printer used for production every day accumulates wear faster than one that prints on weekends. Dusty rooms, abrasive filament, high chamber temperatures, and long jobs also shorten the interval between inspections.
| When | What to inspect | Why it matters |
|---|---|---|
| Before each print | Build surface, nozzle area, filament path, sliced preview, unusual resistance | Prevents the most avoidable first-layer and feed failures |
| After a long or messy print | Debris, purge waste, fan ducts, toolhead, plate underside | Stops loose material from entering motion or cooling parts |
| Every 50–100 print hours | Belts, pulleys, wheels or rails, fasteners, cables, fans | Finds gradual wear before accuracy changes |
| At the manual’s interval | Approved lubrication points, filters, consumable parts | Different motion systems require different products and procedures |
| When symptoms appear | The system connected to the symptom | A noise, layer shift, rough surface, or thermal warning should override the calendar |
The complete 3D printer maintenance checklist
Before every print: the two-minute walkaround
- Confirm the correct build plate, nozzle size, material, and slicer profile.
- Remove loose filament, purge waste, and debris from the build area.
- Inspect the plate for fingerprints, residue, damage, and material left on its underside.
- Check the nozzle exterior for a blob or buildup while the printer is cool.
- Make sure the spool unwinds freely and cannot snag.
- Look for damaged wiring, loose connectors, or anything rubbing a moving axis.
- Move axes only as the manufacturer allows; never force a powered stepper.
- Listen during homing for grinding, clicking, scraping, or a new vibration.
For build-plate cleaning, use the plate maker’s instructions. Isopropyl alcohol can remove light oils from some surfaces, while dish soap and water may be recommended for a deeper clean. Some coated or specialized plates have different restrictions, so “use 90% IPA on everything” is not a safe universal rule.
After each print: leave the machine ready
- Let the plate and hotend cool before touching them.
- Remove skirt, brim, purge lines, and loose fragments.
- Check the nozzle and silicone sock for accumulated plastic.
- Look beneath the plate for debris that could affect seating or probing.
- Note new noises, surface changes, or extrusion problems in the maintenance log.
- Store moisture-sensitive filament appropriately after use.
Every 50–100 print hours: inspect motion and extrusion
Motion system
- Inspect belt teeth and edges for wear.
- Check pulleys for looseness or misalignment.
- Look for play in wheels, rails, bearings, and the toolhead.
- Check lead screws for dirt or old, contaminated lubricant.
- Use the model-specific belt procedure—feel alone is not a measurement.
Extrusion and cooling
- Inspect the filament drive path for dust and fragments.
- Check the nozzle for wear, especially after abrasive filament.
- Confirm hotend and part-cooling fans start smoothly.
- Inspect PTFE tubing only where your machine uses it.
- Check for heat damage, leaks, or a loose hotend assembly.
Abrasive materials can enlarge a soft brass nozzle opening. Symptoms may include wider extrusion, rough detail, inconsistent lines, or dimensional drift. Compare performance with a known-good nozzle rather than judging the opening by eye alone.
At the manufacturer’s interval: clean and lubricate correctly
There is no universal 3D printer lubricant. Some printers use smooth steel rods, some use linear rails, some use V-wheels, and the X-axis on a Bambu Lab X1 Carbon uses carbon rods that should be cleaned but not lubricated. Lead screws may use grease, while another component may require a light oil—or no lubricant at all.
Do not “lubricate everything that moves”
The wrong product can attract dust, attack plastic, contaminate a belt, or damage a maintenance-free bearing. Check the official manual for the exact printer and component. Apply only the specified product and quantity.
Every few months: check safety systems and consumables
- Inspect the full length of accessible cables and strain reliefs.
- Check that fan and ventilation openings are clear.
- Inspect the power cord and plug for heat damage or looseness.
- Review the manufacturer’s firmware notes before updating.
- Back up custom profiles or settings before a major firmware change.
- Inspect filters, wipers, cutters, purge parts, and other model-specific consumables.
- Run built-in self-tests or calibrations when the manual calls for them or after relevant service.
Electrical work is not routine housekeeping
Power down and unplug the printer before service. Do not open a power supply or control box merely to “tighten everything.” If you see smoke, arcing, melted insulation, repeated thermal errors, a damaged connector, or smell persistent electrical burning, stop using the printer and follow the manufacturer’s service process or use a qualified technician.
What to clean, adjust, calibrate—or leave alone
| Action | Do it when… | Avoid doing it when… |
|---|---|---|
| Clean | You see debris, residue, dust, or contamination | The method conflicts with the surface or component instructions |
| Adjust | A measured condition or model-specific test shows a problem | You are responding to normal sound or feel without a baseline |
| Lubricate | The manual identifies the point, product, and interval | You do not know the bearing, rod, rail, or coating requirements |
| Calibrate | You changed a relevant component, moved the machine, updated firmware, or see a related symptom | The printer is producing stable results and nothing relevant changed |
| Replace | A consumable reaches its wear limit or fails inspection | You have not isolated the symptom from settings, material, or installation |
E-steps or rotation distance should not randomly “drift” as normal maintenance. Recheck extrusion calibration after changing extruder hardware, firmware configuration, or when measurement indicates a problem. If flow slowly changes, first inspect the nozzle, drive gears, filament path, temperature, and material condition. For a symptom-first process, use my 3D printing troubleshooting guide.
Use the P.R.I.N.T. Method™ as your maintenance planner
Maintenance becomes more useful when it produces a record. Here is how I apply the same P.R.I.N.T. workflow I use for functional parts:
Problem
Requirements
Interfaces
Next-Best Setup
Test & Improve
Problem
Write the symptom in observable terms: “new clicking during retraction,” not “extruder bad.”
Requirements
Record the printer, nozzle, material, print hours, environment, and quality target.
Interfaces
Identify where systems meet: spool to feeder, belt to pulley, plate to bed, hotend to toolhead.
Next-Best Setup
Choose the smallest manual-approved cleaning, inspection, adjustment, or part swap.
Test & Improve
Run one controlled test, record the outcome, and avoid stacking changes.
Copy this maintenance log
- Date and estimated print hours
- Printer, nozzle, and material
- Symptom or observation
- Component inspected
- Cleaning product, lubricant, or replacement used
- Adjustment measurement or manufacturer procedure
- Test print and result
- Next inspection target
Filament care is part of printer maintenance
Wet, brittle, tangled, or inconsistent filament can look like a mechanical printer problem. Keep spools clean, protect them from moisture as the material requires, and check that the spool holder and guide path do not add drag.
Affiliate disclosure: I may earn a commission if you buy through the following partner link, at no extra cost to you. I recommend materials only where they fit the job.
I use material condition and consistency as part of my troubleshooting baseline. You can browse COEX 3D filament through my partner page and use code 3DPRINTINGBYKEVIN for 15% off.
Build a repeatable printing workflow
P.R.I.N.T. It Practical — 3D Printing for Beginners connects maintenance with planning, calibration, materials, troubleshooting, and testing so you can make decisions instead of guessing.
Explore the P.R.I.N.T. It ebookFour-question maintenance knowledge check
Choose your answer, then open the result. The high-contrast panels remain readable even if your theme applies muted text colors.
1. A printer is working normally. Should you tighten every belt and fastener on schedule?
Show answer
2. Should carbon rods, linear rails, smooth rods, and V-wheels all receive the same lubricant?
Show answer
3. What should you record after maintenance?
Show answer
4. What should you do after a burning-electrical smell or repeated thermal error?
Show answer
Frequently asked questions
How often should I maintain my 3D printer?
Do a quick inspection before each print and a more detailed inspection every 50–100 print hours as a practical starting point. Then follow the manufacturer’s intervals for lubrication and model-specific consumables. Heavy use, dust, heat, and abrasive materials may require more frequent checks.
Should I lubricate my 3D printer’s lead screws?
Only with the product and method approved for your printer. Clean away contaminated lubricant before applying the specified amount. Do not assume the lubricant intended for a lead screw also belongs on a rail, rod, belt, or wheel.
Do I need to calibrate after every maintenance session?
No. Calibrate the system affected by the work. A nozzle or hotend change may justify relevant calibration; wiping a build surface does not justify changing extrusion settings.
Can compressed air damage a 3D printer?
High-pressure air can spin fans beyond their design speed, push debris deeper into assemblies, or create condensation depending on the source. Use the manufacturer’s cleaning method; when air is approved, keep pressure controlled and prevent fans from free-spinning.
When should I replace a nozzle?
Replace it when inspection and print behavior indicate wear or damage, or at the interval appropriate for the nozzle and material. Abrasive filled filaments can wear soft brass much faster than ordinary PLA or PETG.
Reliable prints start before you press Print
The goal of preventive maintenance is not to keep turning screws. It is to notice change early, protect the machine, and preserve a known-good baseline. Inspect first, follow the manual, make one justified change, and test the result.
If you are fighting a repeatable print failure, start with my guide to preventing failed prints before they start. If you need a custom part made instead, tell me about it through the project quote and intake form.
What warning sign does your printer give you first—a new sound, a rough first layer, dust buildup, or extrusion changes? Share your printer model and the symptom in the comments. Your answer may help another maker know what to inspect.
Sources and model-specific references
