
3D Printing by Kevin · Practical troubleshooting
Catch the mistake before it becomes a pile of plastic.
A spool that cannot turn. The wrong nozzle profile. A support that starts in midair. Some expensive print failures leave clues before the nozzle heats up.
You do not need another mystery setting to change. You need a repeatable way to decide whether the next job is ready to print.
This guide gives you seven checks for filament-based FDM/FFF printers, plus a small-test strategy for parts that must fit. Use it before a long build, after changing materials, or when a previously reliable setup starts wasting filament.
Affiliate disclosure: This article includes a COEX partner link. If you purchase through it, I may earn a commission at no extra cost to you.
Quick answer: How do you prevent failed 3D prints?
Match the slicer profile to your printer, nozzle, material, and plate. Inspect the sliced layers, check the filament supply and feed path, prepare the build surface, and follow the printer’s calibration procedure. Then watch the complete first layer.
For an unfamiliar design, print the smallest sample that answers your biggest uncertainty before committing to the full part. These checks reduce avoidable mistakes; they cannot guarantee every print will succeed.
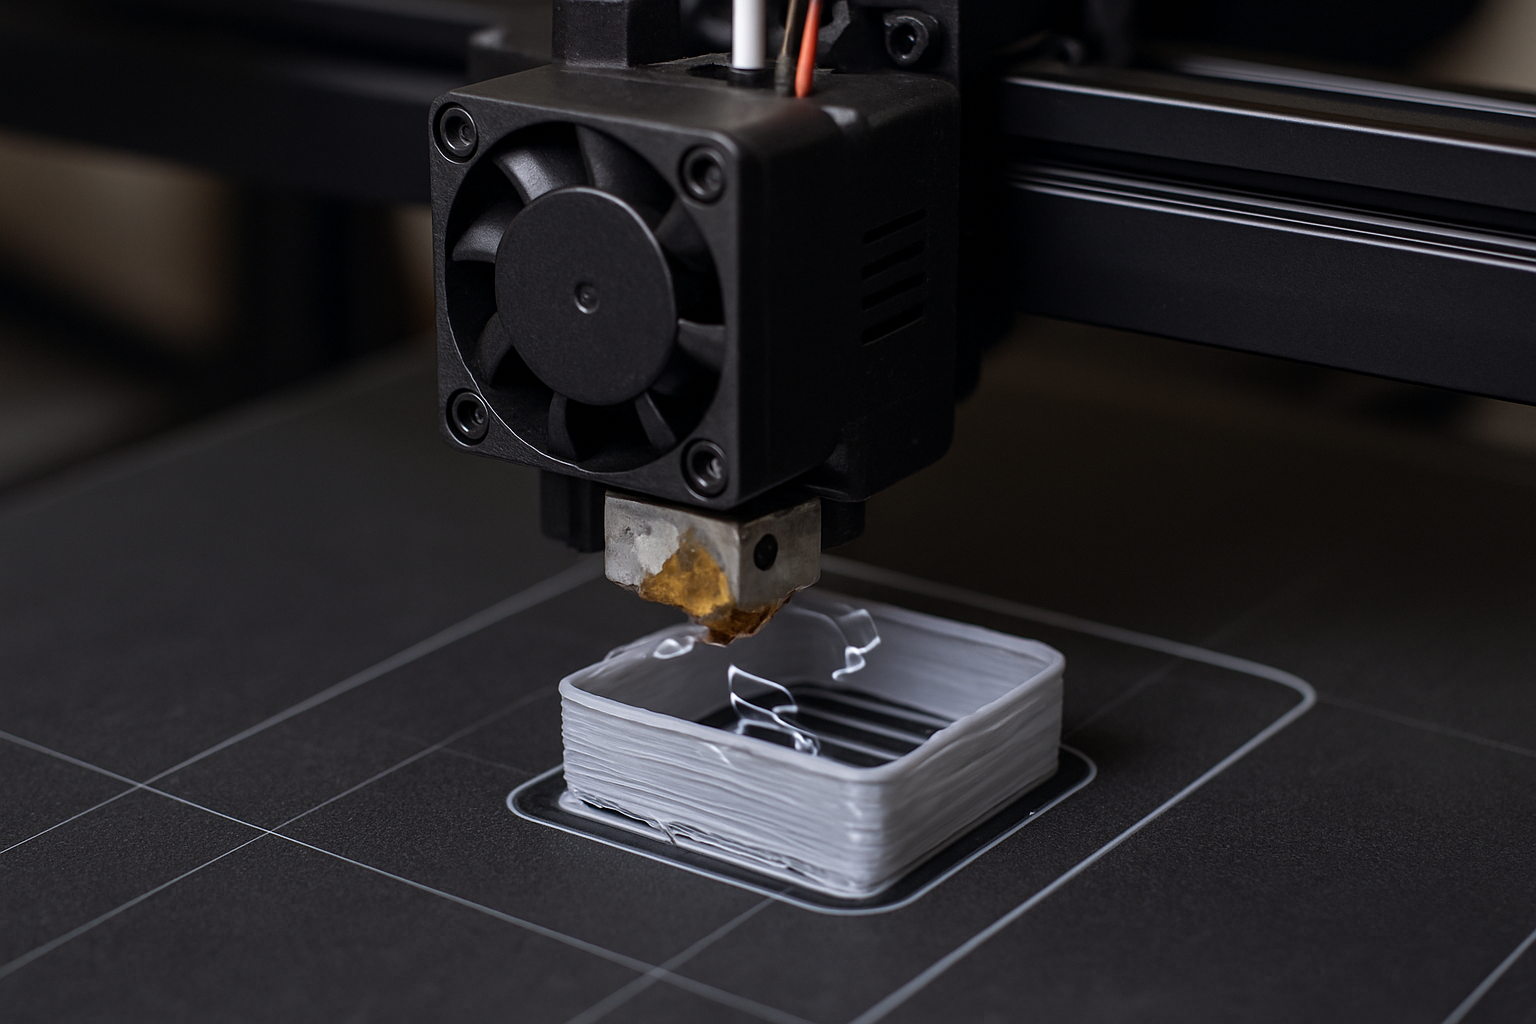
Start with the point where the last print went wrong
Before deleting the failed job, take a photo and record when the first visible defect appeared. The final spaghetti pile may hide the original problem.
| First visible clue | Check next | Useful small test |
|---|---|---|
| Lines lift or drag across the plate | Surface preparation, plate selection, first-layer calibration | A first-layer patch in the affected area |
| Corners rise after the base initially sticks | Material profile, temperature conditions, drafts, footprint | A shortened version retaining the original footprint; it will not reproduce every full-height stress |
| Extrusion becomes thin or intermittent | Spool resistance, nozzle condition, temperature and flow demand | A known-good small model using a trusted profile |
| A support falls over beneath an overhang | Support foundation, stability and the preview at that layer | The problem feature with representative supports |
| Failure repeats near the same height | Layer preview and possible travel or feed restrictions | A controlled test chosen after inspecting that height |
| The print finishes but will not fit | Dimensions, clearance and orientation | Only the mating hole, clip or contact section |
For that repeatable height problem, use the focused guide: why prints keep failing at the same height.
Seven checks before you commit to the full print
1. Match the profile to the hardware on the machine
Check the printer model, installed nozzle diameter, filament type, and selected build plate. A downloaded project can carry settings from someone else’s machine; inspect them before slicing.
Also verify the model’s dimensions. A neatly arranged object in the preview can still be the wrong size. Save a copy of a working profile before making experimental changes so you have a clear baseline to return to.
2. Inspect the sliced layers, not just the model
Move through the preview from the bottom upward. Look closely at the first contact area, the beginnings of overhangs, support foundations, and the transition to roofs or bridges.
Ask: what will hold up this feature when the nozzle reaches it? If the answer is unclear, investigate the orientation or support arrangement before printing. A model that looks complete on screen is not proof that every layer is printable.
3. Check the spool, feed path and remaining material
Make sure the spool can rotate freely and the filament route has no obvious snag or sharp restriction. Use the printer’s prescribed loading procedure; do not yank filament through an engaged extruder or cold hotend.
Compare available filament with the slicer’s total estimate, including supports and any purge or tower material. When weighing a spool, subtract its empty weight. Allow a margin for uncertainty rather than planning to finish on the final gram.
4. Investigate moisture when the symptoms point there
Popping, bubbles or unexpectedly rough extrusion can justify checking filament condition. Stringing alone does not establish that a spool is wet.
Follow the filament manufacturer’s drying temperature and duration, checking the spool’s heat tolerance too. Sealed storage with suitable desiccant helps limit moisture exposure; it is not a dependable substitute for drying already-wet filament. See COEX’s filament drying guide for material-specific guidance.
5. Prepare the correct plate and verify calibration
Check that the plate is seated properly and free of loose debris. Use the cleaning method approved for that exact surface; alcohol, soap, solvents and adhesives are not interchangeable across every plate.
Follow the machine’s first-layer procedure. Some printers use manual Z-offset adjustment, while others use automatic nozzle-contact sensing. Avoid applying a manual-adjustment tutorial to a machine with a different system.
Prusa’s first-layer guidance also explains why certain material-and-surface combinations need a separation layer: stronger adhesion is not always better.
6. Keep speed and cooling appropriate to the material
Start with a validated profile for the material and machine. Increasing speed can ask the hotend to melt more plastic per second than it can deliver consistently; wider lines and thicker layers also increase that demand.
The relevant setting is often called maximum volumetric speed or a similar name. Prusa explains how it limits extrusion demand. There is no single safe value for every hotend, nozzle and material.
Cooling is material-dependent too. Keep the profile’s fan behavior as your starting point. If corners lift, investigate thermal conditions and geometry through the PLA, PETG and ABS warping guide.
7. Observe the entire first layer
Watch across the footprint, including small isolated features and support bases. Adjacent lines should join without obvious gaps, tearing or nozzle scraping. A satisfactory purge line alone does not establish that the whole part has a sound foundation.
Stop when the foundation is already failing
If the part detaches, the nozzle drags loose material, or plastic starts accumulating around the nozzle, cancel the job. Follow the manufacturer’s removal procedure before cleaning or reaching into the machine.
A few minutes spent correcting an observed fault is more useful than letting that fault grow into a longer failed print.
Before a big print, choose one small question
Suppose a replacement cover needs to slide over an existing housing. The uncertain feature is the opening. Printing a short section with that opening lets you check clearance before making the complete cover.
Keep the relevant material, orientation and settings representative. A fit sample answers a fit question; it does not validate the complete part’s strength, heat resistance or durability.
The small-test decision
Uncertain fit? Print the interface.
Uncertain support? Print the supported feature.
Uncertain first layer? Print a first-layer patch.
Uncertain material profile? Start with a known-good small model.
Illustrative example: if a full part uses 180 g and a representative fit sample uses 12 g, the sample lets you investigate that fit using about 7% of the full part’s material. That is a planning comparison, not a promised waste reduction.
Use the P.R.I.N.T. planner before the next attempt
Put these five prompts in your project notes. They connect printer settings with the reason you are making the part.
| P.R.I.N.T. step | Write down |
|---|---|
| P — Problem | What must the finished part do? What went wrong on the previous attempt? |
| R — Requirements | Required fit, finish, operating conditions and practical limits. |
| I — Interfaces | The dimensions and contact surfaces that must match. |
| N — Next-Best Materials & Methods | Material, orientation, plate and profile chosen for this test. |
| T — Test & Tune | The smallest useful test, one deliberate change, and the result. |
For a reusable reference, P.R.I.N.T. It Practical — 3D Printing for Beginners includes project planners, a first-print checklist and a fillable worksheet.
A checklist to use beside the printer
Tick each item as you check it. These checkmarks are temporary and are not saved.
When does buying something actually help?
Buy to address a demonstrated limitation. A compatible replacement nozzle makes sense when inspection identifies wear or damage. Drying equipment is useful when material conditioning is the problem. Neither purchase resolves an unsupported feature in the sliced file.
If you need filament for your next controlled test, you can browse COEX through my partner link. Choose the material for the job and use its documented processing guidance. A brand change alone does not diagnose a failed print.
Four-question knowledge check
Choose an answer, then open the explanation.
1. A downloaded project is ready to slice. What comes first?
A. Increase speed. B. Verify hardware and material profiles. C. Add more infill.
Reveal answer 1
B. Confirm the project matches your printer, installed nozzle, material and plate before trusting its settings.
2. Only the opening in a large cover has an uncertain fit. What should you test?
A. A representative section of the opening. B. The full cover again. C. A different filament color.
Reveal answer 2
A. A small interface sample can answer the clearance question while using less material. Keep the relevant print conditions representative.
3. Does a clean purge line mean the first layer is good?
A. Always. B. Only with PLA. C. No; inspect the entire footprint.
Reveal answer 3
C. Check the part’s first layer and support bases. A purge line does not test every area the model occupies.
4. The same defect returns. What makes the next test informative?
A. Change several unrelated settings. B. Record the clue and make one targeted change. C. Repeat without checking anything.
Reveal answer 4
B. A documented baseline and a targeted change help you work out what affected the result.
Frequently asked questions
Should I run every calibration before every print?
Follow your printer’s requirements. Check the setup each time, and run the relevant calibration when instructed or when a hardware change or symptom warrants it. Repeatedly changing a working calibration can make comparisons harder.
Will reducing infill prevent failed prints?
It can reduce material consumption, but it does not fix a dirty plate, a restricted feed path or missing supports. Infill also affects support beneath top surfaces, so inspect the new slice rather than reducing it blindly.
Is printing slowly always more reliable?
No. Lower speed may help when extrusion demand is too high, but speed alone cannot repair a mechanical fault or an unsuitable setup. Begin with the appropriate profile and change the setting tied to your observed problem.
What should I record after a failure?
Save a photo, file version, material, profile, approximate failure height and the earliest visible symptom. Add the one change you plan to test next. Keep the result even when the test does not solve the problem.
Make the next print a useful test
Pick the unresolved question, check the setup, and print only what you need to learn the answer. Save the working combination when the result meets your requirements.
Need help turning a difficult model or replacement part into a practical build?
Where does your print first go wrong: the base, an overhang, a repeated height, or the final fit? Share your printer, material and earliest symptom in the comments. That detail is more useful than the size of the spaghetti pile.
