
Practical workshop guide · Updated September 15, 2026
You bought a printer to make useful things. Now a lifting corner, a rough surface, or a part that almost fits has you looking at another accessory.
Before adding it to your cart, ask one question: What specific problem will this solve on my machine? That answer can save you from buying a new build plate when the current one needs cleaning—or buying a scanner when a few careful measurements would do.
Quick answer: Which 3D printing accessories should you buy first?
Start with basic maintenance tools, a way to measure your parts, and suitable filament storage. Add a build plate when you need a different surface or a replacement, a dryer when your material needs active drying, and a wear-resistant nozzle when your filament requires one.
High-flow hardware and scanners can wait until you can name the limitation they will address. Check what your printer already includes before paying for the same capability twice.
Affiliate disclosure: This article includes a COEX partner link. I may earn a commission if you purchase through it, at no additional cost to you. The buying guidance below is based on intended use and compatibility; it is not a hands-on comparison of every product in these categories.
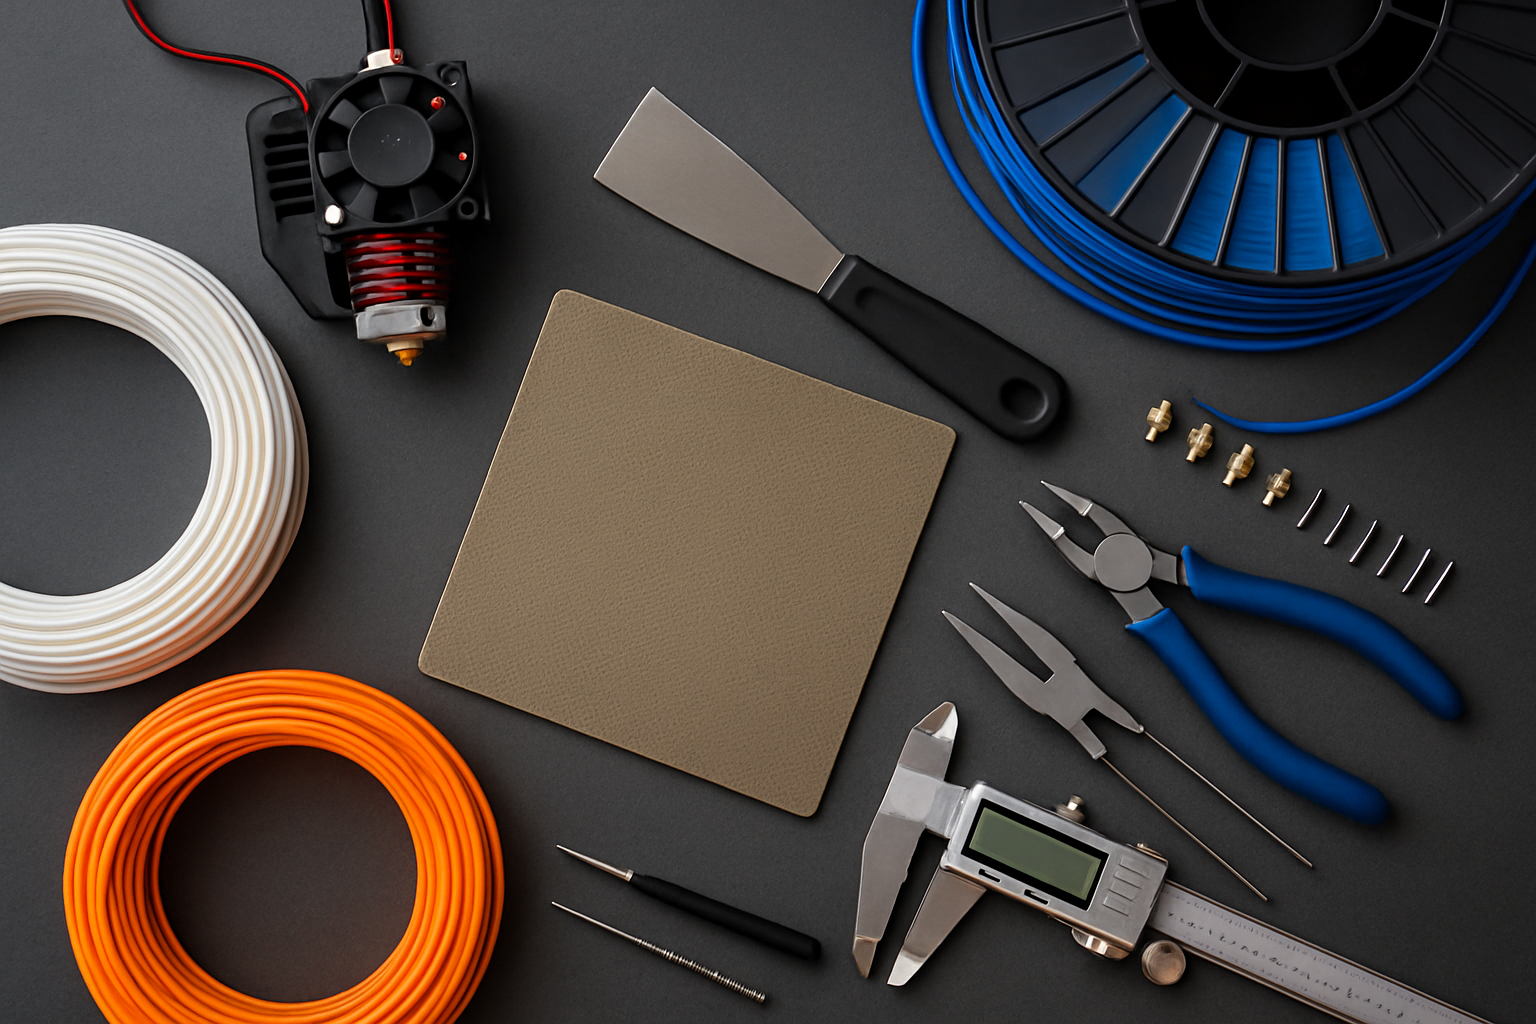
Match the accessory to the job
Use this comparison to narrow the purchase. The checks in the last column are worth doing before spending money.
| Accessory | Best reason to consider it | Check first |
|---|---|---|
| Digital calipers | Measure mating features and compare printed dimensions with the design. | Repeatability, stated accuracy, and access to the feature you need to measure. |
| Basic maintenance tools | Carry out routine service and careful cleanup. | Your printer’s supplied toolkit and service instructions. |
| Sealed storage with desiccant | Limit moisture exposure between prints. | Container seal, spool fit, and desiccant condition. |
| Filament dryer | Actively dry filament according to its manufacturer’s directions. | Required temperature, spool heat limit, and dryer capacity. |
| Compatible build plate | Replace a worn surface or change material compatibility and bottom finish. | Cleaning, plate profile, first layer, and exact printer fit. |
| Wear-resistant nozzle | Handle a specified abrasive filament. | Existing nozzle, compatible hotend, and filament requirements. |
| High-flow hotend or nozzle | Address a confirmed melting-throughput limit. | Whether cooling, motion, or the model is actually limiting speed. |
| 3D scanner | Capture complex surface geometry for a modeling workflow. | Whether measurements and CAD would be simpler. |
1. Calipers make a useful first upgrade for functional parts
A printed bracket can look excellent and still miss the screw spacing. Calipers help connect the model on your screen to the part on your bench.
Use them to measure accessible thicknesses, outside dimensions, and openings. Zero the tool, keep the jaws square, use light pressure, and repeat the measurement. A display reading to 0.01 mm does not mean the tool is accurate to 0.01 mm.
Try this: Print only the section containing a critical opening. Measure it, test the fit, and record the result before printing the entire replacement part. For small holes or difficult internal features, use an appropriate gauge or a fit sample rather than trusting one awkward caliper reading.
2. Buy maintenance tools you can name a use for
Check the toolkit that came with your printer. Correctly sized hex keys, suitable cutters, a plastic scraper approved for the plate, and a small cleanup tool may cover your immediate needs.
A large accessory bundle is poor value when most of it stays in the drawer. Purchase around actual service tasks, and follow the machine’s procedure for nozzle changes and hotend work. Cut away from your hands and protect your eyes when clipping brittle support material.
If you are buying tools because the same failure keeps returning, begin with the 3D printing troubleshooting guide. A recurring symptom deserves a diagnosis.
3. Separate filament storage from filament drying
A sealed container with maintained desiccant limits moisture exposure. A suitable heated dryer actively removes moisture. A passive storage box should not be treated as an equivalent replacement for a drying cycle.
Polyamide and some flexible materials deserve particular attention. Surface defects or bubbling can suggest moisture, but stringing alone does not prove that a spool is wet.
Choose a dryer that meets the filament manufacturer’s temperature and time requirements, while staying within the spool’s heat limit. Follow its ventilation instructions, and return dried filament to protected storage. Prusa’s drying guide explains these distinctions and provides settings for its own materials.
Purpose: limit moisture exposure.
Purpose: remove absorbed moisture.
Purpose: see whether drying helped.
4. Choose a build plate for the material and finish
Textured PEI can be useful for appropriate materials and leaves a textured underside. It cannot correct every first-layer problem. Check surface preparation, the selected plate profile, and your printer’s first-layer procedure before replacing a serviceable sheet.
“No glue required” is not a universal rule. Some plate-and-material combinations need a separation layer to protect the surface. Others release after cooling. Follow the instructions for the exact combination.
Prusa’s textured-sheet instructions, for example, distinguish compatible materials, cleaning methods, and cases requiring a glue separation layer. Those directions apply to that sheet; do not assume another brand’s coating needs identical treatment.
Before ordering a plate
Confirm dimensions, locating features, bed attachment, material compatibility, and any required printer or slicer settings. Two plates advertised with similar dimensions are not automatically interchangeable.
5. Understand hardened and high-flow nozzles
These labels describe different capabilities. Wear resistance matters when a filament’s abrasive additives would damage an unsuitable nozzle. High flow concerns how quickly the hotend can melt and deliver material under particular conditions.
A nozzle can offer one capability, both, or neither. Check the manufacturer’s specification for your exact printer and filament, including any minimum nozzle diameter and extruder requirements. Functional parts made from ordinary, unfilled filament do not automatically require a hardened nozzle.
For a speed problem, first examine the sliced model. Short moves, cooling requirements, acceleration, or a conservative material profile may dominate the print time. An upgraded hotend cannot remove all of those limits.
Purchase test: Can you identify the current limit and explain how the proposed nozzle addresses it? If not, keep the existing setup while you investigate. After a hardware change, use the correct profile and recalibrate as directed.
6. Treat a scanner as a modeling investment
A scanner can help capture a complex outside shape, but the scan still needs inspection. Hidden surfaces, small openings, and mating features may need separate measurements or CAD work.
For a simple rectangular spacer or bracket, measured modeling may be the more direct route. For a curved housing that must follow an existing contour, scanning may be worth evaluating.
Before buying, ask for an example involving a similar object size, surface, and level of detail. Include software, preparation, and cleanup time in the decision. A mesh is an input to a workflow; a reliable replacement part still needs design judgment and testing.
Plan the purchase with the P.R.I.N.T. Method™
Use the same discipline for accessories that you use for useful parts. Write down the problem before choosing the tool.
Your accessory planner
- P — Problem: What observable issue keeps recurring?
- R — Requirements: What must improve: fit, surface finish, reliability, or time?
- I — Interfaces: Does the accessory fit the printer, plate, hotend, spool, and software workflow?
- N — Next-Best Materials & Methods: Could cleaning, storage, a profile correction, or a small design change solve it first?
- T — Test & Tune: What small repeatable test will show whether the change helped?
Record: Printer/model · filament · current setup · symptom · proposed change · total cost · test result.
For example, if a printed spacer is too tight, measure the opening and print a short fit sample before buying extrusion hardware. If a material prints poorly after open storage, investigate its drying requirements and compare a small sample before replacing the hotend.
My Print It Practical: 3D Printing for Beginners ebook develops this process with project planning, checklists, and troubleshooting resources. Use its planner to keep the observations behind each purchase and print.
Where a partner link fits into the decision
If the project calls for different filament, you can explore COEX filament through my partner link. Check the selected material’s specifications, available sizes, and handling guidance before ordering.
For printer-specific accessories, compare the exact part number against the machine manufacturer’s documentation. Prioritize compatibility, installation instructions, and support over a countdown timer or a claimed shortage.
Four-question workshop knowledge check
Choose an answer, then open the explanation. Use these checks before your next upgrade.
1. Your first layer suddenly stops sticking. What comes first?
A. Buy the most expensive plate.
B. Inspect surface preparation, profile, and first-layer setup.
C. Increase infill.
Reveal answer 1
B. Check the existing setup first. A new plate may be appropriate if it is worn or unsuitable, but that decision should follow the inspection.
2. What is the main job of passive sealed storage?
A. Limit further moisture exposure.
B. Guarantee wet filament is dry in an hour.
C. Increase nozzle flow.
Reveal answer 2
A. Sealed storage and maintained desiccant help protect filament. Follow the filament maker’s drying procedure when active drying is needed.
3. Does a hardened nozzle automatically mean higher flow?
A. Yes, on every printer.
B. Only with more infill.
C. No; wear resistance and flow capability are different.
Reveal answer 3
C. Read both specifications. Choose wear resistance for material requirements and flow capability for a demonstrated throughput need.
4. A replacement part nearly fits. What is a useful next step?
A. Buy a scanner immediately.
B. Measure the critical interface and print a small fit sample.
C. Change several settings and print the entire part again.
Reveal answer 4
B. A focused test gives you clearer evidence while using less material. Record the dimensions and clearance before changing the complete model.
Frequently asked questions
What is the best first accessory for a beginner?
Check the included tools first. For functional parts, calipers are useful; for managing open spools, suitable sealed storage is useful. Choose around the work you actually do.
Do I need a dryer if I mainly print PLA?
Not automatically. Consider storage conditions, the manufacturer’s guidance, and evidence from your prints. Start with appropriate storage and investigate repeatable symptoms.
Will a textured PEI plate stop warping?
It may help an appropriate material adhere, but plate choice is only one factor. First-layer setup, geometry, material shrinkage, and temperature conditions also matter.
Should every printer owner buy a hardened nozzle?
No. Check what is installed and what the filament requires. Abrasive formulations may require wear-resistant hardware; ordinary unfilled filament does not establish that need by itself.
Should I replace a working accessory with a newer version?
Only when the new capability addresses a real need. Keep a compatible spare if downtime matters, but judge an upgrade by measurable benefit rather than its release date.
What keeps getting in the way of your next useful print?
Tell me in the comments: Which printer and material are you using, and what problem are you trying to solve? If an accessory helped, share what changed and how you checked the result.
Need help with a replacement part or custom project in Northern Kentucky? Send the dimensions, photos, and intended use for review.
