
The extruder clicks. The lines get thin. Then the printer keeps moving while nothing comes out.
If your 3D printer keeps clogging, clearing the nozzle is only part of the job. The useful question is: what made the filament stop moving—and why did it happen again?
Quick answer: check the feed path first
Pause the print and check whether filament can reach the extruder freely. Then use your printer’s loading or extrusion routine at the correct material temperature, with the nozzle clear of the bed.
A cold pull can help with a partial blockage when your hotend supports it. It cannot repair a failing cooling fan or release a tangled spool. If no material comes through, follow the manufacturer’s full-blockage procedure. See Prusa’s explanation of when a cold pull applies.
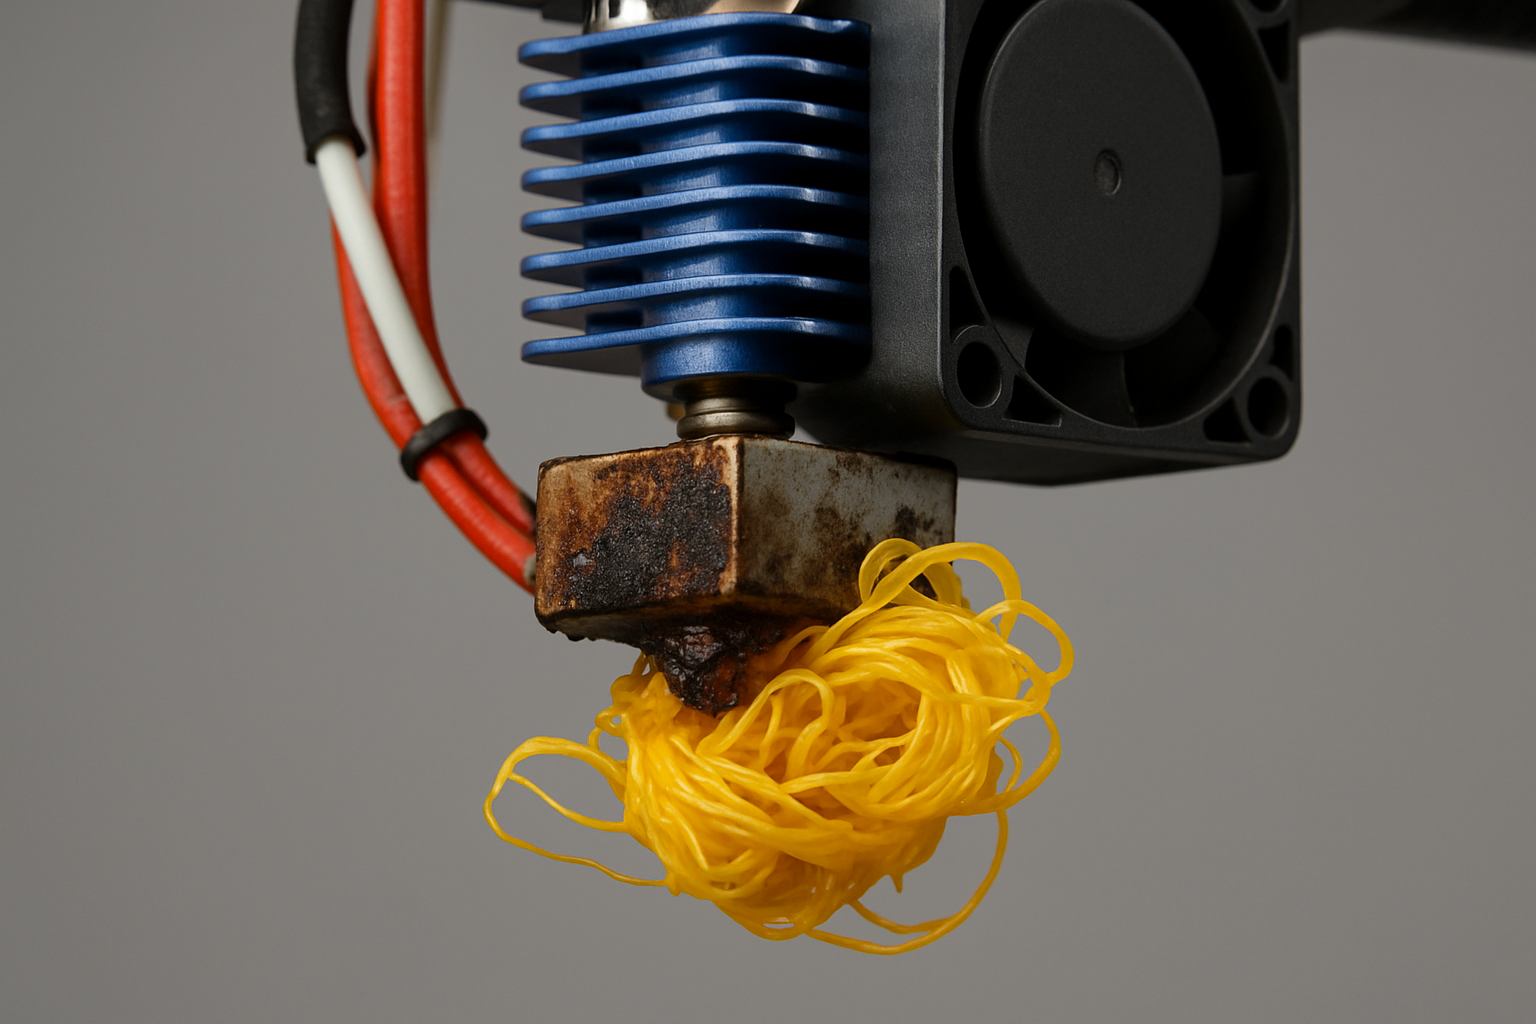
Is it a clog—or a problem that looks like one?
Clicking and missing extrusion are clues, not a diagnosis. Use the timing of the failure to choose your first check. The comparison below is a troubleshooting starting point, not proof of a particular fault.
| What you notice | What to investigate | First check |
|---|---|---|
| Spool stops turning or filament pulls tight | Feed resistance | Inspect the spool, guides, and tubing for snags. |
| Extrusion works above the bed but struggles on layer one | First-layer clearance | Check the first-layer setup before cleaning the nozzle. |
| Thin lines continue during a slow loading test | Partial blockage or feeding trouble | Check the drive gears and approved cleaning procedure. |
| Print starts well, then stops after warming up | Heat creep or another developing restriction | Check hotend cooling and the filament path. |
| Failure appears on fast sections | Excessive extrusion demand | Retest with the correct stock material profile and lower speed. |
| Nothing extrudes during the loading routine | Full blockage or upstream jam | Stop repeated feeding and follow the model-specific jam guide. |
Prusa’s under-extrusion guide covers several overlapping causes, including temperature, filament, gears, and nozzle restrictions. That overlap is why buying a nozzle should not be your first automatic response.
Before you touch the hotend
Cancel a print that is grinding filament or repeatedly skipping. Record the printer, material, nozzle size, temperature, and roughly when extrusion failed. A quick photo of the failed layers helps you compare the next attempt.
Use the procedure for your exact hotend. Heated maintenance can burn you; tools can damage heater and sensor wiring. Keep hands clear of hot parts, and let the machine cool and disconnect power before electrical work or disassembly unless the manufacturer explicitly requires a heated step. Do not copy another printer’s temperature limits or nozzle-removal method.
When a cold pull is the right next step
A cold pull removes material from inside a compatible nozzle using a cooled filament plug. It is worth considering when some extrusion remains and contamination is suspected.
Check compatibility first. Prusa explicitly excludes Nozzle X from its cold-pull procedure. Its Nextruder cold-pull instructions also describe supported guided routines. A different printer or nozzle may need a different method.
- Open the correct maintenance guide. Confirm the cleaning material, access steps, and whether the procedure is manual or guided.
- Load or purge as instructed. Use the specified temperature sequence within your machine’s limits.
- Follow the cooling and pulling sequence. Release the filament drive if instructed. Do not substitute a sharp yank or force filament against engaged gears.
- Inspect the removed material and retest. Debris on the plug can support the cleaning diagnosis; restored extrusion is the more useful result.
There is no universal pull temperature for every PLA, PETG, ABS, and hotend combination. If the filament will not release as the guide describes, stop and consult its recovery steps. Repeatedly pulling harder is not a repair plan.
Choose the next action
Why it keeps happening after cleaning
Cooling trouble develops during the print
Heat creep means filament softens too far above the intended melt zone. Check the heatsink cooling fan and airflow; this is different from the fan aimed at the printed part. Dust, inadequate cooling, and excessive surrounding heat can contribute.
For enclosed printers, use the manufacturer’s material-specific enclosure guidance. Do not apply a blanket “close the door” rule to every filament. Prusa’s heat-creep guide explains cooling and assembly checks; its hardware dimensions and fan specifications apply to the listed machines.
The print asks for more flow than the setup can deliver
If the problem follows a speed increase, return to a known working profile and repeat a short test. Improvement points you toward extrusion demand, but does not prove the nozzle is perfectly clean. See what changes when you slow a 3D printer down.
The feed system still has a restriction
A cleaned nozzle will not resolve filament shavings in the drive gears or a spool that catches at the same point. Inspect the entire route from spool to hotend and restore the manufacturer’s tension settings rather than tightening the extruder blindly.
The failure followed a change
Write down your last change: filament, nozzle, retraction profile, speed, or hotend service. That gives you a useful test order. Restore one known working condition at a time and keep the test model unchanged.
Turn the repair into a P.R.I.N.T. troubleshooting record
A successful purge is encouraging. A repeatable print is better evidence. Use the P.R.I.N.T. Method™ to keep the next attempt focused.
- Problem: Describe the symptom and when it begins.
- Requirements: Record material, nozzle, and the finish or strength the part needs.
- Interfaces: Inspect the spool path, feeder, tubing, and hotend connections.
- Next-Best Materials & Methods: Choose one justified change or approved cleaning step.
- Test & Tune: Run the same small test and record the result before adjusting again.
Copy into your print planner:
Date / printer / filament / nozzle / profile / failure timing / one change / test result / next action.
If the original fault appeared after an hour, a five-minute test cannot confirm it is gone. Follow the short check with a supervised test long enough to reproduce the original conditions.
For a broader project workflow, explore my P.R.I.N.T. It Practical — 3D Printing for Beginners ebook. Use the record above alongside your project notes so the lesson carries into your next build.
Buy a replacement only when the evidence points there
Consider a compatible replacement when inspection shows damage, or the approved cleaning procedure does not restore reliable operation and you have checked upstream feeding. There is no universal “three pulls, then replace” rule.
Confirm whether your machine uses a separate nozzle or a complete hotend assembly. Follow its installation instructions before printing again.
Partner disclosure: COEX is a 3D Printing by Kevin material partner. You can browse COEX filament when choosing material for a controlled test. A filament brand alone cannot prevent every jam.
Four-question workshop check
Choose an answer, then tap to reveal the explanation.
1. Clicking proves a nozzle clog: A) True or B) False?
B — False. Start with the feed path and operating conditions; several restrictions can produce similar symptoms.
2. Nothing extrudes. A) Pull harder or B) Use the full-blockage guide?
B — Use the guide. A complete blockage may require a different procedure from a partial-clog cold pull.
3. The jam returns after warming up. A) Check cooling or B) Assume cleaning fixed it?
A — Check cooling. Also inspect feeding and the conditions that changed before the failure.
4. Best next test: A) Change five settings or B) Change one and record the result?
B — Change one. Keeping the other conditions steady makes the result easier to interpret.
Frequently asked questions
Should I cold-pull after every print?
No blanket schedule fits every machine. Follow the manufacturer’s maintenance advice and use symptoms to decide when investigation is needed.
Can a cleaning needle fix the problem?
Use one only if the manufacturer recommends it for your nozzle and specifies the tool and procedure. Clearing the outlet does not establish that the entire filament path is working correctly.
Should I raise the nozzle temperature?
Check the selected material profile first. Stay within both filament and hotend limits. Increasing heat without identifying the cause can make troubleshooting harder and may worsen heat creep.
Why did the printer clog again with a new nozzle?
Revisit the feeder, cooling, profile, and installation. Replacing one component does not establish which condition caused the original failure.
What happened just before yours clogged?
Share your printer model, filament, nozzle size, and whether the failure starts immediately or later. Mention the last setting or hardware change, too—that detail can make the discussion much more useful.
Need a functional part made while your printer is out of service? Send the dimensions, intended use, and any available model through my project intake.
Discuss a custom printing project