
Your Printer Is Ready. The Next Useful Part Matters More Than the Next Upgrade.
You do not need a faster hotend, a premium build plate, a camera, a fancy enclosure, or exotic filament to make useful things to 3D print. You need a dependable stock profile, a clean build surface, ordinary PLA or PETG, and a problem small enough to test.
This week’s list is designed as a progression. Each project solves a real annoyance and teaches one transferable skill—fit, measurement, orientation, lettering, flexibility, or iteration—before you move to the next one.
Quick Answer
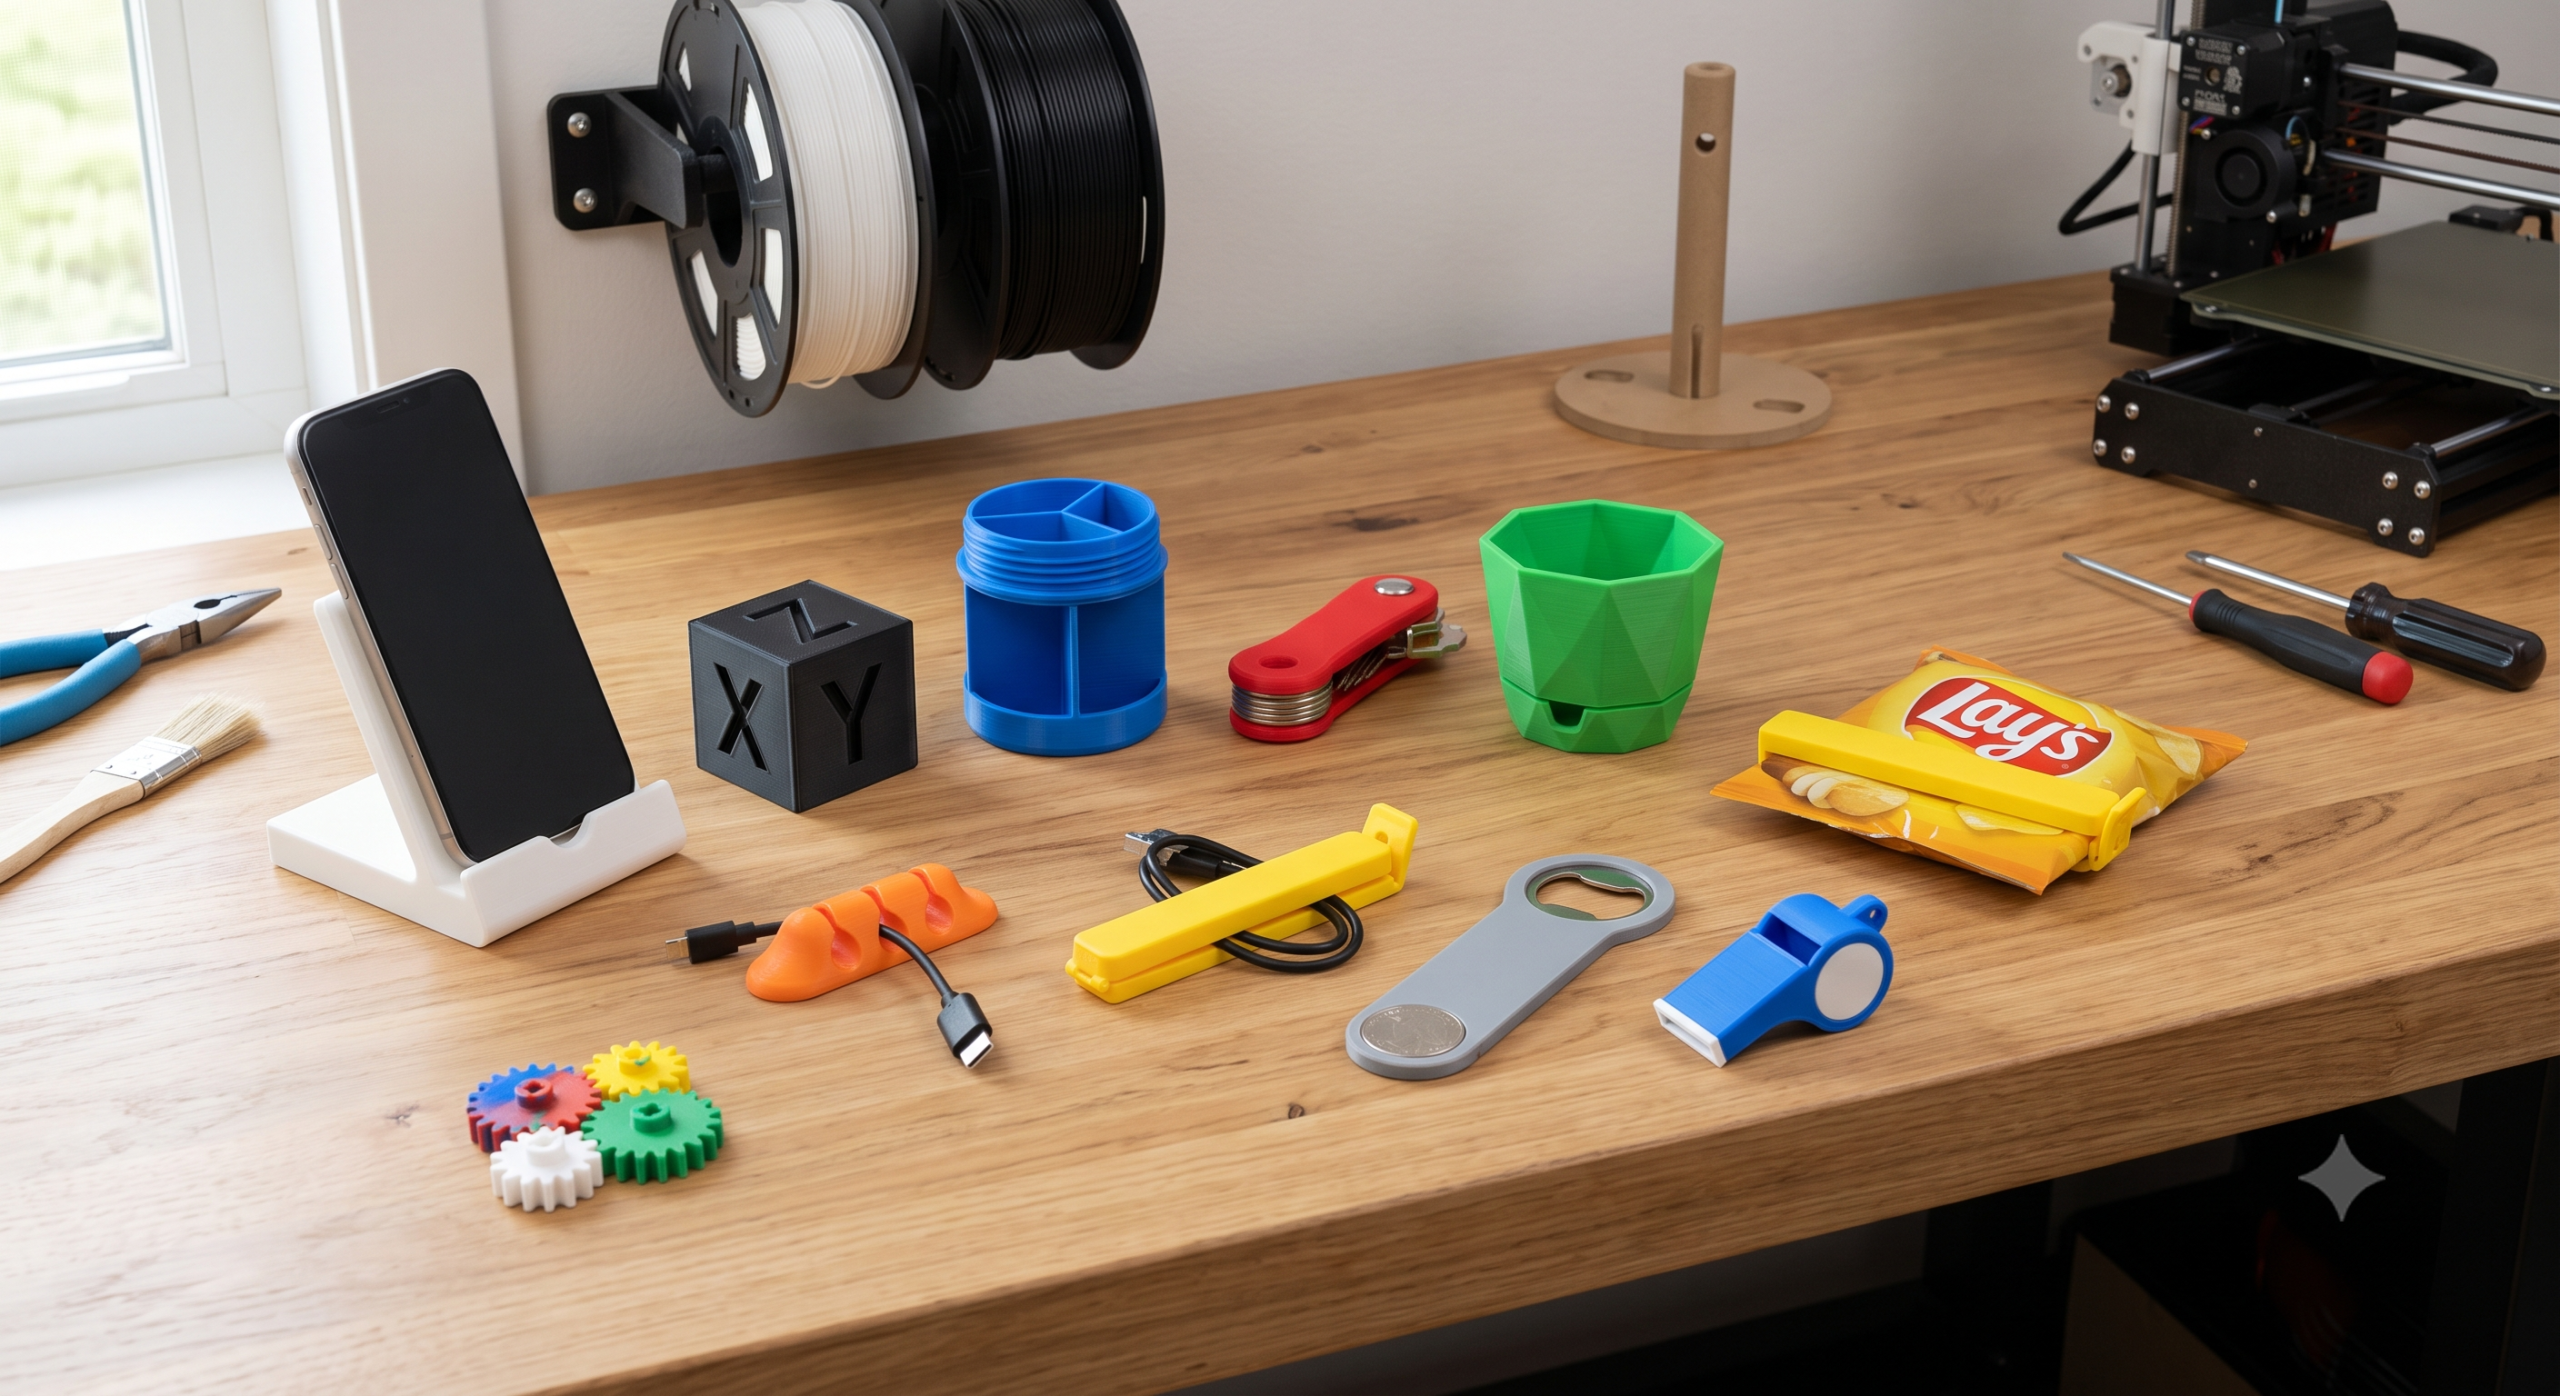
Start with a filament clip, cable guide, label tag, shallow parts tray, drawer divider, tool holder, phone stand, plant marker, flexible bumper, and tolerance gauge. All ten can be made on a well-maintained stock FDM printer with manufacturer-supported settings and common filament.
No upgrades needed does not mean no setup needed. Clean the build plate, load dry filament, choose the correct printer profile, inspect the first layer, and preview the toolpath before printing.
Affiliate disclosure: This article contains a small number of relevant partner links. If you purchase through one, I may earn a commission at no extra cost to you. The entire point of this guide is to use what you have before buying more hardware.
What “No Upgrades Needed” Really Means
A stock printer is not an unfinished printer. If it is assembled correctly, maintained, and running a suitable manufacturer profile, it can produce a long list of practical parts. An upgrade should solve a diagnosed limitation—not become the price of admission.
I use machines as different as the Bambu Lab X1 Carbon, Raise3D Pro2, Creality CR-M4, and MakerGear M3. The same lesson carries across them: reliable output starts with the process already in front of you. A clean first layer and a sensible model usually contribute more to this week’s project than a speculative hardware change.
| Check | Ready | Pause and fix first |
|---|---|---|
| First layer | Lines touch consistently without deep ridges or loose gaps. | Edges lift, lines drag, or areas fail to stick. |
| Filament | Feeds smoothly and prints without unusual popping or roughness. | Brittle, wet, tangled, or poorly feeding material. |
| Machine | No active thermal, wiring, motion, or maintenance problem. | Damaged wiring, repeated temperature errors, grinding, smoke, or burning smell. |
| Model | Flat base, modest overhangs, readable dimensions, little or no support. | Unknown scale, missing walls, heavy supports, or fragile geometry. |
| Use | Low-risk function where failure is inconvenient. | Safety-critical, electrical, high-heat, pressurized, overhead, child-protective, or body-supporting use. |
If the printer is not producing a dependable first layer, use the calibration trick that makes any 3D printer perform better. If you are still learning the workflow, start with 3D Printing for Absolute Beginners.
10 Useful Things You Can 3D Print This Week
The time labels below are relative because print speed, layer height, dimensions, and machine profiles vary. Let your slicer estimate the real duration before promising yourself a same-evening result.
Filament End Clip
A spool clip keeps the loose filament end controlled during storage. It is tiny, uses very little material, and reveals whether a downloaded model matches your spool rim and filament diameter.
Test first: Print one. It should hold the loose end without sharply kinking the filament.
Skip when: The clip could catch or remain attached while the spool feeds.
Desk Cable Guide
Size a simple open clip for one real cable, then attach it to a desk edge or use an appropriate mounting method. This project teaches measurement and clearance in a few grams of material.
Test first: Measure the cable with its normal bend, not a compressed section.
Boundary: Guide an intact cable only. Do not print insulation, plugs, outlet parts, or rated electrical enclosures.
Bold Label Tag
Create a bin, drawer, plant, or cable label with large raised or recessed text. It is a useful lesson in font weight, line width, color contrast, and what survives slicing.
Test first: Preview every letter in the slicer. Thin strokes that disappear in preview will not return on the printer.
Improve it: Add a pause or color change if your printer supports it—no hardware upgrade required.
Shallow Parts Tray
A low tray keeps screws, nozzles, adapters, sewing notions, or hobby pieces from wandering. Rounded inside corners make small items easier to retrieve, while a broad base makes the print forgiving.
Test first: Arrange the real objects inside a taped paper outline before choosing tray dimensions.
Save material: Use walls and a modest floor thickness instead of turning the tray into a heavy block of infill.
Custom Drawer Divider
Measure the drawer at several points because it may not be perfectly square. A divider teaches why real spaces need clearance and why a short prototype is smarter than a full-height guess.
Test first: Print a thin cross-section that verifies width and corner fit.
Design choice: Split long dividers into keyed sections if the drawer exceeds the build plate.
Printer Tool Holder
Give the scraper, cutters, hex keys, glue stick, tweezers, or calipers a defined home. Design around the tools you actually reach for instead of printing a giant organizer for accessories you do not own.
Test first: Verify one tool pocket before printing the complete holder.
Next read: Explore custom tool holders and workshop organizers.
Phone Stand for Your Case
A stable stand with a charging gap is a better beginner project than a multi-jointed dock. Measure the phone with its case attached and choose the actual viewing angle you use.
Test first: Make a cardboard side profile. Check the center of gravity before slicing.
Boundary: Keep it away from hot charging components and do not obstruct device cooling.
Plant Marker or Loose Support Clip
A blunt marker or gently sprung support clip connects material choice with environment. Standard PLA is fine for a temporary indoor marker; PETG is often the more practical starting point for moisture, warmth, and mild flex.
Test first: Make sure a clip opens without whitening or cracking.
Boundary: Leave growing room. A plant support should guide a stem, not constrict it.
Replacement Foot or Soft Bumper
A missing noncritical foot can make a small box, tray, or desk object rock. Model the correct height and contact area. Use TPU when the job truly needs grip or cushioning; PLA can prototype the geometry.
Test first: Confirm the foot cannot detach where a child or pet could swallow it.
Boundary: Do not use a casual print as an anti-tip, appliance-stability, ladder, chair, or furniture-safety component.
3D Printed Tolerance Gauge
Finish the week with a small plate or paired coupon containing labeled holes, pegs, slots, and several clearances. It becomes a reference for the next functional project made with that same process.
Test first: Use the same printer, nozzle, material, profile, and orientation planned for the real part.
Full guide: Read about the most underrated 3D printed tool in my workshop.
Which Project Should You Print First?
| If you want to learn… | Start with… | What success looks like | Do not complicate it with… |
|---|---|---|---|
| Basic fit | Filament clip or cable guide | Holds without crushing or rattling | Full build plates before one test |
| Text and visual clarity | Label tag | Every letter survives slicing and is easy to read | Tiny decorative fonts |
| Measurement | Drawer divider | Fits with intentional clearance | Assuming the drawer is square |
| Organization | Parts tray or tool holder | Reduces one repeated interruption | Storage for tools you never use |
| Stability | Phone stand | Does not tip during normal use | Moving joints and complex supports |
| Process control | Tolerance gauge | Produces a labeled, repeatable fit reference | Treating one result as universal |
Starter Settings That Favor Completion
Begin with your printer manufacturer’s current profile for the exact nozzle and material. The table below gives conservative targets for ordinary functional prints, not universal overrides.
| Setting | Practical starting point | Why |
|---|---|---|
| Layer height | 0.20 mm with a common 0.4 mm nozzle | Balances detail, time, and dependable profiles. |
| Walls | 3 perimeters for handled parts | Functional durability often depends more on walls than high infill. |
| Infill | 15%–25% for low-stress items | Avoids unnecessary material while supporting top surfaces. |
| Top and bottom | Use the tested profile default; inspect the preview | Thickness depends on layer height and the part’s job. |
| Supports | Off when geometry allows | Reduces cleanup, waste, and damaged interfaces. |
| Speed and temperature | Manufacturer’s suitable material profile | Known baselines are more useful than borrowed extremes. |
When a print needs more strength, do not reach for maximum infill automatically. Revisit walls, orientation, material, geometry, and the direction of the expected load. My reliable settings guide explains the baseline in more detail.
PLA, PETG, and TPU Are Enough for This Challenge
PLA: easiest starting point for indoor labels, trays, dividers, stands, and tool holders that stay away from heat and heavy loads.
PETG: useful when a noncritical clip or plant helper needs more toughness, mild flex, moisture tolerance, or warmth resistance than ordinary PLA.
TPU: add it only when the part’s purpose is flexibility, cushioning, or grip. If your printer does not handle flexible filament easily, skip the bumper and finish the other nine projects.
For a fuller risk-and-workspace comparison, read The Safest Filaments for Home, School, and Family Makers. For consistent everyday material, see COEX 3D filament and use code 3DPRINTINGBYKEVIN for 15% off.
Safety Boundaries: Useful Does Not Mean Suitable for Every Job
Desktop printing can release ultrafine particles and volatile organic compounds, and the hazards vary with the technology, material, and workspace. Use ventilation and appropriate source controls, follow manufacturer instructions, keep people from hovering over an operating machine, and treat hot surfaces, motion, cutters, sanding dust, and maintenance as real shop hazards.
- Do not print: braking, steering, seat-belt, climbing, lifting, medical, protective, pressure-retaining, gas, or structural safety parts without appropriate professional engineering and validation.
- Do not improvise: outlet components, mains-voltage enclosures, insulation, plugs, appliance safety controls, or battery compartments subject to safety requirements.
- Do not assume food safety: a polymer name alone does not establish that the complete printed object suits the food, temperature, contact time, and cleaning method.
- Do not place PLA near heat: a successful indoor print may deform in a hot vehicle, sunny window, or warm appliance area.
- Do not trust an unknown model: inspect dimensions, licensing, geometry, orientation, and intended load before slicing.
Safety references: NIOSH additive manufacturing guidance and the CPSC review of 3D-printing and printed-product hazards.
Your Seven-Day No-Upgrade Print Plan
This is a learning sequence, not a quota. Combine small prints on one day or pause when a result needs revision.
Plan each part with P.R.I.N.T.
Weekly record: printer • nozzle • material • profile • slicer estimate • measured interface • result • one next change.
What This Week Should Teach You
If all ten objects print perfectly, that is satisfying. If three need revision, that may be more educational. The point is to build evidence about the printer you already own.
- A too-tight clip teaches clearance.
- A faded label teaches minimum feature size.
- A rocking stand teaches center of gravity.
- A weak tool pocket teaches wall direction and geometry.
- A drawer divider that nearly fits teaches why test sections matter.
If a result looks rough, work through Troubleshooting and Tips for 3D Printing before changing hardware. For the complete beginner workflow, explore P.R.I.N.T. It: Practical 3D Printing for Beginners.
Four-Question Knowledge Check
Choose one answer for each no-upgrade decision.
1. What should trigger a printer upgrade?
2. Which is the best first clearance test?
3. A low-risk part needs more strength. What should you review first?
4. Which project does not belong in this challenge?
Frequently Asked Questions
What is the most useful thing to 3D print first?
A cable guide, label, shallow tray, or filament clip is a strong first choice because the print is small, the success condition is visible, and a revised version costs little. Pick the one that solves an annoyance you already have.
Can a beginner printer make functional parts?
Yes. A stock desktop FDM printer can make many indoor, low-risk organizers, guides, labels, prototypes, and replacement pieces. Model choice, first-layer consistency, material, orientation, and testing matter more than adding hardware without a diagnosed need.
Is PLA strong enough for useful prints?
PLA works well for many indoor, low-stress parts that stay away from heat and repeated flexing. “Strong enough” still depends on geometry, walls, orientation, environment, load, duration, and what happens if the part fails.
When should I choose PETG instead?
Consider PETG when a noncritical part needs more toughness, mild flexibility, moisture tolerance, or warmth resistance than ordinary PLA. Use ventilation, follow the exact printer and filament guidance, and test the final geometry.
Do these prints require downloaded models?
No. You can download appropriately licensed models or build many of them from simple CAD shapes. Measuring and modifying a basic design often teaches more than searching for a file that happens to be close.
What if my printer cannot handle TPU?
Skip the flexible bumper or prototype its geometry in PLA without treating that rigid version as the final grip. Nine successful projects still meet the purpose of the challenge; do not buy an upgrade for one optional item.
Can 3D Printing by Kevin make a custom useful part?
Possibly. If the project is realistic for FDM printing and does not create an unacceptable safety concern, submit photos, measurements, sketches, or existing files through the project intake form.
Use the Printer You Own
The best result this week is not ten flawless objects. It is learning which small problems your printer already solves—and which design decision makes the next version better.
Which project would improve your desk, drawer, printer area, or workshop first? Tell me in the comments, including the measurement or fit that matters. Your answer may give another maker the right first project.
