
A Great First Project Is Simple Enough to Finish—and Useful Enough to Matter
The best approach to 3D printing with kids is not starting with the flashiest articulated toy. It is choosing a sturdy, mostly flat project that lets a child make real decisions and gives the printer a fair chance to succeed.
A nameplate, bookmark, stencil, plant marker, or desk organizer may look modest on screen. But when a child chooses the colors, watches an idea become a physical object, and uses it the same day, that small print feels enormous.
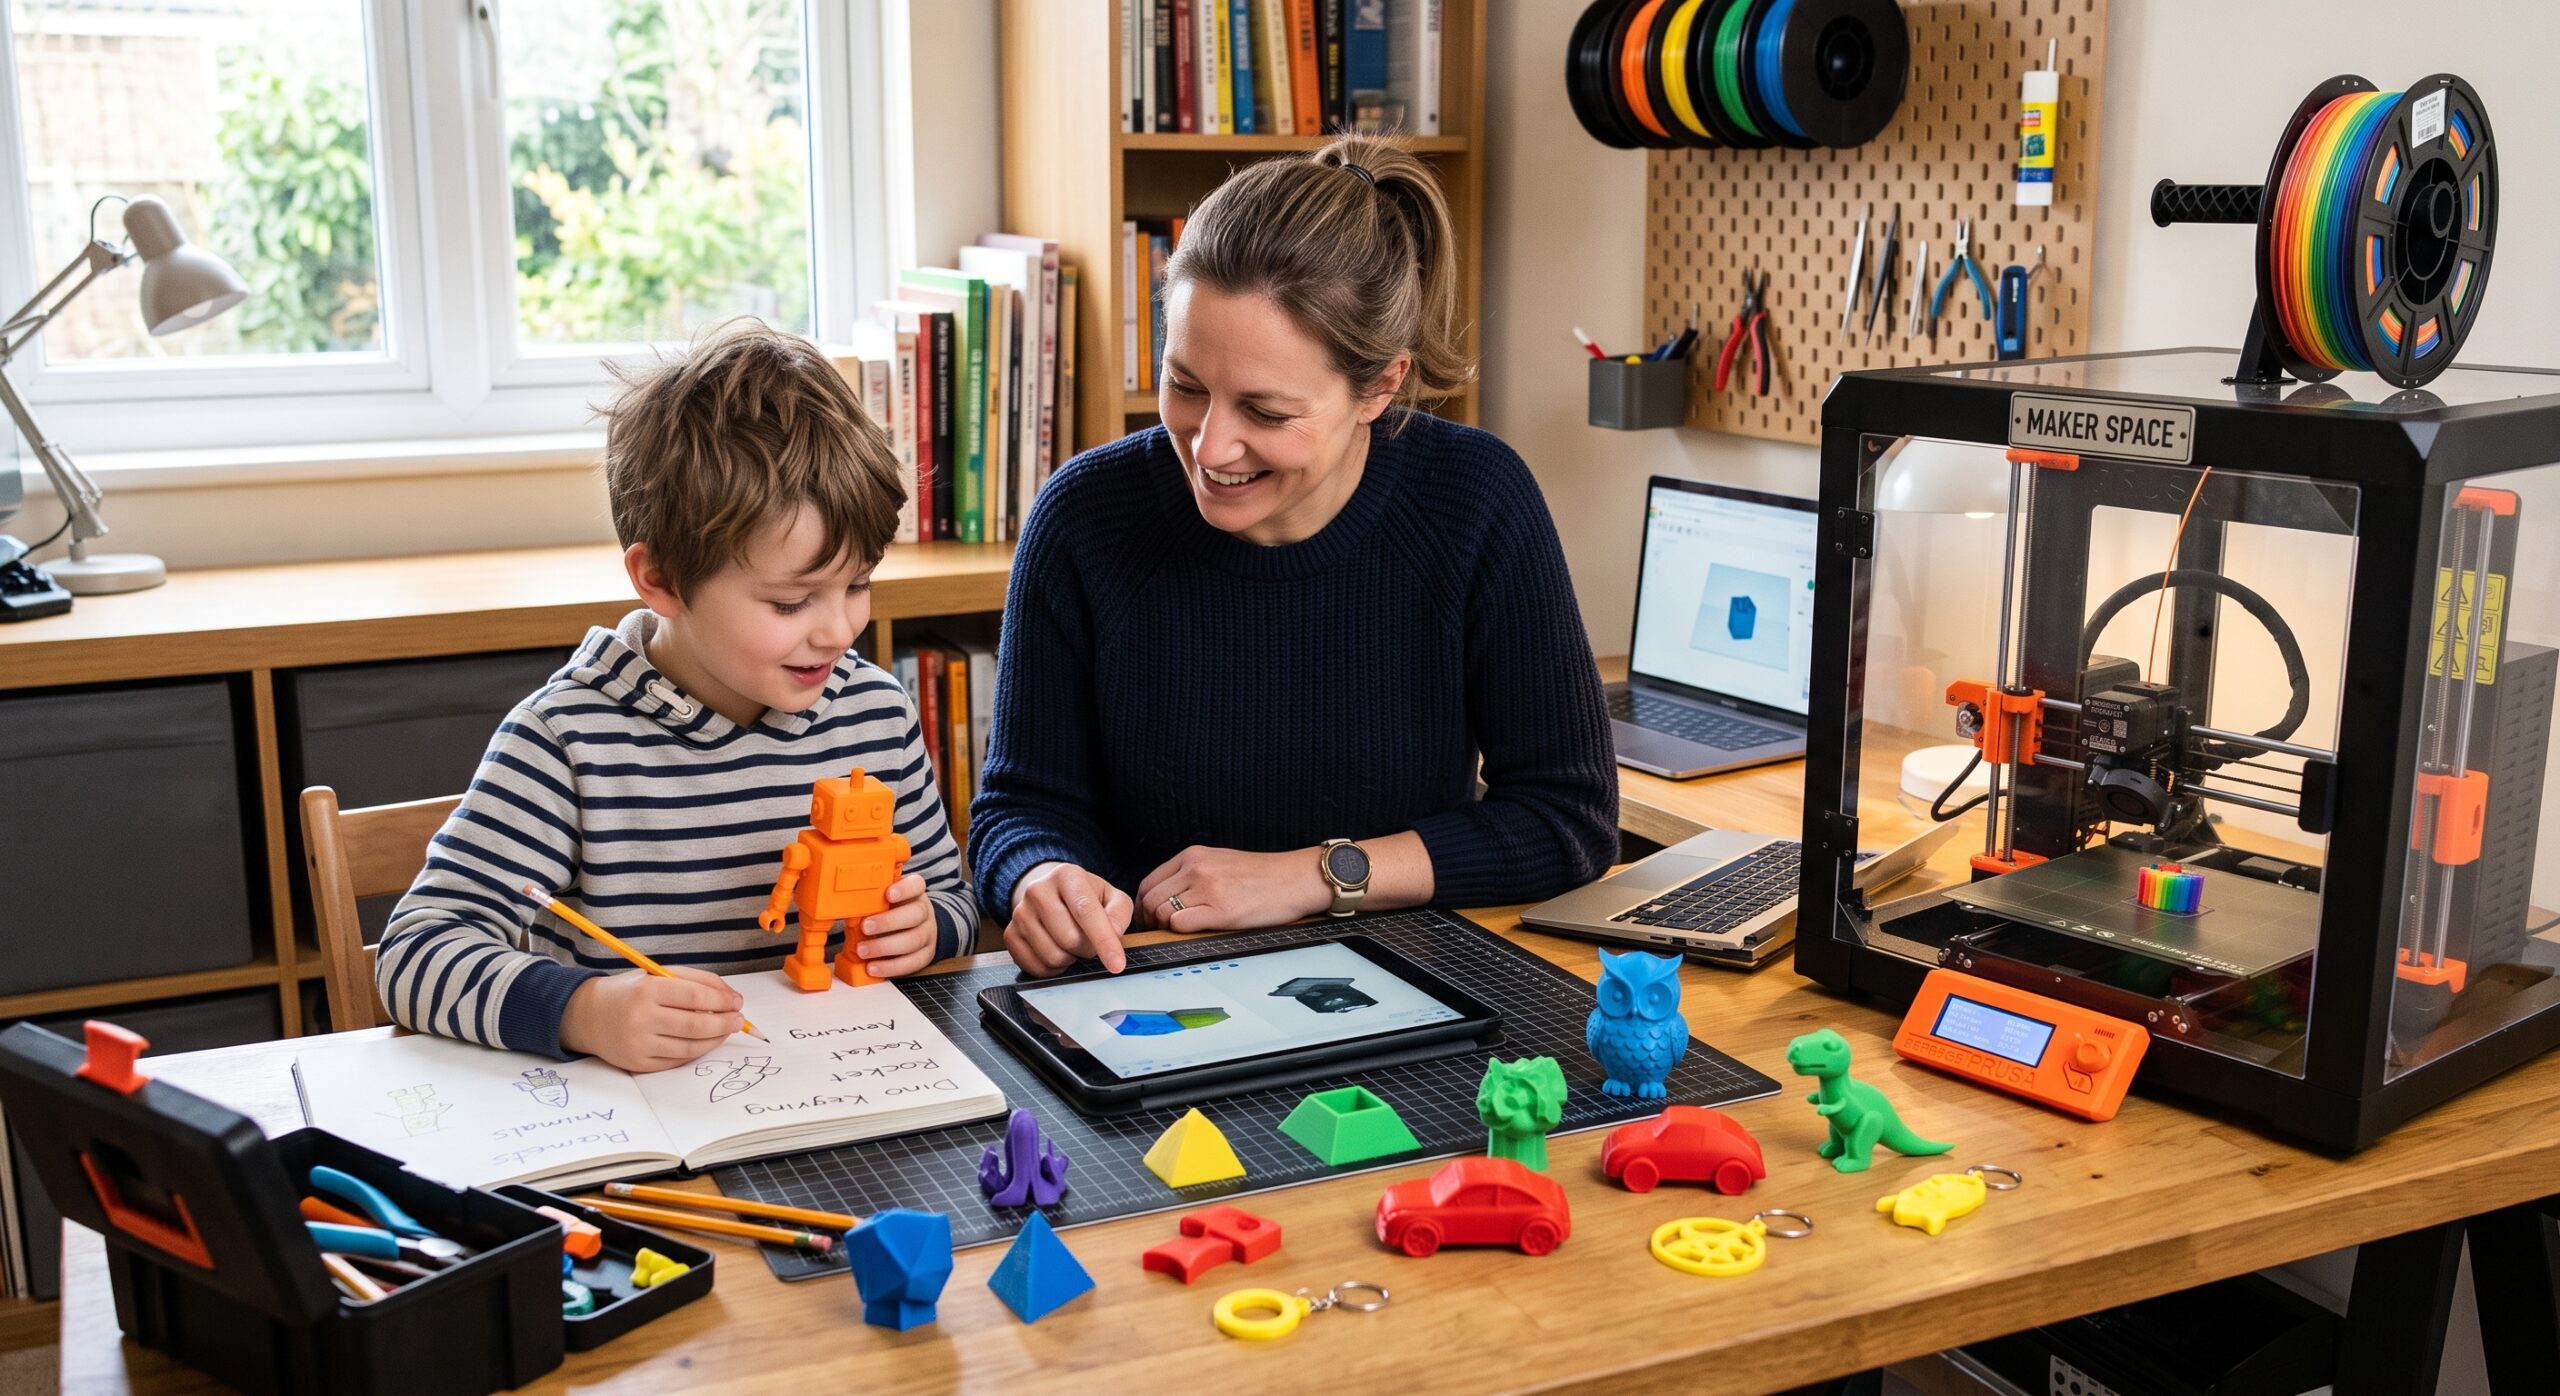
Quick answer: Start with PLA, a 0.20 mm layer height, two or three walls, moderate infill, and a model with a wide flat base and no supports. An adult should control the printer, heated components, part removal, tools, and ventilation. The child can own the idea, color, text, testing, and next revision.
Affiliate disclosure: This article contains a small number of relevant partner links. If you buy through one, I may earn a commission at no extra cost to you. I recommend materials and resources only when they support a practical beginner workflow.
Safety First: The Adult Runs the Machine
A desktop 3D printer is a tool, not a children’s toy. Nozzles and beds can burn, axes move without warning, removal tools can cut, and melted filament can release ultrafine particles and volatile organic compounds.
For a family project, place the printer where children will not sit beside it, follow the manufacturer’s instructions, use an enclosure and effective local ventilation where practical, and reduce time spent close to the machine while it runs. EPA specifically notes that children may be a vulnerable population and points to lower-emission materials, enclosures, ventilation, and distance as useful exposure controls.
- Adult-only: loading filament, starting the machine, reaching inside, clearing jams, removing prints, trimming, sanding, gluing, and maintenance.
- Kid-friendly: sketching, choosing a project, picking colors, adding text, measuring with supervision, observing from a safe distance, and testing a cooled finished part.
- Material: standard PLA is the practical first choice, but “lower emission” does not mean “zero emission.” Avoid mystery blends and specialty additives for first family projects.
- Not for this activity: liquid-resin workflows, ABS, ASA, powder materials, or carbon-fiber-filled filament around children without an appropriately controlled, adult-operated setup.
- Finished-object check: avoid small detachable pieces, sharp points, mouth-contact items, food-contact claims, safety equipment, and load-bearing parts.
Current safety reading: NIOSH additive manufacturing guidance, EPA 3D-printing emissions research, and the CPSC additive-manufacturing standards page.
Choose the Win Before You Choose the Model
Children do not need to master CAD or slicer settings on day one. They need a clear role and a result they can recognize. Pick the experience you want first, then choose a model that supports it.
| Goal | Best first project | Why it usually works | Main check |
|---|---|---|---|
| Fast confidence | Nameplate or plant marker | Flat base, bold shapes, no assembly | Use thick lettering |
| Creative choice | Bookmark or stencil | Easy to personalize without complex geometry | Avoid fragile tips |
| STEM lesson | Bridge test or puzzle tile | One visible design variable can be compared | Change only one variable |
| Everyday usefulness | Cable label or desk tray | The child can test it immediately | Measure before printing |
| First CAD design | Simple box or replacement knob mock-up | Basic shapes teach size and clearance | Prototype before final use |
Reliable Starter Settings for Easy 3D Printing Projects
Use your printer manufacturer’s current PLA profile as the starting point. The values below are sensible targets—not universal rules. A known-good profile beats copying a temperature or speed from a different printer.
| Setting | Practical starting point | Why |
|---|---|---|
| Material | Standard PLA from a known supplier | Forgiving for simple indoor projects |
| Layer height | 0.20 mm | Balances detail, strength, and time |
| Walls | 2–3 perimeters | Adds durability to handled parts |
| Infill | 15%–20% | Enough for most light-duty projects |
| Supports | Off when the model permits | Less cleanup and fewer sharp remnants |
| Brim | Only for narrow or lift-prone parts | Improves adhesion but requires cleanup |
| Speed and temperature | Manufacturer’s default PLA profile | Printer-specific defaults are the safer baseline |
If the baseline still feels unfamiliar, use my reliable 3D-printer settings guide. If something fails, diagnose the visible symptom with the 3D-printing troubleshooting guide instead of changing several settings at once.
10 Easy 3D Printing Projects for Kids That Actually Turn Out Great
These are ordered from quick personalization to basic design thinking. Print-time bands depend on size, machine, and profile, so preview the slicer estimate before promising when a project will be ready.
Personalized Desk Nameplate
Begin with a flat plaque, bold raised letters, and one simple icon. A nameplate is easy to customize and sturdy enough to survive daily use.
Kid: Choose text, color, and icon.
Adult: Check spelling, scale, slice, and print.
Thick Bookmark With an Icon
Use a broad shape with rounded edges and large details. Skip delicate cutouts and thin decorative tips that can snap in a backpack.
Kid: Pick a book theme and test the size.
Adult: Confirm thickness and smooth the edges.
Reusable Drawing Stencil
Stars, leaves, fish, letters, or geometric shapes turn one print into many art projects. Leave enough material between openings so the stencil stays flat.
Kid: Draw the shapes the stencil should make.
Adult: Simplify narrow gaps and sharp corners.
Garden or Houseplant Marker
A wide stake with raised plant names connects digital design to the natural world. Use a blunt profile and remember that PLA can soften or degrade during long outdoor exposure.
Kid: Choose the plant and label style.
Adult: Make the stake blunt and size the text.
Large Puzzle Tiles
Print four to six chunky pieces that form a picture, word, or color pattern. Loose fit is better than a frustrating press fit for a first puzzle.
Kid: Plan the picture and solve the puzzle.
Adult: Avoid small parts and verify clearances.
Modeling-Clay Texture Stamp
Raised dots, waves, initials, or animal tracks make satisfying patterns in reusable modeling clay. Keep it clearly labeled for craft use—not food.
Kid: Sketch a texture and compare impressions.
Adult: Round the handle and inspect for sharp edges.
Clip-On Cable Label
A large label can identify a charging cable without touching electrical contacts. Print one test piece before making a set because cable diameters vary.
Kid: Match colors or icons to devices.
Adult: Measure the cable and inspect the fit.
Small Desk Sorting Tray
A shallow tray for erasers, craft pieces, or game tokens teaches how dimensions become usable space. Rounded inside corners make it easier to retrieve small items.
Kid: Decide what the tray must hold.
Adult: Translate measurements into a printable model.
Bridge-Shape Experiment
Print two or three small beams with one planned difference—thickness, rib shape, or orientation—then compare how they flex under a light, controlled test.
Kid: Predict which design will flex least.
Adult: Keep the test low-force and protect eyes.
Cardboard-Prototype Replacement Part
Find a missing knob, spacer, or organizer feature and first mock up the idea in cardboard. Then make a non-critical plastic prototype and record what needs to change.
Kid: Identify the problem and test the prototype.
Adult: Reject safety-critical uses and verify every dimension.
Where Should the Model Come From?
For the easiest first session, choose a model with a clear license from a reputable library or create simple geometry in Tinkercad’s 3D design workspace. Do not assume that every downloadable file can be sold, remixed, or redistributed. Review the creator’s license and inspect the model before slicing.
For dependable PLA color options, see COEX 3D filament and use code 3DPRINTINGBYKEVIN for 15% off.
The P.R.I.N.T. Family Project Planner
Use this five-step conversation before opening the slicer. It gives the child meaningful decisions while keeping machine responsibility with the adult.
One-afternoon rhythm: 10 minutes to choose the problem, 15 minutes to sketch and measure, 10 minutes for the adult to inspect and slice, then printing in a controlled area. Test only after the part fully cools.
Turn a Failed Print Into a Better Question
A loose corner, unreadable letter, or poor fit does not have to ruin the activity. Ask the child to describe what happened, compare the model with the finished part, and choose one variable to change. That is real engineering.
- Corner lifted: clean the build plate and review first-layer adhesion.
- Letters disappeared: make them larger, wider, or more deeply raised.
- Part snapped: thicken the weak area or change its print orientation.
- Pieces do not fit: measure the actual parts and add sensible clearance.
- Print needs heavy supports: rotate it, split it, or choose simpler geometry.
My full 3D printing for absolute beginners guide explains the complete workflow. For a deeper bench-side reference, see P.R.I.N.T. It: Practical 3D Printing for Beginners.
Quick Knowledge Check
Tap one answer for each question. The goal is a safer, more repeatable family workflow—not a perfect score.
1. Who should remove a fresh print from the bed?
2. Which first model is most likely to print cleanly?
3. Does using PLA eliminate the need for ventilation?
4. What is the best response to a poor fit?
Frequently Asked Questions
What is the best age to introduce a child to 3D printing?
There is no single correct age. Readiness depends on the child, the activity, the printer, and the adult supervision available. Younger children can sketch, choose colors, and test cooled objects. Older children can gradually learn measuring and simple CAD while an adult continues to control hot, moving, sharp, and emission-related parts of the workflow.
Is PLA safe for 3D printing with kids?
PLA is the practical first filament for many family projects, but it should not be described as emission-free. Use a controlled printing area, ventilation or local exhaust, distance from occupants, and adult supervision. Follow the printer and filament manufacturers’ current instructions.
Should a 3D printer run in a child’s bedroom?
No. A sleeping or study area is not a sensible place for routine printing. Use a dedicated location where heat, moving parts, emissions, electrical condition, and access can be controlled.
Are 3D-printed toys safe for toddlers?
Do not treat a home-printed object as automatically child-safe. Small parts can be choking hazards, layer lines can trap debris, thin pieces can break, and designs or materials may not meet toy requirements. Keep these projects away from children who may mouth objects, and use age-appropriate commercially tested products when safety compliance matters.
Do we need to buy a 3D printer to try these projects?
No. A library or makerspace may offer supervised printing, or a service can evaluate and produce an appropriate design. If you need a custom, non-safety-critical part, use the 3D Printing by Kevin project intake form.
What if the child wants to print a character found online?
Check the file license before downloading, remixing, sharing, or selling the print. For a family activity, original text, simple shapes, and the child’s own drawings often create a more personal project and avoid intellectual-property confusion.
Make the First Win Small—and Let the Next Idea Grow
The object is only half the result. The bigger win is helping a child connect an idea, a measurement, a design decision, and a physical outcome. Start flat. Start sturdy. Let the child own the creative choices, and let the adult own the safe machine workflow.
Which project would your young maker choose first? Share the idea—or the lesson from a first attempt—in the comments. Your experience may help another family pick a project that actually turns out great.
