
Practical replacement parts · Before you throw it away
The corner snapped off. The little hook disappeared. You still have most of the part—but the one piece that explains how it worked is gone.
That does not automatically end the repair. Sometimes the best clue is still attached to the product: the slot, recess, shaft, or matching part the broken piece used to meet.
The useful question is not just “Can this shape be printed?” It is “What evidence can tell us what belongs in the missing space?” Here is how to gather that evidence before spending money on a scanner, a printer, or a replacement design.
Quick answer: can an incomplete broken part be recreated?
Often, yes—if the surviving part, its mating component, or an intact example provides enough information. Measurements and CAD can reconstruct simple missing geometry; scanning may help capture complex surviving surfaces. Missing features still need a defensible design and a fit check. If an essential connection cannot be established, more evidence or another repair route may be necessary.
Keep the fragments, photograph the installation, and avoid trimming the fracture before the part has been reviewed.
Show Kevin what is leftMissing plastic and missing information are different problems
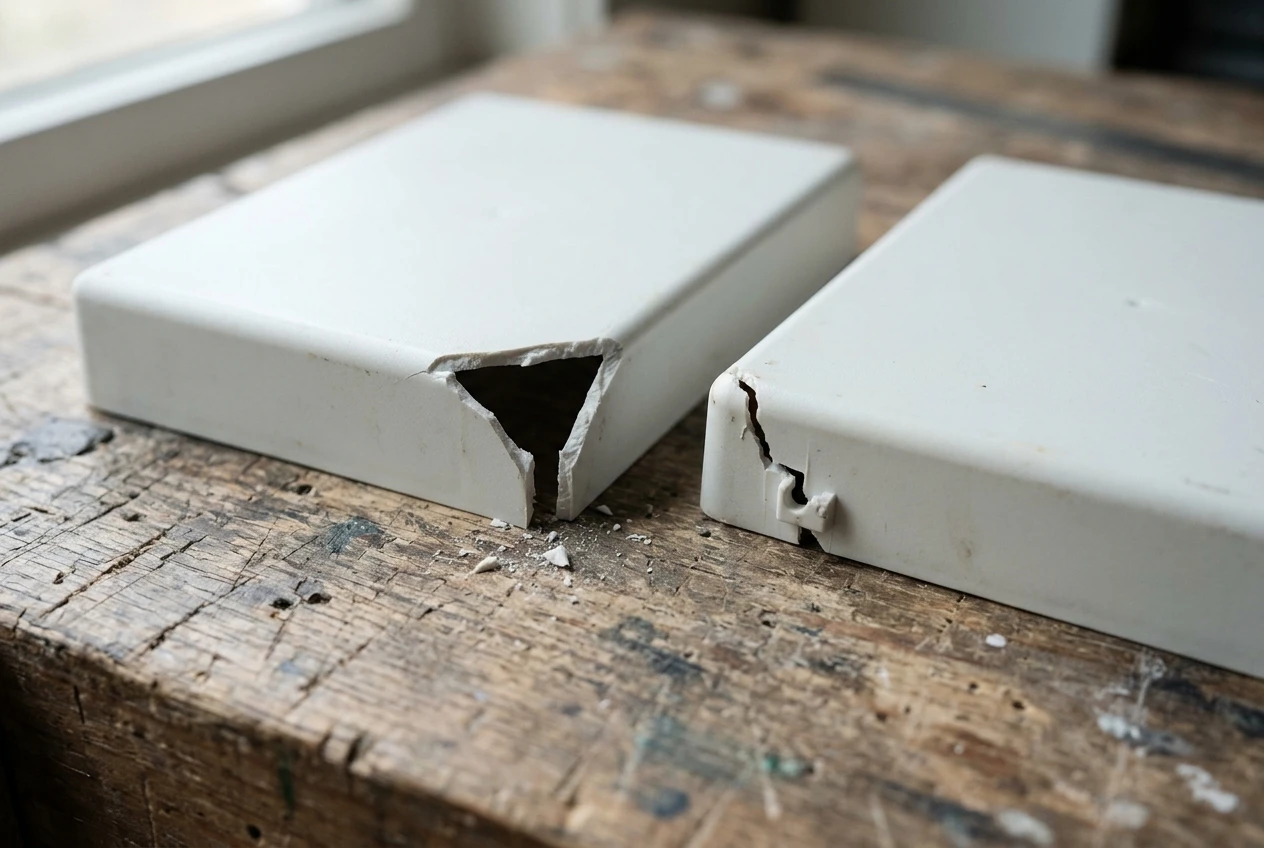
A cover with a missing decorative corner may be straightforward to redraw. A cover with a missing retaining hook can be much harder—even when the lost hook is tiny.
The corner may only need to follow the outline of the housing. The hook must engage something, deflect during installation, and release without breaking. The amount of plastic missing tells you surprisingly little about the amount of design work required.
Before looking for a material, write one sentence: “The missing feature used to ___.” Hold a cover shut? Stop rotation? Guide a sliding piece? If you cannot finish that sentence, start with the assembly rather than guessing from the fracture.
Visual guide: three places the missing information may survive
What you still have determines the next step
| What is available? | Useful starting point | What still needs checking? |
|---|---|---|
| Most of the original, with a simple corner missing | Measure undamaged edges and the receiving space; redraw the outline. | Whether the corner concealed a locating or retaining feature. |
| A broken clip and the slot it engaged | Measure both sides of the connection and study the insertion path. | Engagement, flex, release access, and repeated use. |
| An intact opposite-side component | Compare it with the damaged side before considering a mirrored model. | Handedness, offsets, stops, and hidden asymmetry. |
| No original, but the receiving assembly remains | Design around the available mounting and clearance features. | Unknown functions and interference throughout movement. |
| Only a photograph | Use it for orientation and visible shape; request dimensions or a sample. | Scale, depth, underside features, and attachment geometry. |
Start with the place where the part belongs
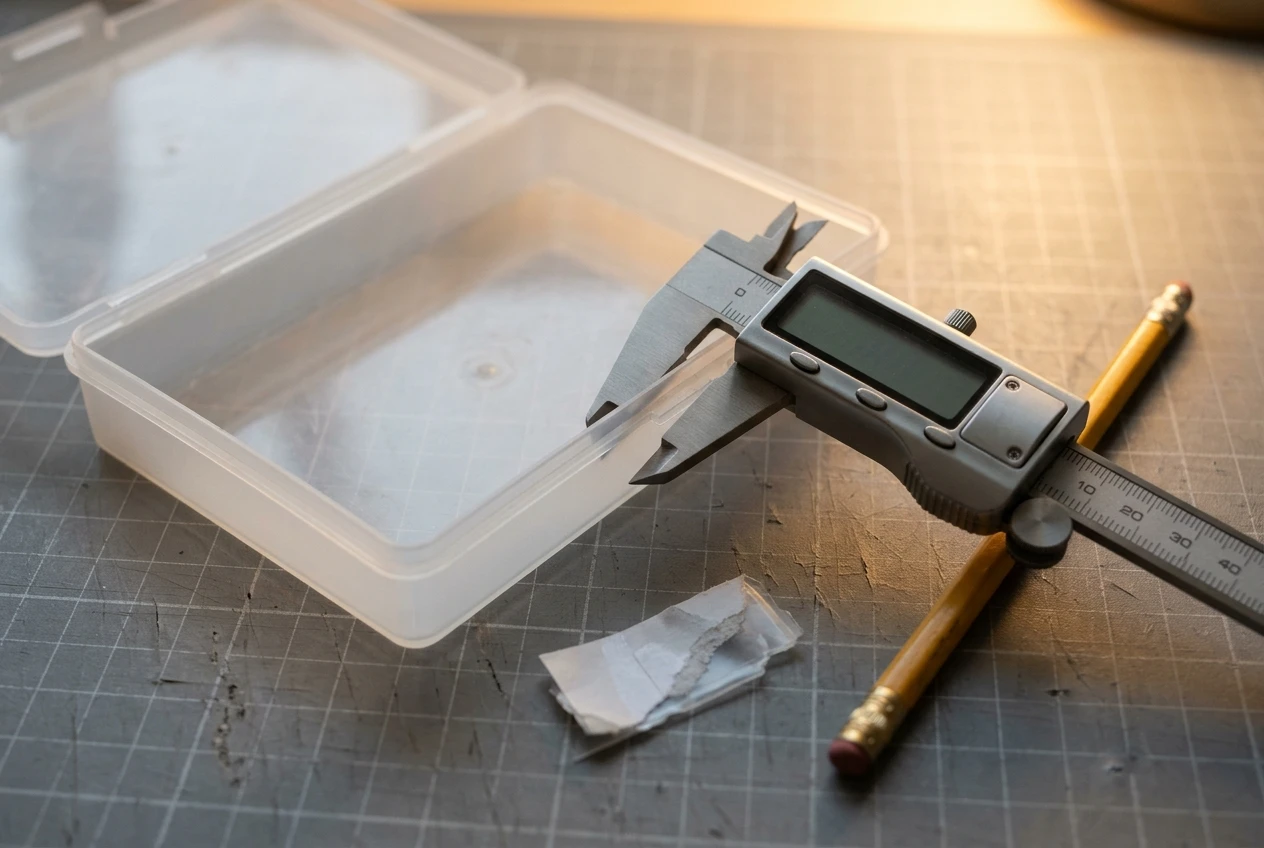
Imagine a shallow storage-case cover with one edge missing. This is an illustrative example, not a customer case study. The cover itself cannot tell you the lost edge length. The recess in the case may still reveal the available width, the seating depth, and where the cover must stop.
Now imagine that the same edge carried a snap hook. Measuring the recess is only the beginning. You also need to understand how the hook enters, where it catches, and how someone removes the cover later.
Measure the relationship, not just the empty space. A replacement needs room to install and work. Making its outside dimensions identical to a receiving opening may leave no useful clearance.
Record your units beside every dimension. Mark estimates as estimates. Use an undamaged reference face instead of the jagged fracture as your starting point. For the measurement workflow, see how to measure a part for 3D printing.
Can a 3D scanner recover the missing piece?
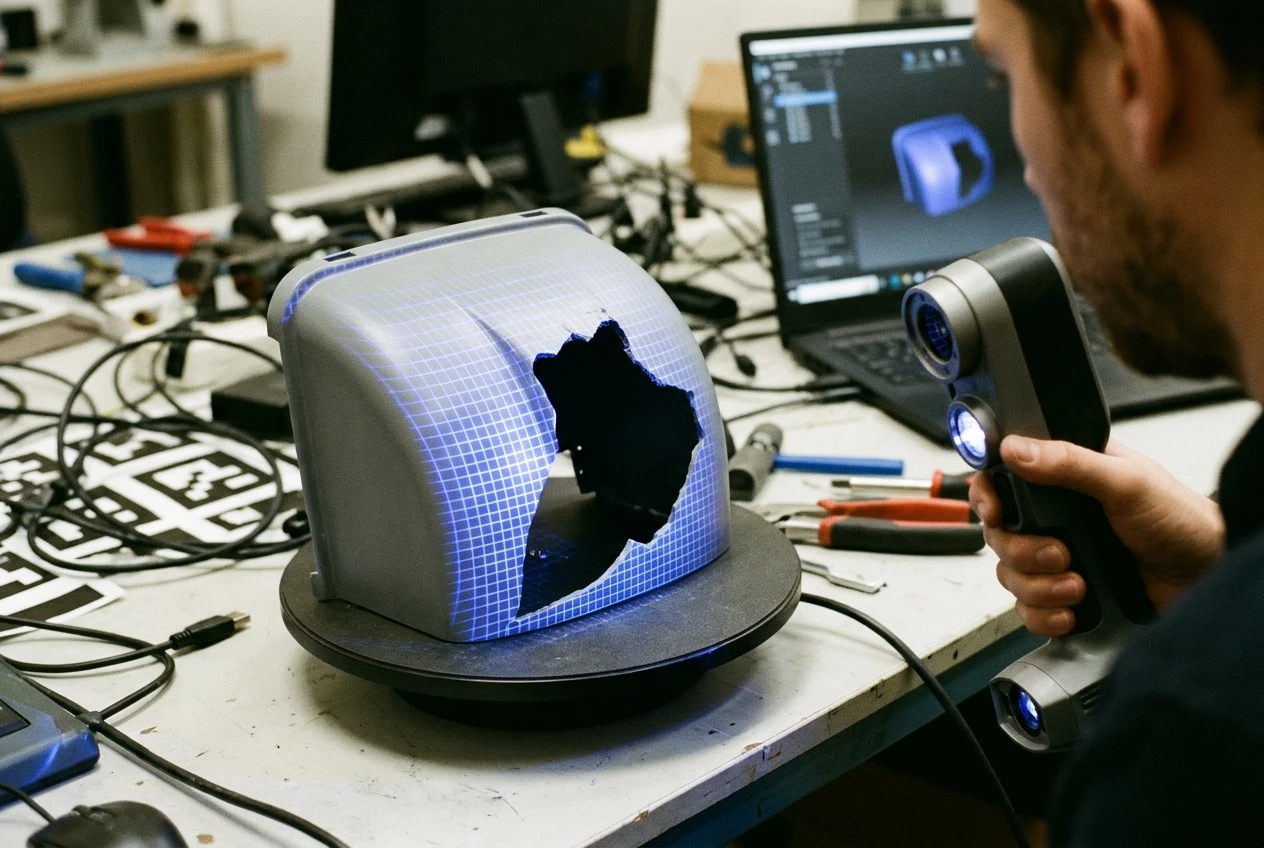
A scanner can help record the surfaces that remain. It cannot directly measure plastic that is no longer there.
Software may close a hole in a mesh, but a closed digital surface is not proof that the original hook, rib, or mounting boss has been recovered. The replacement feature still needs evidence from the assembly, a reference part, or a design that can be tested.
Scanning becomes more useful when the surviving shape has complex curves that would be tedious to measure manually. A simple spacer or flat cover may be easier to build directly in CAD. Some projects benefit from both: scan the curved body, then model the critical mounting features from measurements.
For background, 3DMakerpro’s reverse-engineering overview describes a workflow involving scan processing and CAD. Its missing-parts example begins with an intact reference part—an important distinction when your own sample is incomplete.
Separate the measured features from the educated guesses
A neat CAD model can make an assumption look more certain than it is. Keep a simple evidence record while the design develops.
Visual guide: label the evidence before printing
Record the value, units, and measurement method.
Record why that assumption is plausible and what could disprove it.
Define the fit or movement check before making the full part.
Do not automatically mirror a surviving feature. Left and right sides can look alike while using different stops or offsets. And do not automatically copy damage: a bowed wall or worn hole may describe the failed part rather than the intended geometry.
Make the first print answer one important question
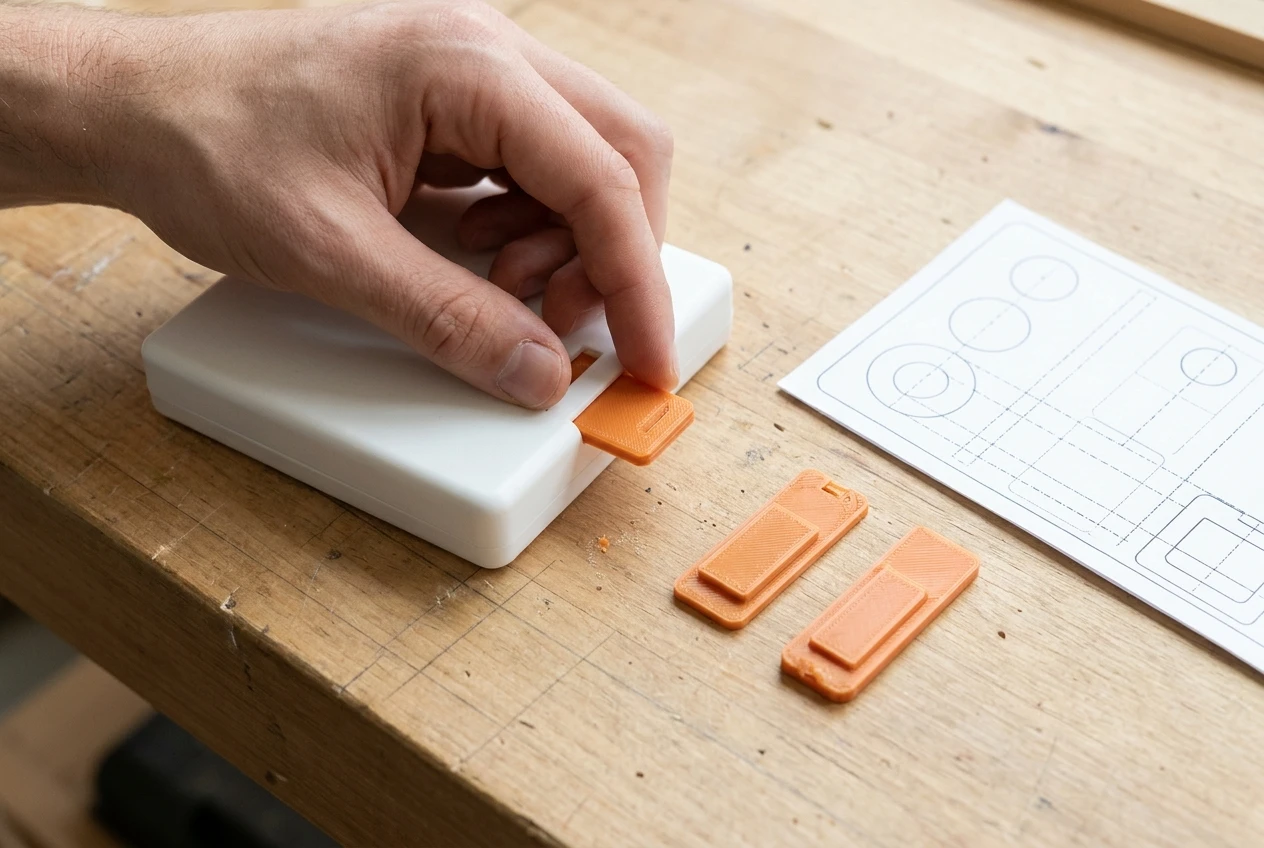
If the uncertain feature is a small tab, a short test section may be enough to check its basic engagement. If the uncertainty is hole spacing, a simple template may answer that before a detailed body is printed.
A small test is useful only when it represents the feature being checked. A loose sample tab does not reproduce the stiffness of every complete cover. Follow it with an assembly check where the surrounding geometry matters.
- Before printing: name the question, such as “Will the locating lip seat without force?”
- During fitting: stop if the sample binds, cracks, or damages the mating component.
- After fitting: record the contact point and change the relevant dimension deliberately.
Use the intended final material and print orientation when evaluating behavior that depends on flex, strength, or exposure. A successful shape check is not a durability test. Read why replacement parts need a controlled test fit for the next stage.
When recreating the part is the wrong next move
If the original replacement is readily available at a reasonable cost, start there. If the missing geometry cannot be established, search for a reference component or drawing before paying for repeated guesses.
Parts that restrain people, retain pressure, protect against hazardous machinery, or perform another safety-critical function require a different level of engineering review. A convincing shape and a successful hand fit do not establish suitability. Shut down and isolate equipment before inspecting an assembly; do not run machinery with an experimental part simply to see what happens.
Your P.R.I.N.T. missing-piece planner
Use these prompts with your P.R.I.N.T. project notes. Type below, then copy your answers into the project intake form or your own document. This worksheet does not save or send your entries.
Four-question knowledge check
Choose an answer in your head, then open each question to check your reasoning.
1. A retaining hook is missing. What is the best next clue: A) filament color, B) the receiving slot, or C) printer speed?
B — The receiving slot. It can help establish where and how the hook must engage. You still need to check insertion, flex, and release.
2. Scan software fills the missing corner. Does that prove the original geometry has been recovered?
No. Mesh repair can create a continuous surface without recovering the original functional feature. Confirm the reconstruction against independent evidence.
3. The opposite side looks identical. Should you mirror it without checking?
No. Compare mounting points, stops, offsets, and surrounding clearance. Apparent symmetry is a starting hypothesis.
4. A small prototype fits. Is the full replacement ready for regular use?
Not yet. Check the complete assembly and evaluate the final material, orientation, and intended use. A local fit check answers only the question it was designed to test.
Frequently asked questions
Can you help if I have no STL or CAD file?
Yes—start with the remaining part, clear photos, dimensions, and a description of the job it needs to do. The project review determines whether there is enough information to model a suitable replacement.
What if the entire original part is gone?
The receiving assembly, an intact example, or a drawing may provide a starting point. Sometimes a new design can serve the intended function. If essential requirements remain unknown, more evidence is needed before proceeding.
Should I glue the fragments together first?
Photograph and preserve them first. Glue can obscure mating surfaces or lock fragments into the wrong position. Ask whether an assembled sample or separate fragments would be more useful for review.
Will the replacement look exactly like the original?
Not necessarily. The functional surfaces may need close control while nonessential details can change. FDM layer texture, material, color, and a revised design can make the replacement visibly different.
Does a missing piece make the project more expensive?
It can add investigation, modeling, and prototype work. The effect depends on which information is missing. A large simple corner may require less work than a tiny hidden latch.
Before you throw the broken part away
Put the fragments in a labeled bag. Photograph the place they came from. Look for a matching part. Those three actions preserve clues that can be difficult to recover later.
If you are in Northern Kentucky—or have a suitable project that can be reviewed remotely— send Kevin what you have. Include the missing feature, the receiving assembly, approximate size, quantity, and intended use. The first goal is to establish a sensible next step.
What disappeared from your broken part: a corner, a clip, a mounting ear, or something harder to describe? Tell me in the comments what the part does and which clues remain. Keep personal details and confidential drawings in the private project form.
