
Repair clues • Replacement parts • Northern Kentucky
The first broken clip was frustrating. The second one broke in exactly the same place. Now you are wondering whether the next replacement simply needs to be stronger.
Maybe it does. But before you order another part, look at what happens around it. A crooked mounting surface, a binding slide, or a screw pulling two misaligned holes together can give a new part the same old problem.
The useful question is: what keeps asking this small piece of plastic to do more than it should?
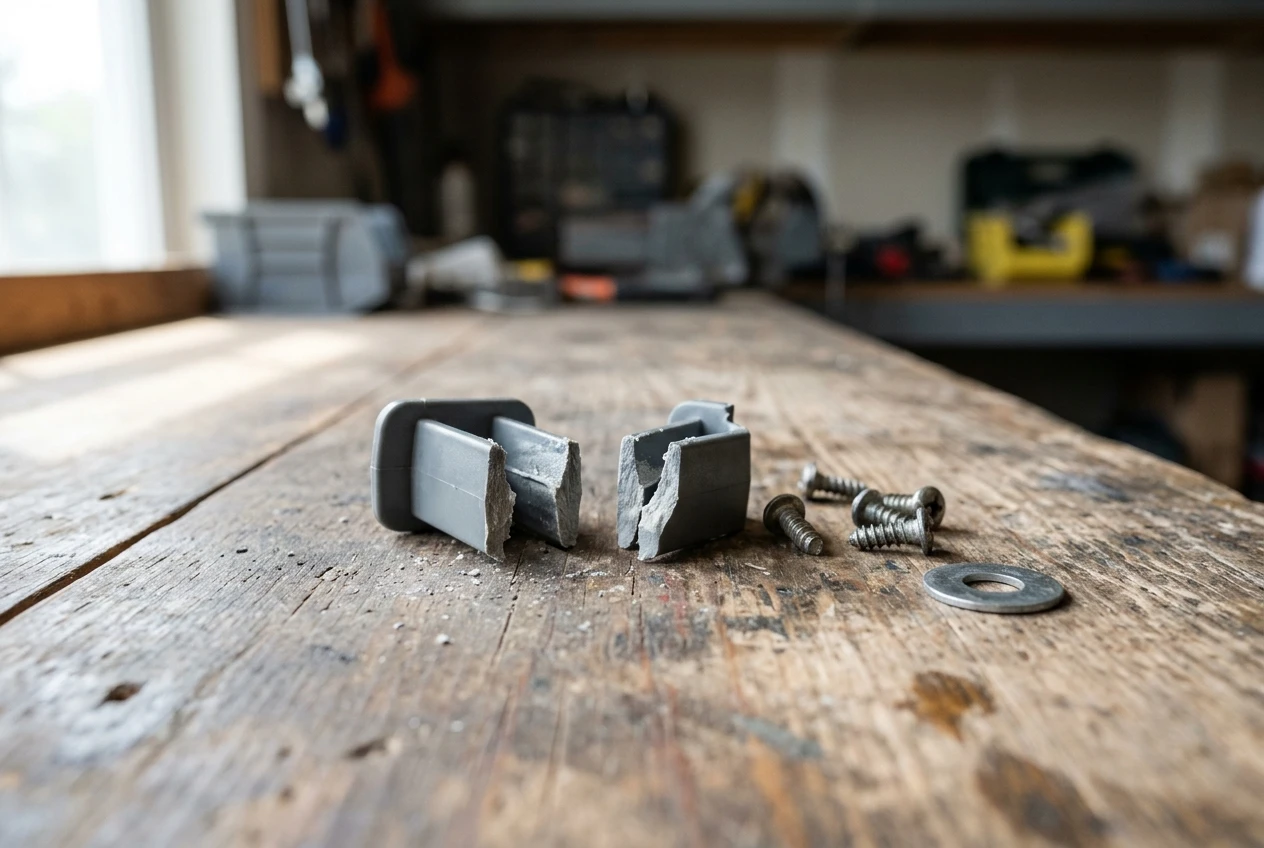
Quick answer: a repeated crack is a clue, not a diagnosis
If a plastic part keeps breaking in the same spot, check when it fails, how it seats, what the fasteners do, whether anything binds, and what changed in its surroundings. The cause could be the part’s design, material, or manufacturing quality—or a problem elsewhere in the assembly.
Photograph the broken part before cleaning or modifying it. Keep its hardware and, if possible, earlier failed versions. That evidence helps make a replacement review more useful.
Show Kevin the part and where it fitsScope: These are observation checks for ordinary, low-risk plastic components. Disconnect power before inspecting equipment and follow its service instructions. Do not dismantle spring-loaded mechanisms or bypass guards. Parts involving injury risk, pressure, lifting, braking, or electrical protection need qualified review.
Start with the moment it broke
“It snapped” describes the result. “It snapped while I tightened the second screw, before I used it” tells a much more useful story.
Write down the last normal action before the failure. Were you installing the part, closing a lid, sliding a drawer, removing a cover, or returning to something that had been sitting loaded for days?
The timing helps decide what to inspect first. It cannot prove the cause on its own, but it can prevent a repair from starting with the wrong assumption.
Check seating, hole alignment, screw length, and whether assembly requires bending the part.
Look for a catch, collision, rub mark, or a component reaching its travel limit.
Record sustained loading, repeated movement, heat exposure, and changes in fit.
Five clues worth collecting before the next replacement
1. The part only seats when the screws pull it down
A mounting ear that floats above its support deserves a closer look. If the screws have to bend it into position, the assembled part may already be stressed before it does any work.
On a safely accessible, unloaded assembly, photograph any gap before tightening. Check for trapped debris, a missing spacer, a distorted mounting surface, or a part installed in the wrong orientation. Some designs intentionally include preload, so compare against the manufacturer’s assembly instructions rather than assuming every gap is a defect.
Send Kevin: a side view of the gap and a wider view showing the attachment points. The mating surface may matter as much as the broken component.
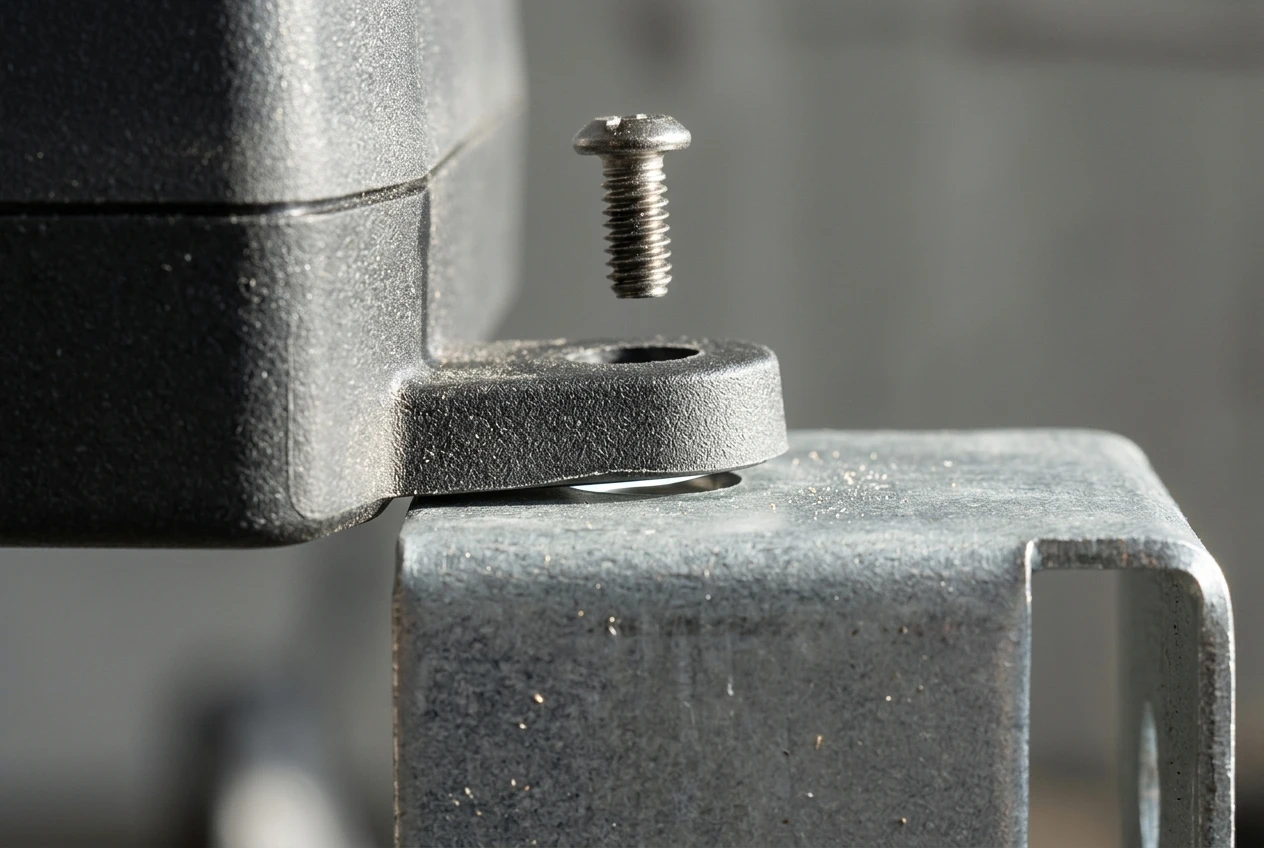
2. The crack begins beside a screw hole
A crack near a fastener can have several causes. The hole may be misaligned, the surrounding wall too thin, the screw unsuitable, or the tightening load excessive. Its location alone does not establish which one happened.
Keep the original screws, washers, and spacers together. Photograph their arrangement before removing them. Record whether hardware was recently replaced and whether the failure happened during tightening.
For a redesigned FDM part, the fastening arrangement is worth reviewing. Stratasys discusses using suitable flat bearing surfaces and washers to spread load. That is a design option—not a reason to add random hardware or guess at tightening torque.
3. Something catches just before the part fails
Think about a drawer guide that breaks after the drawer has become harder to close. Recreating the guide may restore the shape while leaving the obstruction in place.
Look for debris, a bent rail, a displaced cable, contact with a neighboring component, or a shiny wear track on only one edge. Do not force movement to reproduce the failure. If a mechanism cannot be inspected safely by hand under its service instructions, leave that check to a qualified technician.
As a specific example of why fit matters, igus identifies insufficient operating clearance as a possible cause of wear and material transfer in its plastic bushings. That does not diagnose your component; it illustrates why “make it tighter” is not a universal repair.
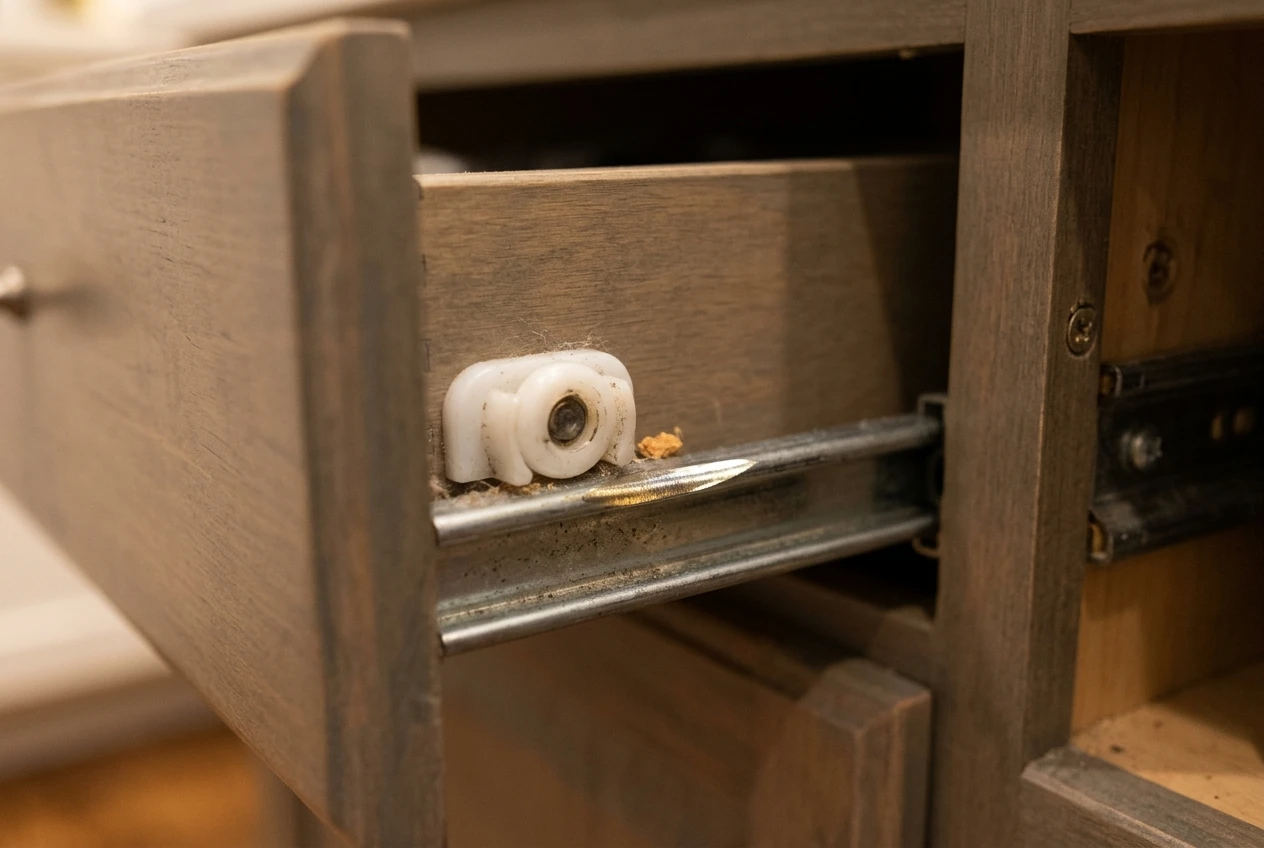
4. The same thin corner or tab fails every time
Sometimes the part itself needs a different design. An abrupt transition or sharp inside corner may concentrate stress. A carefully placed radius, support feature, or revised shape may be worth evaluating.
For a printed replacement, orientation also matters. FDM parts can be weaker when a load pulls layers apart. The best-looking print orientation is not automatically the best orientation for the job.
There is a catch: a tab that must flex cannot simply become a solid block. Changing its thickness can change how much force it needs to engage or release. Photograph the complete movement and available space, not just the fracture.
5. The surroundings changed before the failures started
Did the item move into a warmer room? Was a heavier object added? Was a neighboring component replaced? Did someone change the cleaner used on it?
Include these details even if you are unsure they matter. The repair review can then compare the actual environment with the proposed material and design. Avoid choosing a filament from a single label such as “tough” or “engineering.”
If the main symptom is a gradual loss of fit, see why a printed part can loosen over time . That is a different starting point from a part that fractures immediately during installation.
What should change: the part, the assembly, or both?
| What you observe | What deserves review | Useful evidence |
|---|---|---|
| Breaks while being fastened | Seating, alignment, hardware, and local geometry | Before-tightening photo and original fasteners |
| Breaks after movement becomes difficult | Obstructions, wear, clearance, and travel limits | Rub marks and a description of the catch |
| Repeated fracture at a narrow transition | Shape, load direction, material, and print orientation | Both fragments and the part’s installed position |
| Works initially, then changes shape or loosens | Sustained loading and service environment | Time in use and changes in gap or alignment |
| Failures began after another modification | The modification and its effect on the assembly | What changed and when |
A drawer-guide example: two different repair requests
This is an illustrative scenario, not a customer case. Imagine a plastic drawer guide that has broken twice at its mounting ear.
The first request is: “Can you copy this and make it stronger?”
The more useful request is: “This guide has broken twice at the same ear. The drawer started catching near the closed position before the second failure. Here are the pieces, the screws, and a photo of the rail.”
The second request gives the review a direction. If the rail or mounting arrangement is wrong, that may need correction before a replacement is evaluated. If the assembly is sound, the investigation can focus more closely on the guide’s geometry, material, and loading.
A stronger replacement is useful only if it suits the whole assembly. Making one component more rigid can change where forces go. A component intended to yield or protect other parts should not be reinforced without understanding its role.
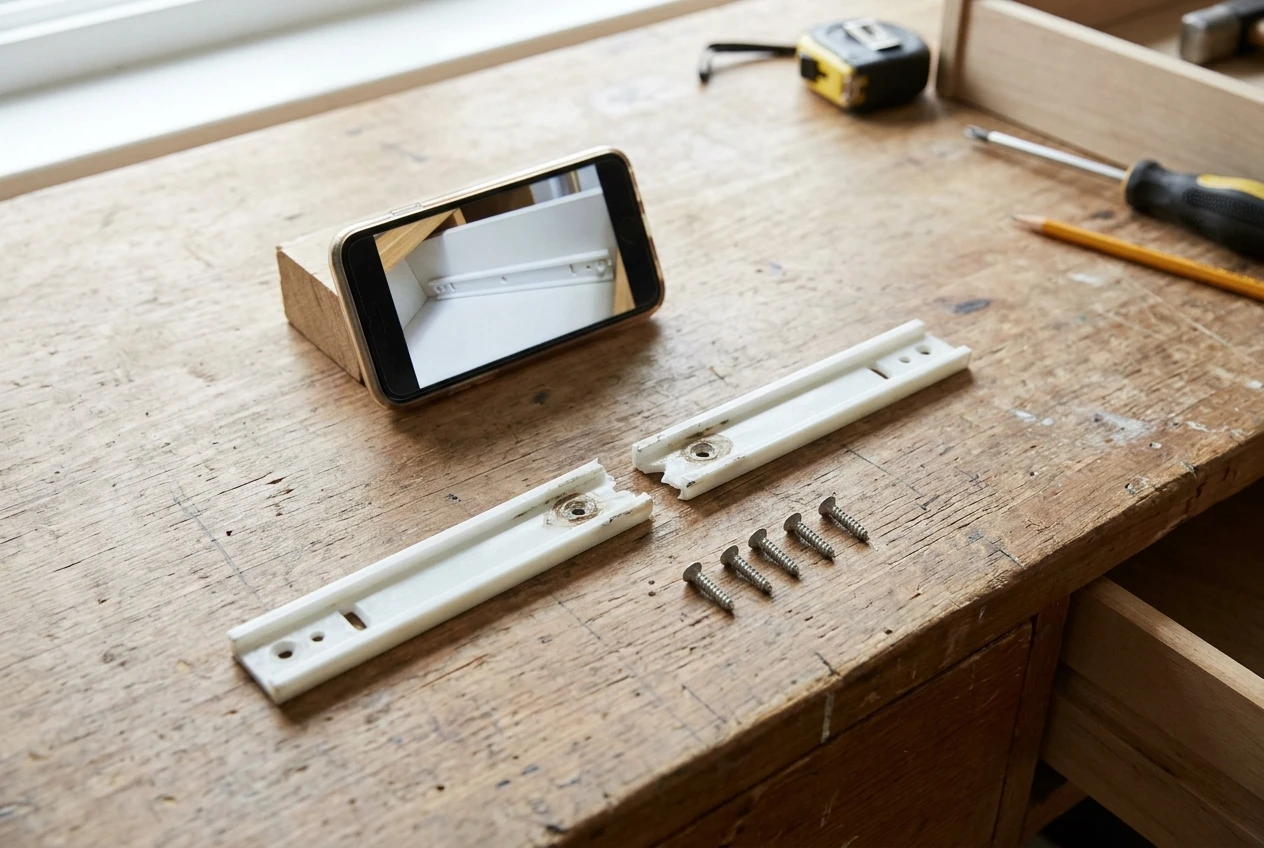
Turn the broken pieces into a better project brief
You do not need to diagnose the failure or create a CAD file before contacting me. Use this short planner to collect what you know. “Unknown” is a useful answer when it prevents a guess from becoming a design requirement.
Repeated-failure project planner
Check what you can provide, then edit and copy the note below into your project request. Entries are not sent or saved by this page; copy them before leaving.
Start a replacement-part reviewFor dimensions, use my replacement-part measuring guide . Keep measured dimensions separate from estimates. Prusa’s design guidance explains that fit allowances depend on the geometry, material, orientation, and printing conditions; there is no universal clearance that solves every fit problem.
Use the P.R.I.N.T. Method to plan the next version
- Problem: Describe the repeated failure and its timing.
- Requirements: Record the load, movement, environment, and consequences of failure.
- Interfaces: Show the screws, rails, housings, and surfaces the part touches.
- Next-Best Materials & Methods: Review whether a replacement, redesign, assembly repair, or different manufacturing process makes sense.
- Test & Tune: Check the revised part against an agreed plan before treating it as the finished answer.
A successful installation is one checkpoint. Continue with the functional-part durability guide when planning checks for use over time. A home test does not establish certification or a guaranteed service life.
Four-question knowledge check: what would you do?
Choose your answer mentally, then open each question to check your reasoning.
1. A mounting ear cracks while the second screw is tightened. Print it thicker, or inspect how it seats first?
Inspect how it seats first. Photograph gaps, check alignment, and retain the original hardware. Thickness might become part of a redesign, but it does not explain why installation caused the crack.
2. Two guides broke after the drawer started catching. Copy the guide immediately, or investigate the catch?
Investigate the catch. A replacement guide may face the same obstruction or alignment problem. Avoid forcing the mechanism to demonstrate the fault.
3. A part breaks in the same place twice. Does that prove the material is wrong?
No. Repeated location is useful evidence, but geometry, assembly, load, and manufacturing quality can also contribute. Keep both failed parts if you have them.
4. A redesigned part fits today. Is that enough to promise it will last?
No. Fit is only one requirement. The evaluation must also consider actual movement, loading, environment, and time in use.
Questions about replacing a part that keeps breaking
Can you make a replacement stronger than the original?
Potentially, but “stronger” needs a definition. A revised shape, material, or manufacturing approach may help. First, the review needs to establish how the part is loaded and whether greater stiffness or strength would create problems elsewhere.
Should I glue the fragments together before sending photos?
Photograph the pieces separately first. Adhesive can obscure fracture surfaces or alter alignment. Keep small fragments together in a labeled container and ask what references are needed before modifying them.
Can you help without the complete product?
Photos, measurements, the original part, and details of mating components may be enough to start a review. Some projects require access to the assembly or an additional fit check before the design can be confirmed.
Would using 100% infill solve it?
Not necessarily. Solid infill cannot correct a misaligned assembly or remove an obstruction. Review the failure mechanism before choosing print settings.
Show me what broke—and what it was attached to
I offer custom 3D printing and replacement-part review from Independence, Kentucky. Start with the broken pieces, a photo of the assembly, and a short description of the failure. You do not need to choose the filament first.
Tell Kevin about the repeated failureProjects are reviewed for feasibility, requirements, budget, and scheduling before acceptance.
What happened just before yours broke?
Tell me in the comments: what was the part, where did it crack, and were you installing it, moving it, or finding it broken after use? Keep private drawings and project details in the intake form.
Technical references
These sources support the design principles discussed here. They do not diagnose a particular broken part or establish a replacement’s suitability.
- Stratasys: FDM Design Guidelines (PDF) — stress concentrations, orientation, and fastening considerations. Machine-specific numerical guidance should not be treated as a universal desktop-printer specification.
- Prusa: Modeling with 3D printing in mind — fit allowances and design considerations.
- igus: Plastic bushing tolerances — examples of clearance-related operating problems in plastic bushings.
