
The Part Fits. Now Comes the More Important Question.
You install the replacement bracket. The screw holes line up. The clip snaps into place. Nothing rubs, binds, or sits crooked.
That feels like success—and it is an important milestone.
But a successful test fit answers only one question:
Does this part fit right now?
It does not automatically tell you what happens after the bracket carries weight for a week, the clip flexes 100 times, the enclosure warms up, the screws stay tightened, or the part spends a summer in a garage.
For a functional print, the next step is not simply admiring the finished surface. It is finding out whether the part can do its actual job.
Have Kevin Review a Part Explore P.R.I.N.T. It Practical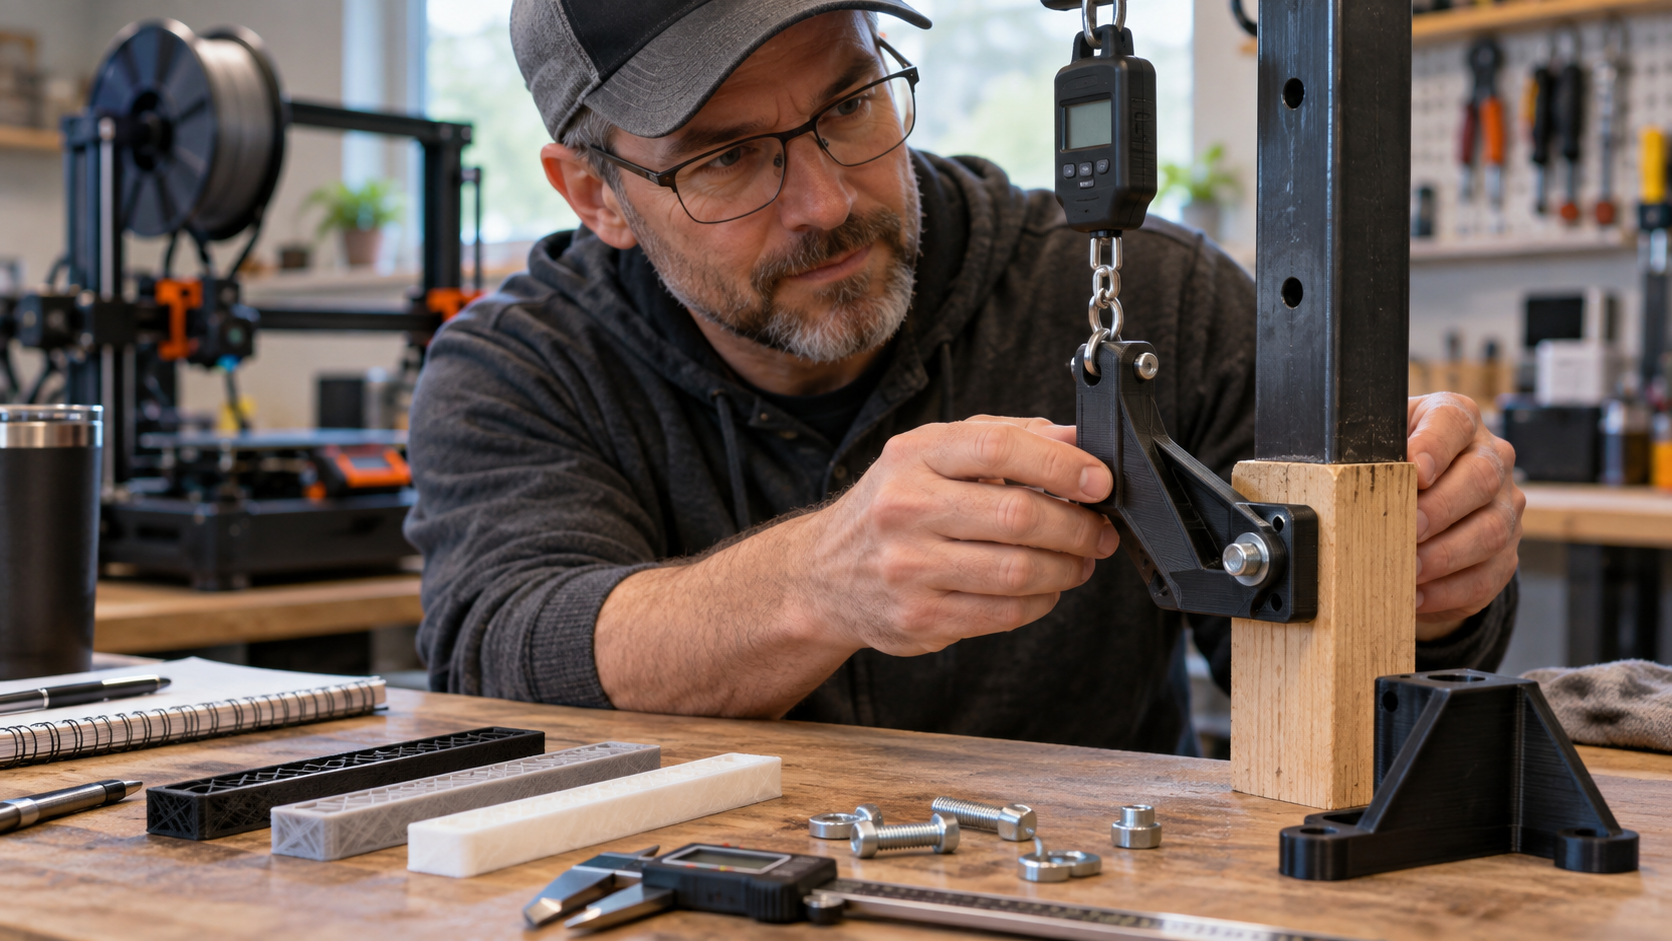
How Do You Know Whether a 3D-Printed Part Will Last?
Test the finished part under conditions that reasonably represent its real job. Check the important dimensions, install the real hardware, apply force in the expected direction, cycle anything that moves or flexes, inspect it after sustained loading, consider its operating temperature and environment, and verify that another print behaves consistently.
A successful fit test proves fit. It does not automatically prove durability.
Fit Testing and Durability Testing Are Not the Same Thing
This distinction matters because it is easy to stop testing too early.
A prototype can slide perfectly into position and still contain a thin screw boss, unfavorable layer orientation, stress concentration, poorly supported load path, or material choice that does not match the operating environment.
| Check | Question It Answers | What It Can Reveal | What It Does Not Prove |
|---|---|---|---|
| Dimensional check | Did the important features print close enough to size? | Hole diameter, spacing, thickness, length, alignment | Long-term performance |
| Test fit | Does the part assemble correctly? | Clearance, interference, alignment, access | Fatigue or sustained-load behavior |
| Functional test | Does it perform the intended job? | Movement, retention, fastener behavior, load path | Long-term reliability by itself |
| Repeated-use test | Does performance change with use? | Wear, loosening, cracking, deformation | Every possible future condition |
If you are still establishing the geometry, begin with How to Measure a Part for 3D Printing and then work through Why 3D-Printed Replacement Parts Need a Test Fit.
Those steps establish the interfaces. This guide takes the process one step farther.
The 7 Real-World Tests I Would Use Before Trusting a Functional Print
Look for defects before deliberately loading the part.
Use the actual hardware and mating components.
Apply force in the direction the part will really experience.
Repeat movement, flexing, snapping, or opening.
Watch a sustained load for permanent movement.
Consider heat, sunlight, humidity, chemicals, and vibration.
Print another one and see whether the result is consistent.
1. Inspect the Actual Print Before You Stress It
Start with the object on your bench—not the CAD model on your screen.
Look closely at the places where forces enter or leave the part. That often means screw bosses, clip roots, thin transitions, holes, insert pockets, bends, mounting faces, sharp inside corners, and layer changes.
Watch for:
- under-extrusion or gaps;
- cracks around holes or inserts;
- poorly formed walls;
- lifted corners;
- support-removal damage;
- weak-looking layer transitions;
- unexpected seams at a critical location.
Then measure the features that matter to function.
You do not need to measure every decorative surface. Concentrate on the interfaces that locate, clamp, slide, pivot, support, align, retain, or fasten the part.
2. Assemble It With the Hardware It Will Actually Use
Install the real screws, nuts, washers, inserts, shafts, bearings, clips, spacers, mating parts, or mounting surfaces whenever practical.
Assembly itself can create stress.
An undersized screw hole can be forced outward. A countersunk screw can act like a wedge. A heat-set insert can distort a thin boss. A snap feature can be overstrained before the product is even placed into service.
If the part needs excessive force to assemble, stop and find out why.
“I finally got it together” is not the same thing as “the interface is correct.”
If screws are involved, see Your 3D-Printed Part Cracked Around the Screw—Here’s What Went Wrong.
3. Apply Force in the Direction the Part Will Really Experience
This is one of the most important tests—and one of the easiest to get wrong.
You can squeeze a printed bracket between your hands and conclude that it feels incredibly strong. Then the installed bracket fails because its actual load pulls across the layer stack instead of along it.
Material-extrusion printing builds a component layer by layer, and mechanical behavior can depend on orientation and load direction.
That means the useful question is not:
How hard can I pull on this thing?
It is:
What force will this part experience after installation, and where does that force travel?
If the part is supporting a cable bundle, retaining a cover, carrying a sensor, holding a tool, mounting a device, or stopping another component from moving, reproduce that load direction as safely and realistically as you can.
If your previous version separated along the print layers, read Your 3D Print Broke at the Layer Lines—Why More Infill May Not Fix It.
A Functional Part Has to Survive More Than One Moment
This is the progression I want readers to remember.
A part can pass Step 1 beautifully and still expose a problem at Step 3, 4, or 5.
4. Cycle Anything That Moves, Flexes, Opens, or Snaps
A clip that works once has completed one cycle.
That tells you it can work once.
If its real job involves repeated use, cycle it deliberately and watch whether its behavior changes.
Look for:
- stress whitening near a bend;
- loosening around a pivot;
- increased play;
- a snap becoming noticeably weaker;
- a hinge taking a permanent bend;
- a screw beginning to loosen;
- surface wear;
- new clicking, rubbing, or movement.
You do not need a laboratory to learn useful information from repeated use.
You do need to know what you tested.
Write down approximately how many cycles you completed and what changed. If Version B performs better than Version A, you now have evidence supporting the revision.
5. Leave a Sustained Load Long Enough to Reveal Movement
Not every failure comes with a dramatic snap.
A hook, clamp, bracket, spacer, mount, or fastened plastic part may slowly change shape under a continuous load. Temperature can also influence how a polymer behaves over time.
That is why pulling on a bracket for five seconds is not equivalent to leaving it loaded for days or weeks.
Before the test, mark a reference point or measure the important dimension.
After an appropriate observation period, check it again.
Look for:
- sagging;
- changing angles;
- elongated holes;
- loose fasteners;
- permanent bending;
- movement at the mounting surface.
If your answer to every strength problem has been “raise the infill,” compare that approach with 3D Print Infill Density for Strength, Speed, and Savings.
The walls, geometry, load path, layer direction, material, and fastener interface may matter more than simply filling the interior with plastic.
6. Consider the Temperature and Environment
A part printed and tested in a comfortable workshop may spend its actual life somewhere very different.
Think about:
- a hot vehicle interior;
- direct sunlight;
- a damp garage;
- an outdoor enclosure;
- a machine cabinet;
- cleaning chemicals;
- constant vibration;
- oil or grease;
- repeated temperature changes.
This is why asking whether PETG is “stronger than PLA” usually oversimplifies the decision.
A better question is:
Does this material, geometry, orientation, printing process, and operating environment work together for this particular job?
Prusa describes PETG as a commonly used technical material suited to mechanical parts, holders, and clamps, with greater temperature resistance than basic PLA. But a material name by itself does not certify a finished printed part for a particular application.
The printing environment matters too. NIOSH notes that additive manufacturing can involve exposure to emissions and other hazards depending on the technology, material, and workspace. Good ventilation, appropriate controls, and sensible handling remain part of responsible printing.
7. Print Another One Before You Call the Process Repeatable
One successful part proves something valuable:
You made one successful part.
If you intend to produce replacements or a small batch, print another using the same documented material, orientation, slicer profile, machine setup, and hardware.
Then compare the features that actually matter.
This is especially useful for:
- tight holes;
- snap fits;
- insert pockets;
- closely mating surfaces;
- small bosses;
- thin clips;
- parts produced in quantity.
I would rather discover a repeatability problem on part number two than after printing twenty.
When Should You Test More—and When Should You Stop?
The part is low-consequence, fits correctly, shows no visible damage, performs its basic job, and can be safely tested in representative conditions.
The part sees sustained load, repeated movement, vibration, heat, outdoor exposure, tight fasteners, or another condition that deserves closer evaluation.
Failure could injure someone, release pressure, create an electrical or fire hazard, compromise machine guarding, affect vehicle safety, or involve a regulated application.
Formal qualification is much more demanding than a workshop test. NIST describes additive-manufacturing qualification as involving measurement, characterization, test methods, process understanding, mechanical performance, and acceptance criteria—especially for critical applications.
That does not mean a simple workshop bracket requires aerospace qualification.
It does mean that a print looking good is not automatically evidence that it is safe for a high-consequence job.
Use the P.R.I.N.T. Method™ Before You Print Version Two
What failure or inconvenience are you actually trying to solve?
What load, heat, movement, exposure, lifespan, appearance, and risk matter?
Where does the part fit, contact, clip, slide, fasten, pivot, or transfer force?
Which material, geometry, orientation, hardware, and production method best match those requirements?
What measurable result will tell you whether the revision actually improved the part?
How Much Testing Does Your Part Need?
Select every condition that applies.
This educational planner does not certify a component or replace qualified engineering review.
Test the Uncertain Feature Instead of Reprinting Everything
One of the easiest ways to waste filament is printing an entire component when you only have one unanswered question.
The goal is not to create the most dramatic torture test possible.
The goal is to answer one useful question with the least unnecessary print time and material.
Where Material Choice Fits
A different polymer can absolutely be part of the answer.
But material cannot repair every design problem.
A tougher filament will not move a screw hole to the correct location. Greater temperature resistance will not repair a weak load path. Premium filament will not correct severe under-extrusion. More flexible plastic will not make a badly designed snap feature automatically reliable.
Choose material after you understand what the part needs to do.
If you are comparing practical filament options for functional prints, you can browse COEX 3D through my partner page. Use code 3DPRINTINGBYKEVIN where eligible for the current partner discount.
Affiliate disclosure: Some links on this page are affiliate or partner links. If you make a qualifying purchase, 3D Printing by Kevin may receive a commission at no additional cost to you. The material still needs to match the job.
Four-Question Knowledge Check
1. A replacement bracket fits perfectly. What has the test proven?
2. What is the most useful way to load-test a functional part?
3. A printed snap works once. What should you check next?
4. When should casual DIY validation stop?
Want the Complete P.R.I.N.T. Method Beside Your Printer?
P.R.I.N.T. It Practical: 3D Printing for Beginners takes the same problem-first approach and turns it into a repeatable workflow for setup, slicing, materials, troubleshooting, practical design, testing, and useful projects.
The revised September 2026 edition includes 56 pages, 15 chapters, printable planners, a fillable worksheet, troubleshooting guidance, and a knowledge check.
Explore P.R.I.N.T. It Practical Request a Custom Part ReviewFrequently Asked Questions
How much weight can a 3D-printed part hold?
There is no universal weight rating for an FDM part. Performance depends on geometry, material, wall structure, infill, layer orientation, print quality, load direction, fasteners, temperature, duration, impact, and other conditions. Test the actual design for its intended application rather than borrowing a load number from an unrelated model.
Does 100% infill make a 3D print safe?
No. More infill changes the amount and distribution of material inside the part, but it cannot automatically repair weak geometry, poor layer bonding, an unfavorable orientation, a cracked screw boss, unsuitable material, or a high-risk application.
Should I test a PLA prototype or the final material?
PLA can be useful for checking dimensions and basic geometry. If the real component depends on flexibility, heat resistance, wear, impact behavior, sustained load, or fastener performance, validate the design using the intended final material and print orientation as well.
How many cycles should I test a snap fit?
There is no universal cycle count that proves every snap fit is durable. Base the test on expected use, consequences of failure, material, geometry, and what you are trying to learn. Higher-consequence applications need appropriate engineering test methods rather than an arbitrary hobby cycle count.
Can a 3D-printed replacement be stronger than the original?
Sometimes. A redesigned replacement can add material where it matters, increase radii, improve a fastener interface, change the load path, or use a material better suited to the environment. The improvement should be demonstrated through testing rather than assumed because the new part looks thicker.
When should I avoid relying on a 3D-printed replacement?
Use extra caution whenever failure could affect personal safety, vehicle control, lifting, pressure containment, required machine guarding, high voltage, fire protection, certified medical use, or another regulated or high-consequence system. A professionally engineered or approved component may be the correct solution.
Reliable Sources and Further Reading
- NIST — Additive Manufacturing Part Qualification
- NIST — Material Extrusion Additive Manufacturing
- NIOSH — 3D Printing and Additive Manufacturing Safety
- Prusa Knowledge Base — PETG Material Guide
The Bottom Line
A part that fits has passed an important test.
It has not passed every test.
Before depending on a functional 3D print, inspect the actual print, assemble it using the real hardware, test the real load direction, cycle moving features, watch sustained loads, consider the environment, and find out whether you can make another one consistently.
That is the difference between printing a shape and developing a useful component.
Have you ever had a 3D print fit perfectly and then fail later?
Tell me what you printed, the material you used, where it failed, and what the part was doing at the time in the comments below. Real failures—and the fixes that follow—often teach us more than another perfect-looking print.
