
Functional 3D Printing • Buyer’s Guide • 2026
Your new 3D printer makes a beautiful replacement bracket. You install it, tighten the screw, and hear a sharp crack. Or perhaps the bracket survives, but the clip slowly bends open. The nylon gear you printed looks perfect, yet its teeth begin wearing down.
That is the problem with shopping for functional 3D printing: a machine that produces beautiful models isn’t necessarily the right machine for a part that must fit, flex, carry a load, or survive heat.
Before spending money on the latest high-speed printer, ask a more useful question: What is this part most likely to do wrong? Once you know the failure risk, choosing between PETG, nylon, an open-frame printer, and an enclosed machine becomes much easier.
The Quick Answer
What is the best 3D printer for functional parts?
For everyday PETG brackets, covers, spacers, and light-duty clips, choose a reliable printer with a heated bed, accurate extrusion, and good material profiles. A fully enclosed printer isn’t essential.
For nylon gears, wear-resistant parts, and demanding mechanical components, look for a nylon-capable hotend, suitable bed temperature, controlled chamber conditions, compatible build surface, and a dependable filament-drying workflow.
My buying rule: Choose the printer for the hardest material and most demanding part you realistically expect to print—not the highest advertised print speed.
PETG or nylon? Start with the part, not the spool
PETG is a sensible starting point for many functional repairs. It is relatively approachable, often bonds well between layers, and offers useful toughness for common household and workshop parts.
Nylon belongs in the conversation when you need wear resistance, repeated flexing, impact tolerance, or properties that a specific PETG grade cannot provide. But nylon is a family of materials, not a single magic upgrade. PA6, PA12, copolymers, and reinforced blends have different properties and printing requirements.
| Decision | PETG | Nylon / PA |
|---|---|---|
| Typical jobs | Covers, brackets, spacers, light-duty clips | Selected gears, bushings, flexible clips, wear parts |
| Printing difficulty | Low to moderate | Moderate to high; varies by grade |
| Nozzle temperature | Often roughly 230–250°C | Often roughly 250–290°C |
| Enclosure | Usually optional | Frequently beneficial, especially for larger unfilled parts |
| Moisture handling | Drying recommended when needed | Drying and dry storage are especially important |
| Main caution | Creep, heat limitations, wear in some applications | Moisture sensitivity, warping, grade-dependent dimensional behavior |
Temperature ranges are starting points, not universal settings. Follow the specific filament manufacturer’s technical data sheet.
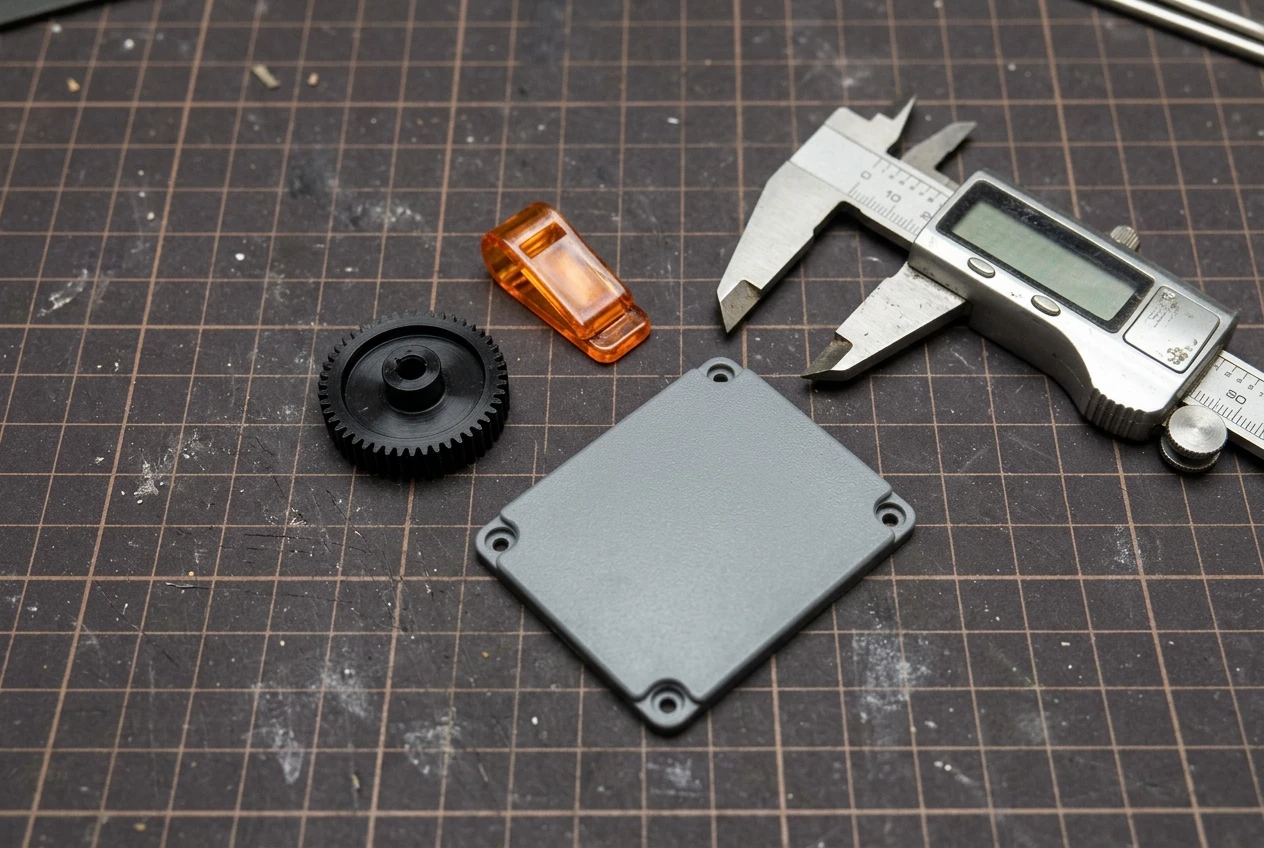
Don’t automatically choose nylon because a part broke in PETG. A sharp corner, thin wall, wrong print orientation, excessive load, or poorly measured mating feature can cause either material to fail.
A change in design may solve the problem more effectively than a more expensive spool.
Four real 3D printers worth comparing for functional parts
Here are four machines representing different approaches to practical FDM printing. This is a specification-led buying shortlist, not a claim that all four have been tested side by side in my workshop.
| Printer | Build volume | Material advantage | Main trade-off |
|---|---|---|---|
| Bambu Lab P1S | 256 × 256 × 256 mm | Enclosed, all-metal 300°C hotend; strong PETG option and some nylon capability with appropriate preparation | No dedicated active chamber heater; confirm hardware suitability for abrasive blends |
| Bambu Lab X1 Carbon | 256 × 256 × 256 mm | Enclosed platform with abrasion-resistant extrusion hardware; useful for engineering filaments within supported limits | Higher-cost class; enclosure alone does not guarantee success with every nylon grade |
| QIDI Plus4 | 305 × 305 × 280 mm | Manufacturer-rated 370°C nozzle and actively heated chamber up to 65°C | Larger footprint; material workflow, ventilation, and thermal requirements still matter |
| Prusa CORE One+ (Gen 2) | 250 × 220 × 270 mm | Enclosed CoreXY design with manufacturer-rated chamber temperature up to 55°C | Premium machine; verify grade-specific temperature and optional hardware requirements |
Specifications reflect manufacturer-published information reviewed in October 2026. Features, bundles, firmware, and availability may change. Check the applicable product page before ordering.
Bambu Lab P1S: practical PETG flexibility
A sensible comparison point if most of your work involves PETG and you occasionally want to explore more demanding materials. The enclosure adds flexibility, but it is not a heated engineering chamber.
Bambu Lab X1 Carbon: engineering-focused hardware
A useful step up for a workflow that frequently involves tougher and abrasive materials. Check the actual filament grade and compatible feeding hardware rather than treating a printer’s material list as a blanket guarantee.
QIDI Plus4: chamber control matters
The active chamber heater is particularly relevant when warping and thermal gradients are recurring problems. Its larger build area also gives room for more substantial fixtures and housings.
Prusa CORE One+: controlled enclosed printing
Another strong candidate for shoppers prioritizing repeatable material handling, an enclosure, and a supported manufacturing ecosystem. Compare its current version and options carefully.
Important: Maximum nozzle temperature is not the same as proven print quality. Strong functional parts depend on the complete system: extrusion, chamber conditions, filament preparation, cooling, geometry, and validation.
The failure-first guide: what kind of part are you making?
This is how I would narrow down the printer and material requirements before getting distracted by brand names.
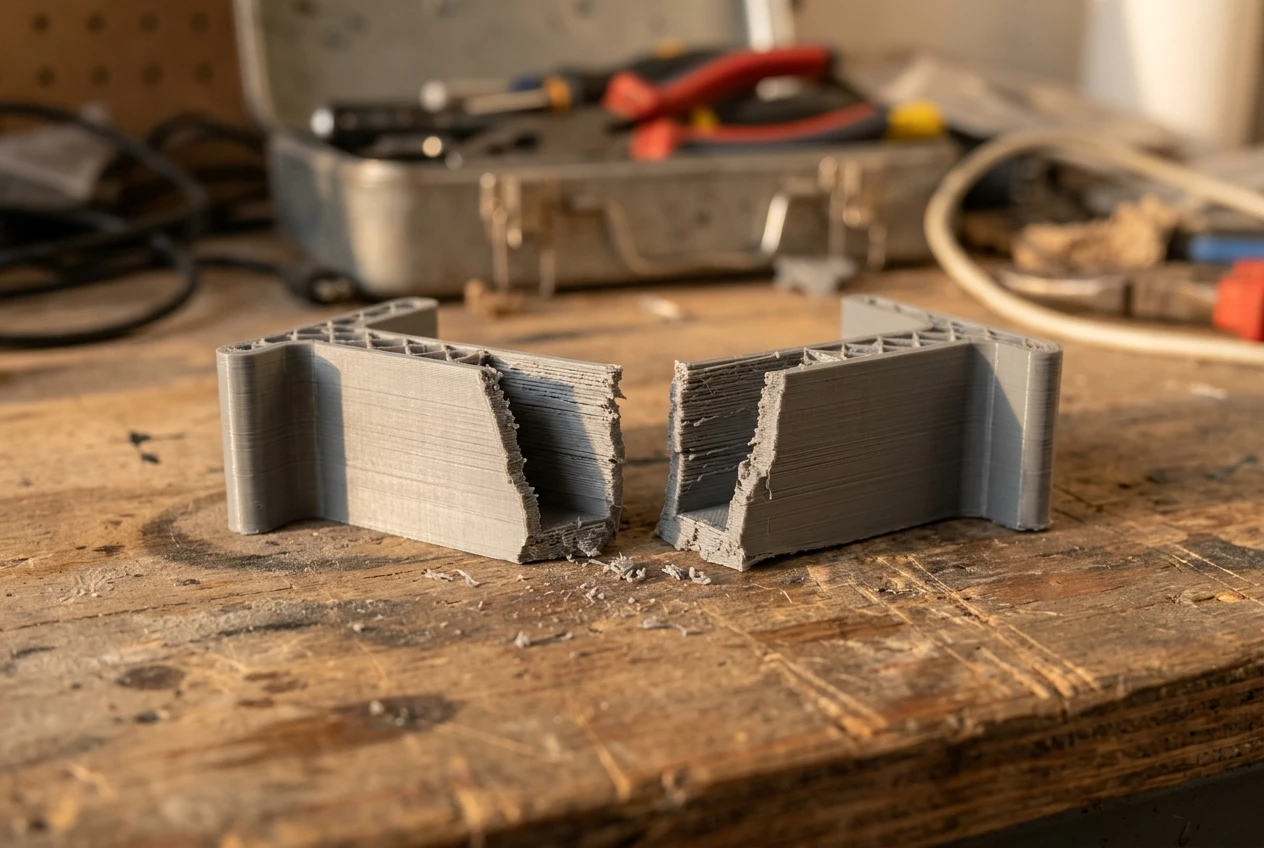
1. The bracket cracks when you tighten a screw
Investigate: Print orientation, sharp corners, insufficient wall thickness, local screw pressure, and layer adhesion.
Printer requirement: Reliable PETG extrusion may be sufficient. An expensive nylon-capable machine is not automatically the answer.
Practical fix: Add fillets, increase appropriate wall sections, use a washer or insert where appropriate, and reorient the part so the load doesn’t easily peel layers apart.
2. The clip works today, then loosens after weeks
Investigate: Sustained stress, creep, temperature, deflection, and repeated bending.
Printer requirement: PETG may handle light-duty snap fits; some nylon grades are worth evaluating for demanding repeated-flex applications.
Practical fix: Reduce sustained strain, round the clip root, avoid excessively thin features, and test repeated engagement.
3. The gear looks perfect but wears too quickly
Investigate: Tooth profile, backlash, shaft alignment, load, lubrication, surface finish, and material selection.
Printer requirement: A suitable nylon printing setup may offer advantages over ordinary PETG for some gear applications.
Practical fix: Inspect mesh and fit before assuming that a different filament alone will solve the problem.
4. The housing curls up or no longer lines up
Investigate: Bed temperature uniformity, draft exposure, part geometry, thermal contraction, cooling, and first-layer adhesion.
Printer requirement: A controlled enclosure becomes more valuable for warp-prone materials and larger prints.
Practical fix: Test smaller sections, adjust chamber and bed conditions, consider a brim where appropriate, and evaluate the design for large continuous flat surfaces.
The hardware that makes the difference
Hotend
Choose a temperature rating compatible with the actual filament. For abrasive carbon- or glass-filled blends, use the nozzle and extrusion hardware recommended by the printer and filament manufacturers.
Extruder
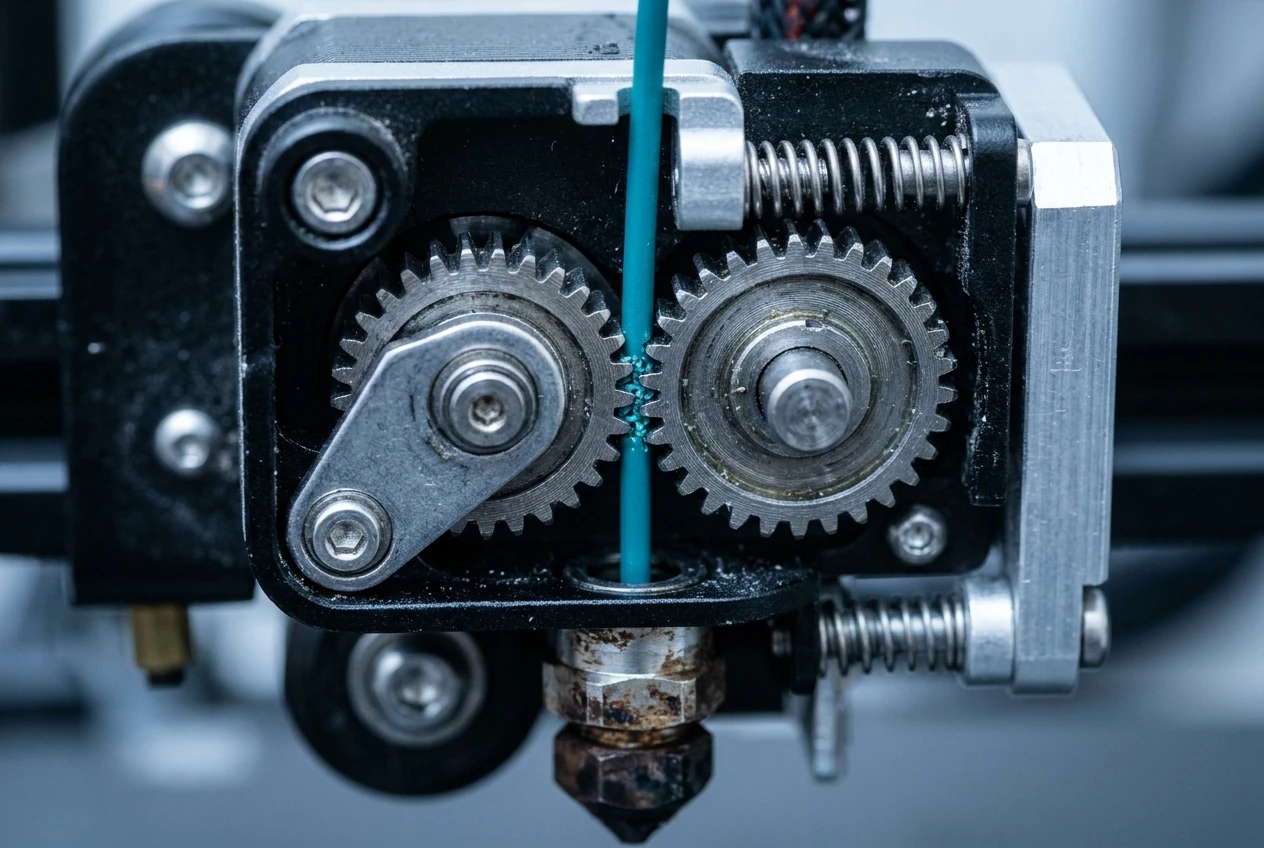
Look for dependable filament feeding and suitable material profiles. A good direct-drive system is useful, but a properly tuned Bowden machine can still produce excellent PETG parts.
Heated bed
Uniform heating and a compatible surface help limit lifting, distortion, and adhesion trouble. Follow the correct release procedure to avoid damaging the build plate.
Enclosure
Enclosures reduce drafts and temperature variation. Actively heated chambers provide additional control, but they also require suitable hardware and material-specific operation.
Don’t overlook filament moisture—especially with nylon
Here’s a frustrating situation: you have a capable printer, a reasonably designed part, and a spool of nylon that looks fine. The finished part still has rough surfaces, inconsistent extrusion, or unexpectedly weak sections.
The problem may be moisture in the filament rather than the printer.
Nylon absorbs moisture from its surroundings. Depending on the grade, wet filament can produce bubbles, popping, inconsistent extrusion, poor surface finish, and degraded mechanical properties.
A practical routine:
- Check the filament manufacturer’s drying instructions.
- Use a dryer suitable for the specified temperature.
- Keep the spool in dry storage after conditioning.
- For moisture-sensitive jobs, consider feeding from an appropriate dry box.
- Print a small mechanical test piece before committing to a costly production run.
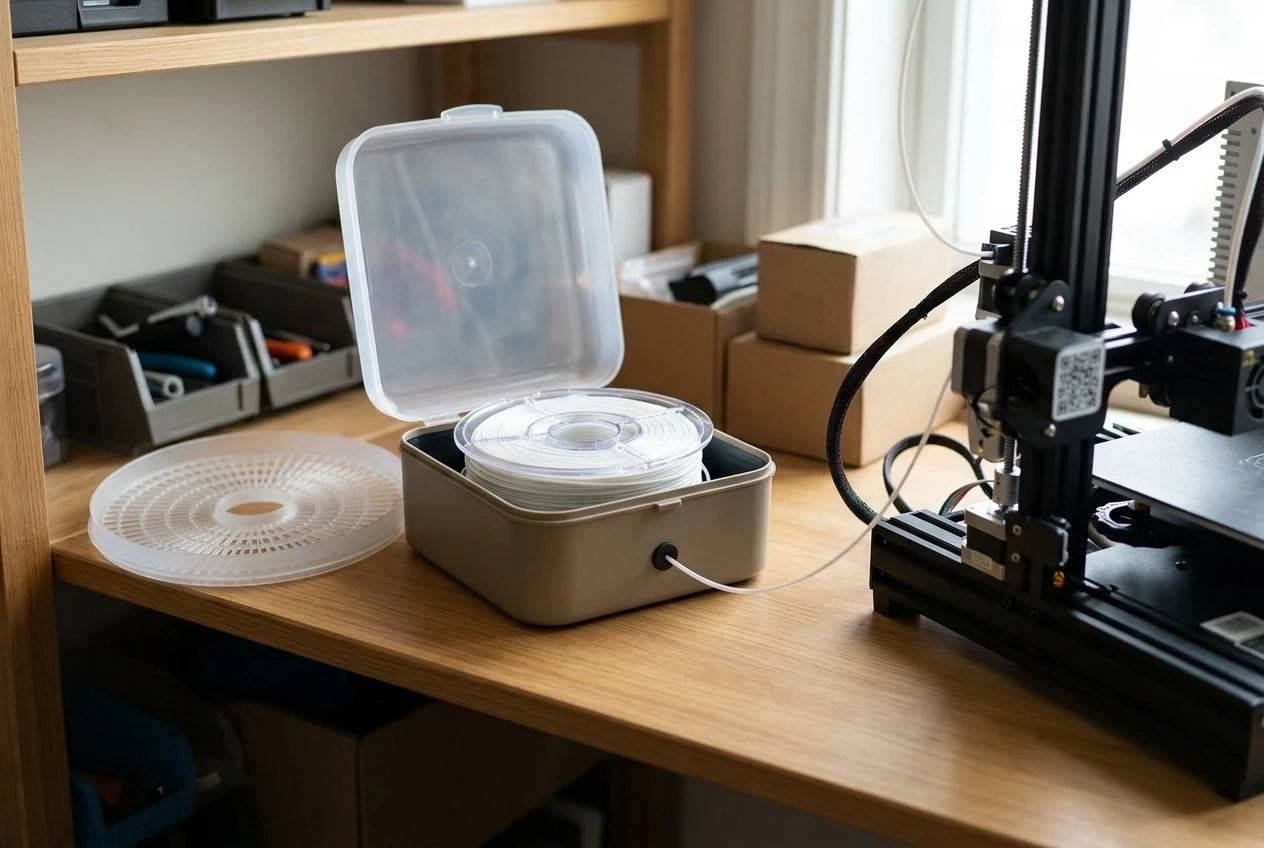
Don’t assume that a sealed new package means perfectly dry filament, or that one drying temperature works for every nylon blend.
Seven decisions that can make a functional part stronger
Buying a better printer helps only when the rest of the process supports the part’s job. Before changing machines, review these decisions.
- Orient for the real load. Avoid placing the primary tensile or bending stress across weak layer interfaces when a better orientation is available.
- Strengthen the geometry. Increase local wall thickness where justified and introduce generous fillets at stressed roots and corners.
- Use appropriate perimeters. More walls can help many functional parts, but there is no universal wall count that beats all infill choices.
- Dial in temperature. Sufficient thermal bonding matters. Excessive nozzle temperature can also degrade the material or reduce dimensional quality.
- Control cooling. Tune airflow for the chosen material and geometry rather than blindly disabling fans.
- Manage extrusion rate. A slower, consistent print can be stronger than an under-extruded high-speed print, although speed alone does not determine bond quality.
- Use better fastener designs. Consider captured nuts, through-bolts, washers, or suitable heat-set inserts instead of relying on weak printed threads.
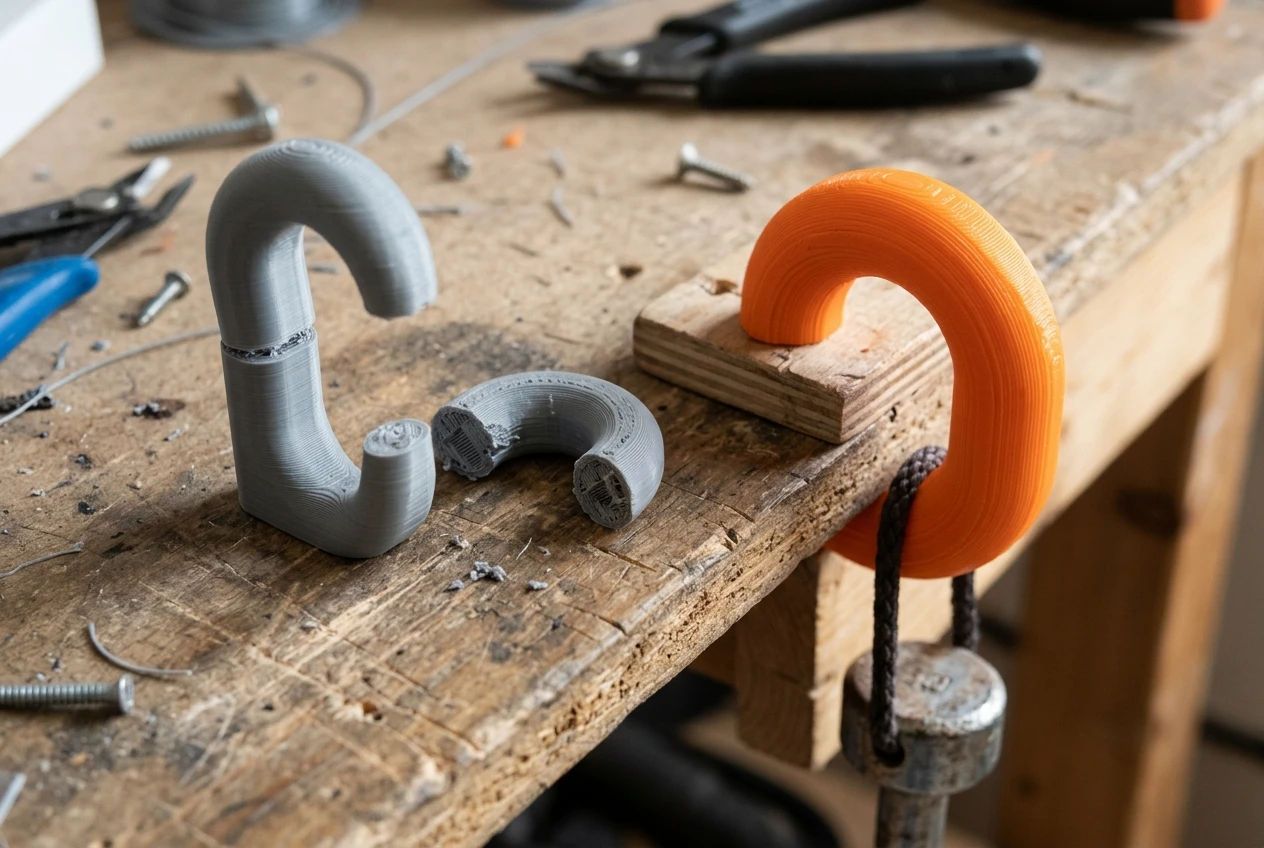
Workshop takeaway: don’t chase 100% infill first
When a part fails, study its load path, root thickness, geometry, layer direction, and material condition before filling the entire model with plastic. Often, thoughtful redesign produces a better result with less material.
The three-test method before you call the part finished
A replacement part is not finished when the print job reaches 100%. It’s finished when it satisfies the requirements that matter.
Test 1: Fit
Does the hole, shaft, slot, clip, or mounting face fit the assembly without excessive force or unwanted movement?
Test 2: Function
Does the part actually guide, hold, flex, rotate, protect, or support what it was designed to?
Test 3: Service conditions
Can it tolerate the relevant heat, moisture, operating load, vibration, motion, or repeated cycles?
Document the outcome
Record filament, orientation, slicer profile, key dimensions, and what the test revealed so the next revision starts with evidence.
If you’re recreating a damaged part, start with How to Measure a Part for 3D Printing. Accurate interfaces are just as important as material strength.
Open-frame or enclosed: which should you actually buy?
Here is the simplest decision rule I can offer.
Choose a good open-frame printer when:
- Most of your work uses PLA and PETG.
- You are printing ordinary brackets, organizers, covers, or prototypes.
- You value easy access and simpler maintenance.
- Your parts do not regularly demand a thermally controlled chamber.
Lean toward an enclosed printer when:
- You regularly print materials that are sensitive to drafts or warping.
- Your parts are larger or have challenging geometry.
- You want to experiment with demanding engineering-grade filaments.
- You can support the required ventilation, drying, and material-handling workflow.
For a deeper comparison, see Enclosed vs Open-Frame 3D Printers: Best for Home Use?.
Important safety distinction
An enclosure is not the same as adequate ventilation. Heated polymers and printing processes may produce particles and volatile compounds. Choose a suitable location, follow manufacturer recommendations, and consider appropriate source capture or exhausted enclosure ventilation for higher-emission materials.
Do not use hobby-grade printed parts as unverified replacements for safety-critical, high-temperature, pressure-containing, or heavily loaded equipment components. Those applications require appropriate engineering review and validation.
When buying a printer is the wrong decision
Here is something printer-buying guides don’t always say: sometimes you don’t need a printer at all.
If your only goal is to replace one discontinued appliance cover, repair a broken plastic clip, or test a single prototype, purchasing a machine, learning CAD, calibrating profiles, and managing filament may cost more than having the part made.
On the other hand, if you expect to prototype weekly, revise designs regularly, or manufacture small batches, owning a printer becomes much easier to justify.
| Your situation | More practical starting point |
|---|---|
| One broken cover or bracket | Assess the repair or request a custom-part quote |
| Frequent PETG prototypes | Consider a reliable PETG-capable desktop printer |
| Recurring nylon engineering jobs | Evaluate controlled-chamber equipment and drying |
| Small production runs | Compare in-house capacity with a specialist printing service |
| Safety-critical mechanical component | Seek qualified design, material, and validation expertise |
When replacement parts disappear, we make the next one.
Have a broken part but don’t want to buy a 3D printer?
At 3D Printing by Kevin in Northern Kentucky, I help customers evaluate replacement parts, custom prototypes, fixtures, and small-batch projects. You can begin with photographs, measurements, a sketch, or an existing 3D model.
We can review whether FDM printing is appropriate, which material might make sense, and where a fit test or design change is needed.
Request a Project QuoteFour-question functional printing knowledge check
Before you buy your next machine or print another replacement, see how well you can spot the decision that matters.
Frequently asked questions
Is PETG strong enough for functional replacement parts?
Often, yes. PETG is useful for many brackets, covers, spacers, guides, and moderate-duty clips. The final decision depends on geometry, loads, temperature, wear, sustained stress and the consequences of failure.
Do I need an enclosed printer for PETG?
Usually not. A properly configured open-frame printer can produce dependable PETG parts. Some enclosed printers may need additional ventilation or cooling adjustments to prevent excessive extruder heat.
Can the Bambu Lab P1S print nylon?
It can handle certain nylon grades under suitable conditions, but success depends on the specific material, dry filament, compatible extrusion hardware, bed preparation and controlled chamber conditions. Carbon-fiber or glass-fiber blends may require hardware changes.
Is nylon always stronger than PETG?
No. Strength has several meanings, including tensile strength, stiffness, impact performance, wear resistance, fatigue and creep. Material grade, moisture condition, fiber reinforcement, print settings and orientation influence the outcome.
Does 100% infill make a printed part strongest?
Not necessarily. Walls, geometry, orientation, layer bonding and stress concentration can matter more than infill percentage. The optimal choice depends on how the component is loaded.
Which printer should I choose for discontinued plastic parts?
Start with the typical size, material and performance requirements of the parts you expect to reproduce. A reliable PETG printer can handle many ordinary household repairs; demanding engineering jobs may justify an enclosed machine with stronger thermal control.
One last question: what are you trying to fix?
A cracked bracket? A worn nylon gear? A snap-fit tab that never survives the second installation? Those details matter more than a printer’s marketing headline.
Tell me in the comments: What part are you trying to make, what material have you tried, and how did the original fail? Your experience may help another reader avoid the same problem.
The best functional 3D printer isn’t necessarily the fastest or the most expensive. It’s the one that gives you control over the material, geometry, and process your parts actually require.
Manufacturer references and further reading
- Bambu Lab: P1S specifications
- QIDI: Plus4 technical specifications
- Prusa: CORE One product details
- 3D Printing by Kevin: Measuring replacement parts
Editorial note: Printer comparisons are based on published specifications and practical material requirements, not controlled side-by-side test data. Manufacturer configurations and supported materials may change. This article provides general guidance; critical engineering applications require appropriate validation.
Affiliate disclosure: Some links on 3D Printing by Kevin may be affiliate links. When a qualifying purchase is made through one of those links, I may earn a commission at no additional cost to the buyer. No unverified affiliate tracking URLs have been inserted into this article.
