
Practical printer buying guide
Put the same small PLA organizer on two well-set-up printers, and the finished parts may give you little reason to guess which machine cost $400 more.
That is what makes the $200 vs $600 3D printer decision tricky. The extra money needs to solve a real problem: fitting a larger part, handling a required material, reducing hands-on work, or finishing more usable pieces in the time you have.
Quick answer: What does the extra $400 buy?
A capable $200-class filament printer can produce excellent PLA and PETG parts. A budget closer to $600 gives you more room to choose a larger build area, an enclosure, a multicolor bundle, or other features that fit your projects.
Price alone does not guarantee better finish, fewer failures, quieter operation, or easier setup. Compare the exact models and included accessories. Spend more when you can name the limitation that the additional capability removes.
Scope: This guide covers desktop filament printers (FDM/FFF). The dollar amounts are illustrative U.S. budgets. Promotions, taxes, shipping, and bundles can move the same machine between price brackets. Product examples illustrate features; this guide does not report measured comparison tests.
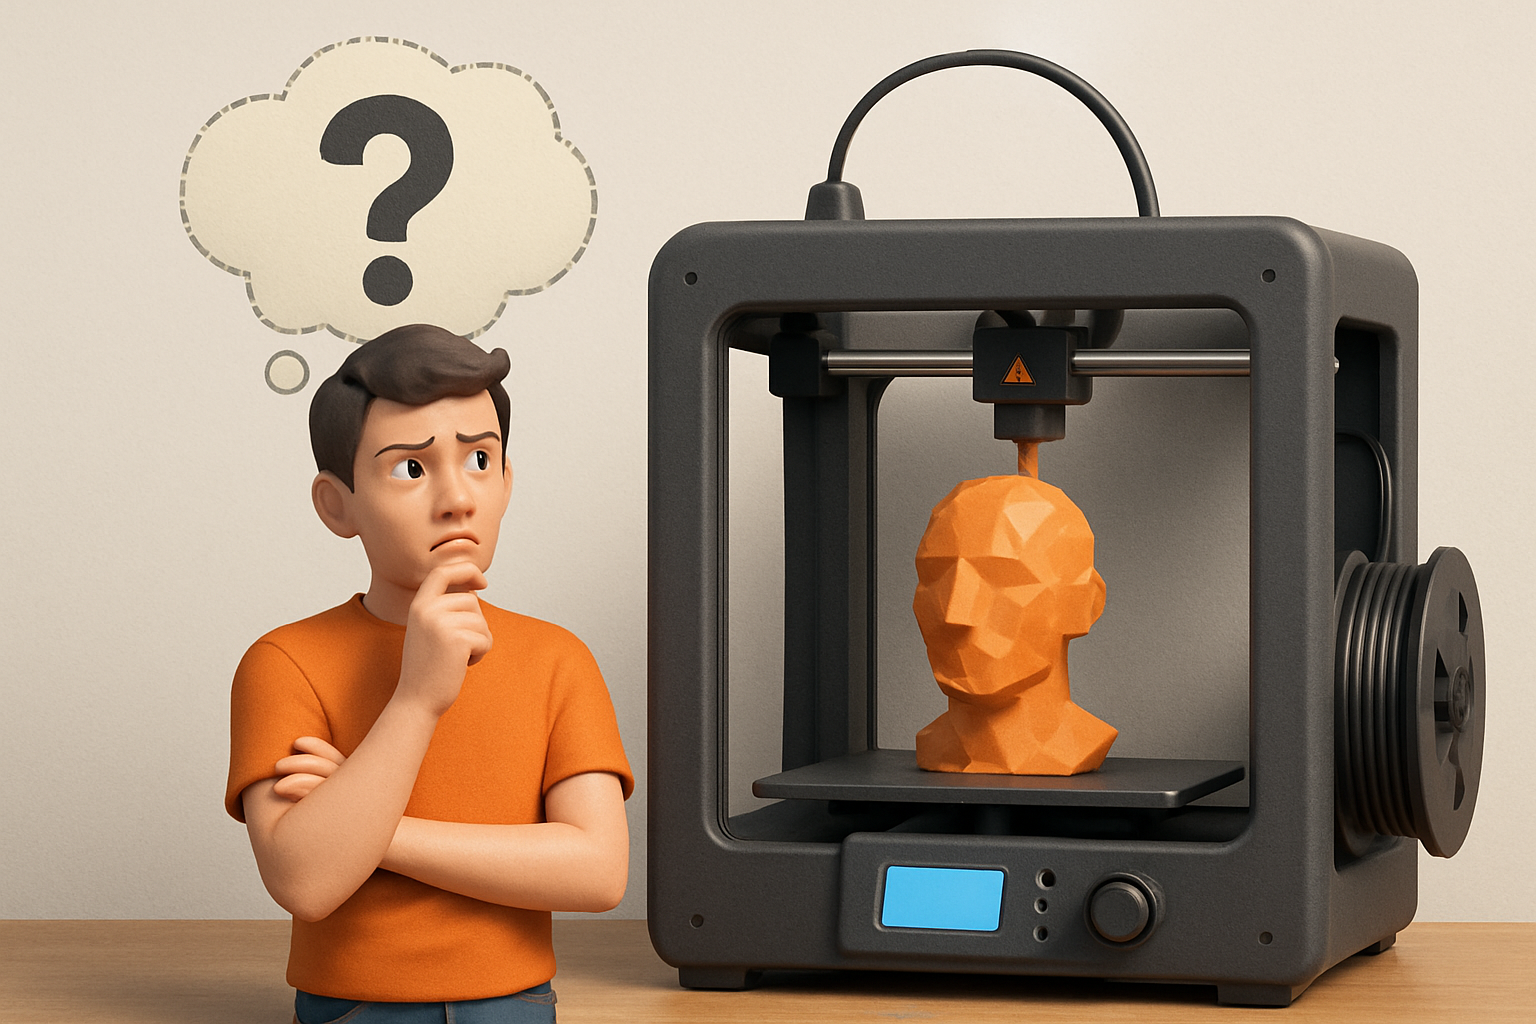
The budget-printer stereotype needs an update
Some inexpensive printers need considerable assembly and adjustment. Others arrive with substantial automation. Calling every budget machine a tinkering project can steer a beginner toward spending money they do not need to spend.
For example, Bambu Lab documents automatic bed leveling, Z-offset calibration, vibration calibration, and flow-related automation for its A1 mini. That is a useful reminder to read the feature list before assuming a compact entry-level printer requires constant manual tuning.
The Bambu Lab P1S illustrates a different feature set: an enclosed body and CoreXY motion. Those differences can matter for particular projects, but the documentation does not establish a universal improvement in every printed object.
These are feature examples, with current prices and package contents to check separately. The same comparison method works across brands.
Make the extra $400 earn its place
Look for a concrete benefit in at least one of these three areas.
Make the required part
More usable build space or a suitable material setup can make a project practical. Check the dimensions and filament requirements first.
Remove a repeated task
Useful calibration, easier servicing, or automatic color changes can reduce specific work. Verify that the lower-cost option lacks the feature.
Finish more usable parts
Compare a representative model at comparable quality. Count setup, printing, cleanup, and reprints when judging turnaround.
$200 vs $600 3D printer: The useful comparison
Use the price brackets to set a budget. Use this checklist to judge the machine inside that budget.
On a narrow screen, swipe the table sideways to compare both columns.
| Decision | Around $200 | Around $600 |
|---|---|---|
| Print quality | Look for clean, repeatable results on the type of part you want. | Ask what improves: finish, speed at that finish, fit, or material capability. |
| Automation | Check automatic Z-offset, leveling, calibration, and the supplied profiles. | Verify the additional automation; features do not increase neatly with price. |
| Build space | Load your largest planned part into the correct slicer profile. | Confirm that the extra space removes a real size or batch limitation. |
| Materials | Verify the exact PLA, PETG, or flexible-filament requirements. | Check enclosure, bed and nozzle limits, wear-resistant parts, and drying needs. |
| Speed | Evaluate a realistic quality profile and a representative model. | Compare usable output and total job time at similar settings. |
| Ownership | Check spare-part availability, documentation, and return terms. | Check those same items, plus the cost of proprietary parts and accessories. |
| Multicolor | Check whether a compatible feeder is included or an additional purchase. | Compare the complete bundle and its ongoing purge waste and time. |
Where a budget printer can be enough
Desk organizers, small models, labels, prototype shapes, and many lightly loaded indoor parts can be sensible projects for a modest printer. A functional part does not automatically require an expensive machine.
Start by checking the part’s dimensions, expected load, temperature, and fit. A well-designed organizer may need ordinary PLA; an outdoor component may call for a different material and printing environment.
For a first printer, I would prioritize a usable stock configuration, clear instructions, available parts, and a good default slicer profile. Learning design, orientation, and fit gives you plenty to work on even when the machine handles its own leveling.
If you are starting from zero, use my 3D printing guide for absolute beginners to understand the complete model-to-part process before buying accessories.
Where spending more can make a real difference
1. The part needs more usable build space
A larger bed is valuable when it fits the actual job. Before paying for one, import your model, choose its print orientation, and allow for supports, a brim when needed, and any reserved areas in the machine’s profile.
For repeated small parts, compare how many fit on the plate and what happens if one fails. Filling the bed is useful only when the finished batch meets your requirements.
2. The material needs a different environment
PLA and PETG commonly work on suitable open-frame printers. ABS and ASA benefit from temperature stability; nylon and filled materials introduce additional requirements that vary by formulation.
Prusa’s material guide separates enclosure, drybox, hardened-nozzle, and temperature requirements. That is a better way to assess compatibility than treating every filament marketed as “strong” as one category.
A high maximum nozzle temperature alone does not prove compatibility. Verify the filament manufacturer’s guidance, bed capability, print surface, chamber needs, and wear resistance throughout the feed path. An enclosure also needs to be suitable for the specific printer.
3. A faster workflow produces more accepted parts
Maximum movement speed is only one limit. Melt capacity, layer height, line width, cooling, acceleration, and model geometry affect the result. Prusa’s maximum volumetric speed explanation shows why the hotend and material can limit printing even when the motion system can travel faster.
Compare the same model with the same nozzle diameter, layer height, walls, and infill using appropriate profiles for each machine. Slicer estimates help you shortlist; finished samples tell you whether quality and fit survived the faster settings.
4. Servicing and software fit how you work
Look up the nozzle-replacement procedure, replacement-parts catalog, warranty terms, and support channel. If local printing matters, verify which functions work without an internet connection and whether setup requires an account.
A camera can help you notice a problem, but check its resolution, viewing access, and actual detection features. Do the same for noise: compare printing and fan behavior at useful settings instead of assuming an enclosure makes a printer quiet.
Calculate the cost beyond checkout
A printer price leaves out filament, tools you do not already own, storage or drying, maintenance, and any workspace changes. Many of those costs apply at both price points.
- Start with the delivered price: Include shipping, tax, and the exact accessories in the package.
- Add requirements: Include supplies and any hardware needed for your chosen material.
- Separate optional upgrades: Buy them to address a demonstrated limitation.
- Track accepted output: Failed prints and cleanup still consume time and material.
A simple example: What would $400 in time savings require?
If you value your hands-on time at an illustrative $20 per hour, an extra $400 requires 20 hours of actual time saved to offset the purchase difference on that basis.
$400 ÷ $20 per hour = 20 hoursThat calculation is a planning example, not a measured saving. Count time you actually recover from setup, intervention, or rework. A shorter print does not necessarily free the same amount of your working time, and personal time value is not cash income.
For filament shopping, COEX is my filament partner. Check the exact product’s recommendations and compare cost per usable part. A familiar, consistent spool is a better basis for troubleshooting than changing brands and settings together.
Multicolor changes what you are comparing
A $600 package may include a filament-changing system, while a $200 listing may cover only the printer. Compare printer-only prices and complete-bundle prices separately.
For a two-color sign with lettering above the base, a supported pause-and-swap workflow may be enough. Designs that change colors repeatedly within each layer are a different job.
With a single-nozzle switching system, inspect the slicer’s full estimate, including purge material and added time. Also check feeder compatibility for each filament; a printer’s material support and its accessory’s material support can differ.
Use the P.R.I.N.T. Method™ before you buy
Copy these five prompts into your project planner. Answer them for three things you expect to print during your first month.
- P — ProblemWhat will the part help you do? Write a specific task, such as organizing drill bits or testing an enclosure design.
- R — RequirementsRecord the size, quantity, environment, appearance, and acceptable turnaround. Include your complete setup budget.
- I — InterfacesIdentify what must fit: holes, clips, mating faces, or sliding clearances. Allow time for a small fit test.
- N — Next-Best Materials & MethodsChoose a suitable material and printing approach. List the minimum machine features that choice requires.
- T — Test & TuneUse representative models and a defined acceptance check. After purchase, verify the stock setup before changing unrelated settings.
Your purchase sentence: “I am choosing this printer because it can make ______ in ______ material, within ______ total budget, and the extra feature I will use is ______.”
Which budget would I choose?
I would start near $200 when a well-supported machine fits the intended parts and materials, provides the automation I need, and leaves room for the complete setup.
I would spend closer to $600 when I can point to a required capability or a credible workflow improvement that the less expensive model cannot provide. Larger parts, a suitable enclosure, and repeated color changes are clear questions to investigate.
Owner discussions can help uncover the practical differences. In this A1-versus-P1S discussion, the buyer’s planned PLA/PETG use and limited need for an enclosure frame the decision. Treat such reports as leads for further checking; they do not establish comparative failure rates.
If a printer you already own produces inconsistent results, work through my symptom-first calibration guide before deciding that price is the cause.
For Creality options, you can check the Creality official store through my affiliate link. Compare the exact configuration, delivered price, return policy, and local support before buying.
Quick knowledge check
Try each question, then open the answer.
1. Does spending three times as much guarantee three times the print quality?
Show answer
No. Additional spending may buy capacity, a different material setup, or workflow features. Evaluate finish and fit on comparable parts.
2. Does automatic bed leveling mean all useful calibration is automatic?
Show answer
No. Leveling, Z-offset, vibration compensation, and filament-related calibration are different functions. Check what the exact model performs.
3. Is a high nozzle temperature enough to approve a printer for nylon or filled filament?
Show answer
No. Verify the exact material’s bed, enclosure, drying, and wear-resistance requirements, plus the manufacturer’s compatibility guidance.
4. What should you compare before accepting a “faster printer” claim?
Show answer
The same representative part at comparable quality settings, including startup, printing, intervention, cleanup, and accepted results.
Frequently asked questions
Is a $200 3D printer good enough for beginners?
Yes, when the exact machine has appropriate capabilities, clear documentation, available parts, and a manageable setup process. Reserve money for supplies and the workspace.
Can a cheap 3D printer make useful replacement parts?
Yes, for suitable applications. Material, geometry, orientation, fit, and testing determine whether the part works. Price does not qualify a part for safety-critical service.
Does a $600 printer fail less often?
You cannot establish that from its price. Look for relevant long-term evidence about the exact model and remember that filament condition, maintenance, design, and profiles also affect success.
Should I buy a budget printer and upgrade it?
That can make sense when you enjoy modifying machines or need one specific improvement. Price the complete plan first, including compatibility and installation effort.
Should beginners start with PLA or PETG?
PLA is a practical first material for learning and many indoor projects. Choose PETG when its properties suit the job, then follow the printer, plate, and filament guidance. Neither material eliminates the need to plan ventilation.
Before checkout: Name the part, choose its material, check the complete setup cost, and identify the feature that earns the extra money.
What would you print first? Leave a comment with your project, the two models you are considering, and the feature making the decision difficult.
