
Practical 3D printing · Updated September 2026
A second material can change what a 3D-printed part actually does. It can add a flexible contact surface to a rigid fixture—or help a stubborn support peel away from a surface you want to keep clean.
That is the useful promise behind multi-material 3D printing. Colorful models draw attention, but easier finishing and more capable parts give the technology a reason to stay on the workbench.
The shift is visible in integrated filament systems, dual-nozzle machines, toolchangers, and slicer features that handle material assignments. The practical question is whether those tools solve a problem in your next print.
Quick Answer
Multi-material printing is becoming more accessible because more of the work is built into the printer and slicer: feeding filament, assigning materials, switching nozzles, and planning supports.
Several colors of PLA make a multicolor print. Combining different material types creates a multi-material workflow. For useful parts, the strongest reasons to try it are removable supports, flexible contact areas, and features that would otherwise require assembly.
My decision rule: add another material when its benefit outweighs the extra print time, waste, setup, and testing.
Multicolor and multi-material are different jobs
The distinction matters before you buy hardware. Four filament slots tell you how many spools a system can manage; they do not prove that any four polymers will feed reliably, print together, or bond to one another.
Change the color
Same material family, different colors. Think contrasting lettering on a PLA drawer label. The main goal is appearance or readability.
Change the function
Different materials stay in the part. Think a rigid body with a flexible pad. The joint between them needs deliberate design and testing.
Improve the release
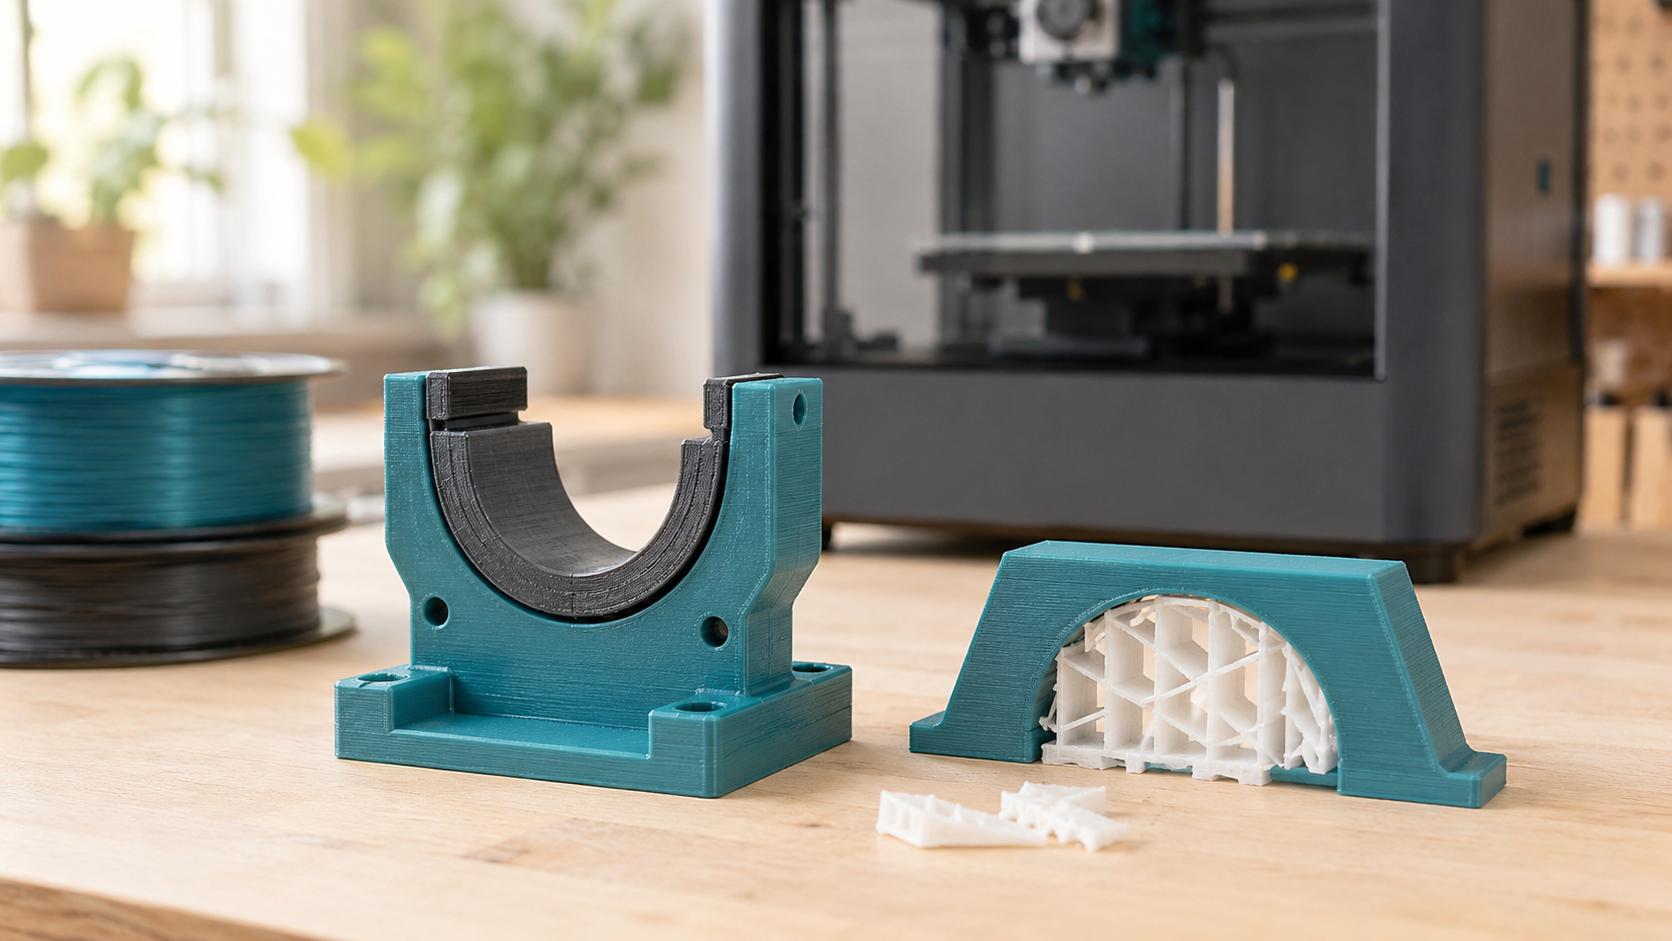
A second material helps during printing. A removable support interface can help the finished part separate from its temporary support.
A support material still makes this a multi-material process, even when the completed object contains only one polymer. That distinction opens up useful projects beyond decorative color changes.
What is making multi-material printing more practical?
1. Filament management is becoming an integrated feature
Automatic filament systems move loading and switching into a managed workflow. Creality sells its CFS filament system, while Bambu Lab introduced AMS 2 Pro and AMS HT with integrated drying in its H2D announcement.
Those features address everyday friction. However, drying capability and feed compatibility are separate checks: a material that can be dried in a unit is not automatically suitable for automatic feeding through it.
2. Separate nozzles offer another way to change materials
With a shared nozzle, a material change has to displace plastic already inside the hotend. Keeping two materials in separate hotends reduces that particular mixing problem.
A 2026 example is Bambu Lab’s April X2D announcement, which describes a main nozzle for the model and an auxiliary nozzle for supports. The Prusa XL/XL+ family offers configurations with multiple separate toolheads. These examples explain hardware approaches; they are not a hands-on ranking.
Multiple nozzles can still need priming, wiping, and alignment checks. Extra spools routed through one of those nozzles can also reintroduce flushing. Count the material paths, not just the advertised color total.
3. Slicers do more of the assignment work
Current software can assign different tools to model parts, perimeters, infill, and support interfaces. Prusa documents these options in its tool-assignment guide.
Its interlocking documentation also describes internal beam structures that help retain adjoining materials. That is useful design assistance, although it does not establish the strength of your particular joint.
4. Support removal gives everyday users a concrete reason to care
A rough underside or a support trapped against a delicate feature is an immediate problem. A suitable interface material may reduce cleanup, even on an otherwise single-material part.
In a May 2026 maker discussion about multi-material supports, users highlighted easier removal while also discussing waste and shared-nozzle contamination. Those experiences are useful prompts for testing; they are not controlled comparisons between printers.
Which printing approach fits your project?
Start with the part you want to make. A label with one color change and a fixture with alternating rigid and flexible regions ask very different things of a machine.
On a phone, swipe the comparison sideways to see every column.
| Approach | A sensible use | What to account for |
|---|---|---|
| Manual pause and swap | Contrasting text or bands at selected layer heights. | Requires intervention; awkward for frequent changes within one layer. |
| Automatic feeder, shared nozzle | Multicolor jobs and explicitly supported material combinations. | Reloading, flushing, feed restrictions, and residual material in the hotend. |
| Separate nozzles or toolheads | Frequent two-material changes, dedicated supports, or compatible rigid/flexible projects. | Nozzle offsets, oozing, priming, hardware cost, and shared bed/chamber conditions. |
| Print separately and assemble | Replaceable pads, inserts, incompatible print conditions, or occasional projects. | Joint design, tolerances, fastening, and assembly time. |
Independent dual-extruder systems and toolchangers are different mechanisms, but both can give a material its own hotend. A single-tool configuration of an expandable printer still needs additional tools before it can use that advantage.
For an occasional household project, separate printed pieces may be the easiest answer. For a repeated job with difficult supports, dedicated material paths deserve a closer look.
The three compatibility checks that still matter
Can the system feed the exact filament?
Check the filament grade and the feeder’s compatibility list. Creality’s original K2 Plus/CFS FAQ, for example, excludes flexible TPU and damp PVA/BVOH from its CFS feed route and directs TPU printing to the external spool holder. Check newer hardware and specialty formulations against their own instructions.
Follow the drying instructions for the exact material and spool. An external spool path can help with some flexible filaments, but its availability does not automatically enable alternating materials in one unattended job.
Can both materials share the printing environment?
Each nozzle may have its own temperature, while the parts still share a bed and surrounding air. Review the materials’ temperature, cooling, and adhesion requirements together.
Prusa’s material-combination guidance discusses shared-bed choices, moisture, oozing, and prime-tower stability. Use guidance for your machine and current slicer version instead of copying a universal settings recipe.
Should the materials bond—or release?
A flexible pad should stay attached. A support interface should come away. Those are opposite goals, so “these materials print together” is not a complete recommendation.
Prusa documents PLA/PETG support combinations. Their usefulness for separation should not be mistaken for evidence of a dependable structural bond. For a permanent joint, test the exact pair and consider retained inserts, dovetails, through-holes, or a slicer-supported interlocking feature.
On a shared nozzle, avoid sending a deliberately nonbonding support material into a structural part’s infill just to hide the waste. Validate flushing with a small specimen that exposes weak layers.
Check the whole job—not only the finished-part weight
A small model can involve many material changes if two colors or polymers appear repeatedly through its height. The number and location of those changes matter more than the spool count alone.
Then add machine time, hands-on finishing, and the cost of unsuccessful attempts.
Illustrative calculation: a 100 g part, 20 g of supports, and 80 g of flushing/priming use 200 g in total. At an assumed $25 per kilogram for all of that filament, the material cost is $5.00, compared with $2.50 for the part alone.
These are example numbers, not a printer benchmark. If the materials have different prices, calculate each material separately. A job that uses more plastic may still be worthwhile when it saves substantial finishing or assembly time.
- Slice a baseline: compare the single-material job with the proposed multi-material version.
- Inspect the preview: find where changes happen and whether the interface material is assigned only where intended.
- Review waste settings carefully: keep enough flushing and priming for reliable transitions.
- Consider a batch: on a shared plate, several copies can share some change overhead. Check the new estimate and the consequences of a failed plate.
- Record the actual result: include cleanup time and rejected parts, not only the slicer’s estimate.
A useful first project: test the support interface
Choose a small, noncritical test piece with a flat underside that needs support. Print it once using your familiar support setup, then try a manufacturer-supported alternative interface.
Where your slicer and support style allow it, assign the second material to the contact interface rather than the entire support structure. Follow the relevant spacing and support-style guidance; a zero-gap recipe for one pair is not a universal setting.
Compare the underside, removal effort, dimensions, total material, and total time. Keep the better sample beside your notes so the next decision starts with something you have actually verified.
For a rigid-and-flexible project, start with a small joint sample instead. Bend, pull, or compress it in the way the finished part will be used before committing to the complete geometry.
If the baseline already has extrusion or adhesion problems, use the 3D printing troubleshooting guide first. The PETG guide can also help you understand one common material before combining it with another.
Plan the project with the P.R.I.N.T. Method™
Copy these five prompts into your project notes. Answering them before slicing makes the hardware decision much clearer.
- Problem
What needs to improve: support removal, grip, readability, assembly time, or something else? Name one measurable benefit.
- Requirements
List the expected load, temperature, flexibility, finish, quantity, and service life. State what counts as a successful result.
- Interfaces
Mark where materials touch each other and other objects. Which interfaces must hold, which must release, and which must remain replaceable?
- Next-Best Materials & Methods
Compare a single-material print, a supported multi-material workflow, and separate pieces assembled afterward. Check the exact filament paths.
- Test & Tune
Print the smallest useful coupon. Record profiles, filament condition, material use, finishing time, and the failure mode before changing one variable.
Decision to record: “The second material earns its place because ______. I will verify that by ______.”
Quick knowledge check
Choose an answer, then open the explanation. Give yourself one point for each correct choice.
Frequently asked questions
Is multi-material printing the same as multicolor printing?
No. Multicolor printing can use several colors of the same polymer. Multi-material printing uses different material types in one job, either in the finished part or as temporary supports.
Do I need a toolchanger for multi-material printing?
No. Some shared-nozzle and dual-extruder systems support selected material combinations. A toolchanger provides separate material paths, but every setup still needs compatible filaments, suitable print conditions, and verified settings.
Can I print TPU with PLA or PETG?
Some systems and material grades allow these combinations, but feeding and bonding are separate questions. Check the exact TPU grade, material path, and shared print conditions, then test a small joint or design mechanical retention.
Does multi-material printing always create more waste?
Waste depends on the material paths, number of changes, and support strategy. Shared-nozzle changes need flushing; separate nozzles may still need priming and wiping. Compare the complete sliced job, including supports, with a single-material or assembled alternative.
Make the next material earn its place
The most convincing multi-material project has a clear payoff: a support that releases cleanly, a contact surface that flexes, or an assembly step you can remove reliably.
Start with that payoff, check the complete workflow, and print a small test. The useful upgrade is the one that makes the finished part better.
Have a fixture, holder, or replacement-part project in mind? Send the project details and intended use so we can consider the appropriate material and production method.
What would make a second material worthwhile for you: easier support removal, a flexible section, or clearer labeling? Share your printer and project in the comments.
Sources and further reading
Manufacturer documentation checked September 1, 2026. Model references explain hardware approaches; the cost example is illustrative. Follow current instructions for your exact machine and slicer.
- Bambu Lab H2D announcement — integrated drying in the newer AMS systems.
- Bambu Lab X2D announcement — a 2026 dual-nozzle support workflow.
- Creality K2 Plus/CFS FAQ — original-system filament restrictions.
- Prusa XL/XL+ product information — separate-toolhead configurations.
- Prusa: combining materials — material pairs and process limitations.
- PrusaSlicer: interlocking and advanced bonding — geometric retention options.
