
Fast 3D printing sounds simple: raise the speed setting and get the part sooner. Modern printers make that idea especially tempting with headline numbers such as 500 mm/s and 600 mm/s.
But the number printed on the box is only one part of the system. Your real print speed depends on how quickly the machine can change direction, how much plastic the hotend can melt, how much cooling the part needs, which feature is being printed, and what the slicer allows.
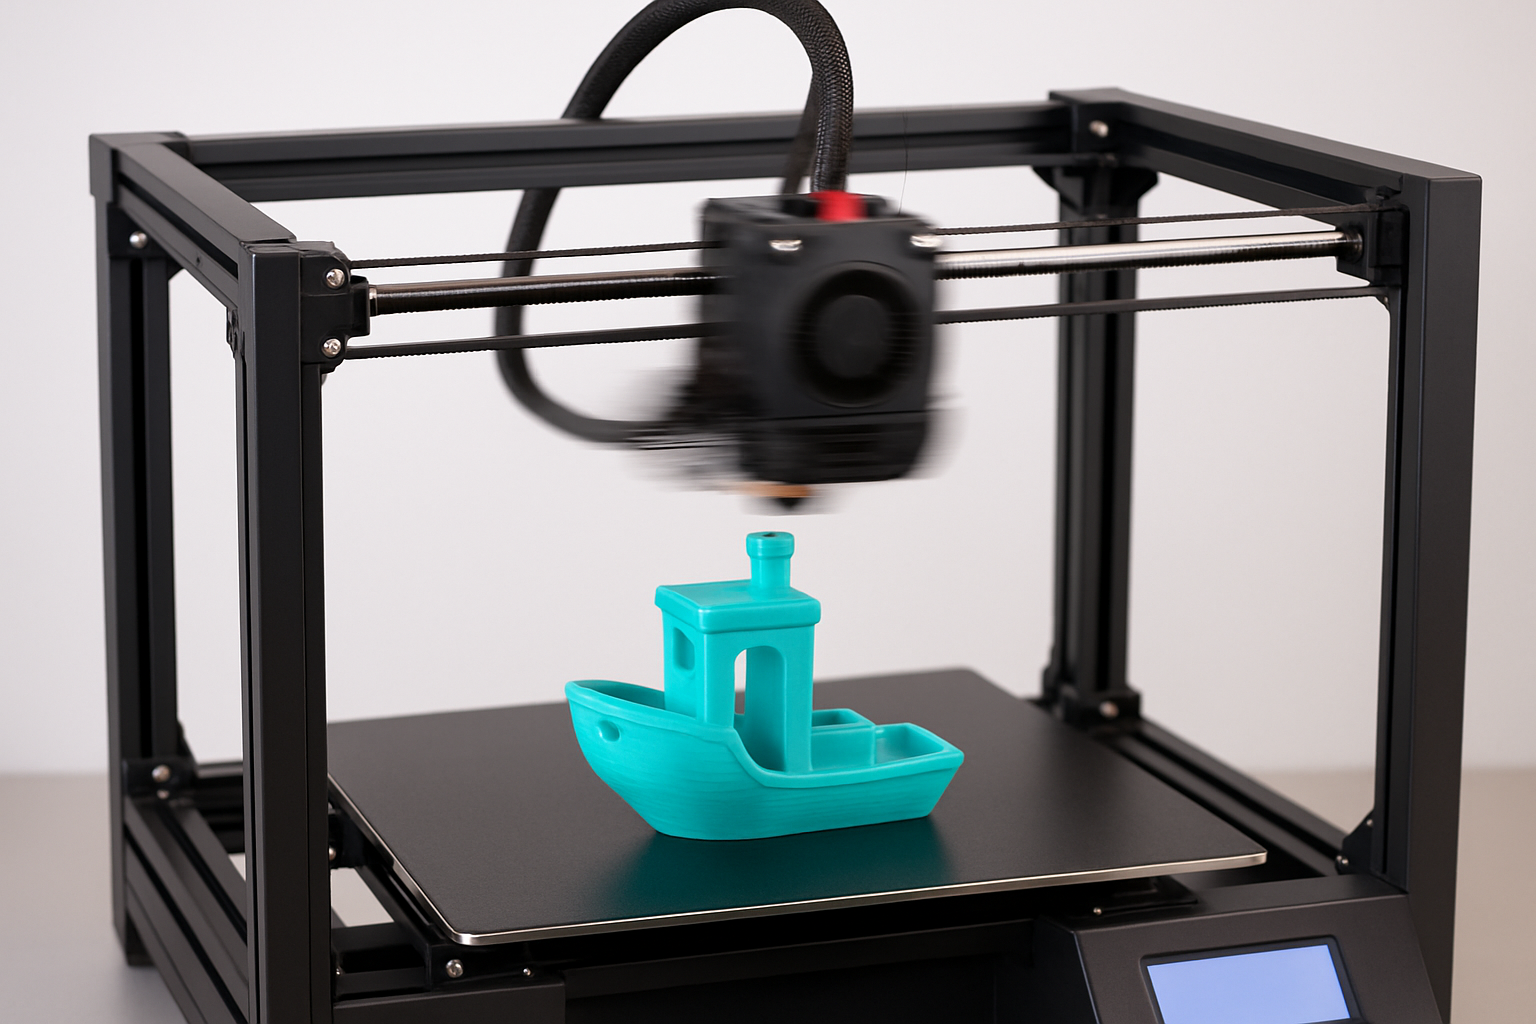
Quick Answer: What Does 500 mm/s Really Mean?
A 500 mm/s rating means the printer’s motion system is capable of moving the toolhead at that speed under specified conditions. It does not mean every wall, bridge, top surface or tiny detail will be extruded at 500 mm/s.
For real users, the more useful numbers are print acceleration, maximum volumetric flow, cooling capacity and the speeds assigned to individual features in the slicer.
500 mm/s Is a Capability, Not a Promise
Think about the difference between a vehicle’s top speed and the time it takes to complete a trip. Knowing one number does not tell you what happens at intersections, curves, slow zones or traffic.
A sliced 3D model works the same way. The printer might use one speed for infill, another for outer walls, another for bridges, and a much slower setting for the first layer or tiny features.
Those three numbers need to work together. A high value in one column cannot compensate indefinitely for a bottleneck in another.
The Number Most Speed Marketing Leaves Out: Volumetric Flow
This is where fast 3D printing becomes much easier to understand.
Your nozzle is not just moving through space. It is laying down a road of plastic with a certain width and height. The faster that road is produced, the more plastic has to pass through the hotend each second.
The Fast-Printing Reality Check
Suppose you are printing with:
- 0.20 mm layer height
- 0.45 mm line width
- 500 mm/s print speed
That is a lot of plastic to melt continuously.
For comparison, Bambu Lab currently specifies the X1 Carbon at up to 500 mm/s toolhead speed, 20,000 mm/s² acceleration and a maximum hotend flow of 32 mm³/s in its stated ABS test conditions. Creality advertises the K1 at up to 600 mm/s and 32 mm³/s maximum flow while also listing 300 mm/s as its typical speed.
Those are not contradictions. They demonstrate why maximum motion speed and sustained extrusion speed are two different measurements.
Sources: Bambu Lab X1 Carbon specifications and Creality K1 specifications.
So How Fast Could a 32 mm³/s Hotend Go?
Using that same 0.20 mm layer height and 0.45 mm line width, the rough calculation works backward:
That does not mean 356 mm/s is automatically the correct setting. Actual sustainable flow changes with filament, temperature, nozzle geometry, extrusion width and the quality level you expect.
But it shows why blindly entering 500 mm/s can accomplish very little. A modern slicer may reduce the effective speed because another limit is reached first.
Acceleration Matters—but Modern Printers Change the Old Rule
You will often hear that a printer needs an extremely long straight line before it can reach 500 mm/s. That was a useful simplification for slower-accelerating machines, but today’s printers deserve a more precise explanation.
At a theoretical acceleration of 20,000 mm/s², accelerating from rest to 500 mm/s requires only about 6.25 mm of travel. The printer also needs room to decelerate, however, and real slicer profiles may use lower acceleration limits for outer walls, bridges or other features.
Then corners enter the picture. So do extrusion flow, vibration control, cooling and the geometry of the toolpath.
The practical takeaway is not that a printer can never reach its maximum speed. It is that reaching maximum speed and spending a meaningful portion of the print there are different things.
Why a Benchy Does Not Tell the Whole Story
A fast Benchy is entertaining and useful as a standardized demonstration, but your next replacement bracket may have completely different toolpaths.
| Part type | What usually controls speed | Useful strategy |
|---|---|---|
| Large organizer | Long walls, infill and hotend flow | Run internal features faster while protecting visible surfaces. |
| Small bracket | Corners, holes and short toolpaths | Prioritize dimensional accuracy and feature-specific acceleration. |
| Prototype fit test | Iteration time | A faster draft profile often makes sense. |
| Display part | Outer-wall finish and detail | Slow the surfaces people will actually see. |
| Bridge-heavy model | Cooling and unsupported extrusion | Use dedicated bridge settings rather than one global speed. |
This is why I prefer thinking about the fastest useful speed, not the largest number a machine can survive.
What Input Shaping Actually Does
High acceleration creates vibration. When the machine changes direction quickly, that vibration can appear as repeating ripples or echoes around corners—usually called ringing or ghosting.
Input shaping is designed to reduce those vibration effects. Klipper’s documentation describes ringing as a mechanical-vibration problem associated with rapid direction changes and notes that mechanical issues such as frame rigidity, belt condition, alignment and moving mass should still be addressed.
Klipper’s official resonance compensation documentation is worth reading if you want the technical side.
Pressure Advance Handles a Different High-Speed Problem
Speed changes also change pressure inside the nozzle. Plastic does not instantly stop flowing simply because the toolhead reaches a corner.
Pressure advance attempts to compensate for that behavior so extrusion remains more consistent while the printer accelerates and decelerates. Poor tuning can show up as messy corners, inconsistent line widths or other extrusion artifacts.
If your printer uses Klipper, see the official pressure advance documentation rather than copying somebody else’s value from a different machine.
Fast Printing Does Not Mean Every Setting Should Be Fast
This is where modern slicers become much smarter than a single “print speed” box.
A good high-speed profile might deliberately use:
- fast sparse infill,
- moderately fast inner walls,
- slower outer walls,
- special bridge speeds,
- reduced speeds on small features,
- careful first-layer settings, and
- a maximum volumetric flow limit appropriate for the filament.
That is not the printer failing to achieve its advertised speed. It is the profile using speed where speed helps and restraint where quality matters.
What Happens When You Exceed the Flow Limit?
The usual warning signs are not mysterious once you know what to look for.
- Thin or incomplete extrusion lines
- Gaps in walls or top surfaces
- A matte or inconsistent surface where the filament is no longer flowing normally
- Extruder clicking or slipping
- Weak or inconsistent layers
- A print that improves immediately when extrusion demand is reduced
If those symptoms sound familiar, use my 3D printing troubleshooting guide rather than changing five slicer settings at once.
Should You Buy Special “High-Speed” Filament?
Not automatically.
Some filaments and manufacturer profiles are designed to support greater melt flow, but a label on the spool is not a substitute for testing. Standard filament may work very well at high speed when the printer, temperature, nozzle and flow demand are compatible.
Start with the filament manufacturer’s recommended range and a tested slicer profile. Then determine the practical flow limit for your actual spool and hardware.
I use COEX filament when consistency matters in my own workflow. You can visit my COEX partner page and use code 3DPRINTINGBYKEVIN for 15% off where applicable.
Affiliate disclosure: I partner with COEX 3D. If you purchase through that link, I may earn a commission at no additional cost to you. A different spool will not fix a mechanical or poorly configured slicer problem, so diagnose first.
When Slowing Down Is Still the Better Decision
Fast printers have dramatically improved what is possible on a desktop machine, but the correct speed still depends on the job.
Fine lettering, precision holes, small mating features, visible outer walls, thin towers, some flexible-filament prints, bridges and difficult overhangs may benefit from lower feature speeds even when the rest of the part runs quickly.
For the other side of this discussion, read What Happens When You Slow Your 3D Printer Down?
And if you are deciding whether a fast printer is actually worth buying, I intentionally keep that question separate in Are 500mm/s 3D Printers Actually Better? The Real Answer for 2026.
A Better Way to Tune Fast 3D Printing
Kevin’s Fast-Print Planner
Before moving the speed slider, record these six things:
| 1. Purpose | Prototype, functional part, display piece or final fit test? |
|---|---|
| 2. Geometry | Long simple paths or lots of tiny corners and holes? |
| 3. Extrusion | Nozzle diameter, layer height and line width? |
| 4. Material | Which filament and temperature profile are you actually using? |
| 5. Flow limit | What maximum volumetric flow remains clean and consistent? |
| 6. Quality limit | Which feature fails first as speed or acceleration rises? |
Change one variable, run a controlled test, and record the result. That gives you a repeatable profile instead of a lucky print.
Use the P.R.I.N.T. Method™ Instead of Chasing a Number
The same P.R.I.N.T. Method™ I use for practical projects works surprisingly well for speed tuning.
Problem: Decide what you are actually trying to improve—total print time, iteration speed, surface finish or production throughput.
Requirements: Record material, dimensions, strength, appearance and deadline.
Interfaces: Pay attention to holes, snap fits, bridges, mating surfaces and the build-plate interface.
Next-Best Materials & Methods: Choose the nozzle, layer height, material and speed strategy that fit the job rather than forcing the same profile onto everything.
Test & Tune: Print the smallest useful test that answers your question before committing to the final part.
If you want the complete planning workflow, the revised P.R.I.N.T. It: Practical 3D Printing for Beginners includes printable planners, troubleshooting references and a fillable project worksheet.
Four-Question Fast 3D Printing Knowledge Check
1. A printer says “500 mm/s.” Does that mean every printed line runs at 500 mm/s?
Answer: No. Feature-specific speeds, acceleration, flow limits, cooling requirements and toolpath geometry can all reduce the actual extrusion speed.
2. At 0.20 mm layer height and 0.45 mm line width, roughly how much flow would 500 mm/s require?
Answer: About 45 mm³/s using the simple planning calculation 0.20 × 0.45 × 500.
3. What should you suspect if the printer moves quickly but extrusion becomes thin and inconsistent?
Answer: Volumetric flow is one important possibility. Check the hotend, filament path, temperature, nozzle and material profile before assuming the motion system is the problem.
4. Should outer walls, infill and bridges always use the same speed?
Answer: No. Modern profiles intentionally vary speed by feature. Fast internal moves can save time while slower visible or difficult features protect quality.
My 2026 Verdict on Fast 3D Printing
The 500 mm/s number is not meaningless. Modern motion systems genuinely are faster, and the stiff frames, lightweight toolheads, better firmware, stronger cooling and high-flow hotends developed for fast printing have made everyday desktop printing dramatically more capable.
But the headline number is still only the beginning.
For real users, speed is a system:
motion + acceleration + extrusion flow + cooling + material + geometry + slicer strategy.
When those pieces agree, fast printing is fantastic. You can iterate prototypes faster, finish utility parts sooner and spend less time waiting for the next design decision.
When they do not agree, 500 mm/s is just an impressive setting that your print spends the rest of the job trying to survive.
The goal is not to make your printer move as fast as possible.
The goal is to make the finished part arrive as quickly as possible without giving up what made the part useful in the first place.
Need the Part More Than You Need Another Tuning Session?
If you have a replacement part, bracket, clip, prototype, mount or custom model you need produced, send me the project details. I can review the model, intended use, material needs and quantity before we decide on the next step.
Request a 3D Printing Project ReviewFrequently Asked Questions
Is 500 mm/s a real 3D printing speed?
Yes. Modern printers can reach speeds in that range under suitable conditions. The important distinction is that reaching 500 mm/s does not mean every feature of every model is extruded continuously at that speed.
Why does my slicer show a slower print than I expected?
The slicer may be limiting individual feature speeds, acceleration, minimum layer time or maximum volumetric flow. Small geometry and frequent direction changes can also prevent sustained high-speed extrusion.
Is acceleration more important than maximum speed?
Both matter. Acceleration determines how quickly a machine can change speed, while maximum speed defines the upper motion limit. On many real models, volumetric flow, cooling and feature-specific slicer limits become equally important.
Does faster 3D printing make parts weaker?
Not automatically. Problems arise when the chosen speed causes inadequate melting, poor extrusion, inappropriate cooling or other process issues. Strength should be tested using the actual material, orientation and settings intended for the finished part.
Do I need a CoreXY printer for fast 3D printing?
No. CoreXY layouts are common among today’s fast printers because they can control moving mass efficiently, but the kinematic layout alone does not guarantee good results. Frame design, motion components, extrusion capacity, firmware and tuning all matter.
What should I tune first on a fast printer?
Start with a known-good manufacturer profile and confirm basic mechanical condition, extrusion and first-layer performance. Then test flow capability and increase speed or acceleration in controlled steps rather than changing everything at once.
What Is Limiting Your Printer?
If you are trying to make a fast printer faster, leave a comment with your printer, nozzle size, filament, layer height and the symptom you see when speed increases. Those details make it much easier to separate a motion problem from a flow, cooling or slicer problem.
