
THE NEXT PRINT STARTS AT THE SPOOL
That little snap deserves a closer look.
A strand breaks. The printer runs out of material halfway through a useful part. Before you spend the evening changing settings, find out what the break is telling you.
A spool of PLA that suddenly breaks can send you straight toward a filament dryer. Sometimes that is the right move. But a tight bend, a snagging spool, or damaged material can lead you to the same frustrating result.
Start with the break location, the way the spool feeds, and what comes out of the nozzle. Together, those clues give you a better next step than a snap test alone.
Quick answer: How do you stop filament snapping?
Check that the spool turns freely and the filament follows a gentle, unobstructed path. If moisture is suspected, dry the exact material using its manufacturer’s instructions, then repeat a small test print. Drying can help, but it cannot guarantee that every brittle spool will become reliable again.
First, find where the filament breaks
Pause the job and inspect the route from spool to extruder. Follow your printer’s unloading procedure before clearing a broken piece; do not force filament through a blocked tube.
- At the spool: Check for a trapped end, crossed loop, or holder that resists turning.
- At a guide or tube entrance: Look for a sharp bend, rubbing edge, or damaged tube.
- Inside the feed path: Note whether breaks repeatedly occur in the same place.
- In several places while handling: Compare the suspect spool with a known-good spool of the same material, ideally the same product.
Different formulations bend differently. Avoid repeatedly folding filament until it snaps and treating that as a calibrated test. Polymaker’s brittle-filament guidance also addresses gentle routing and filament condition.
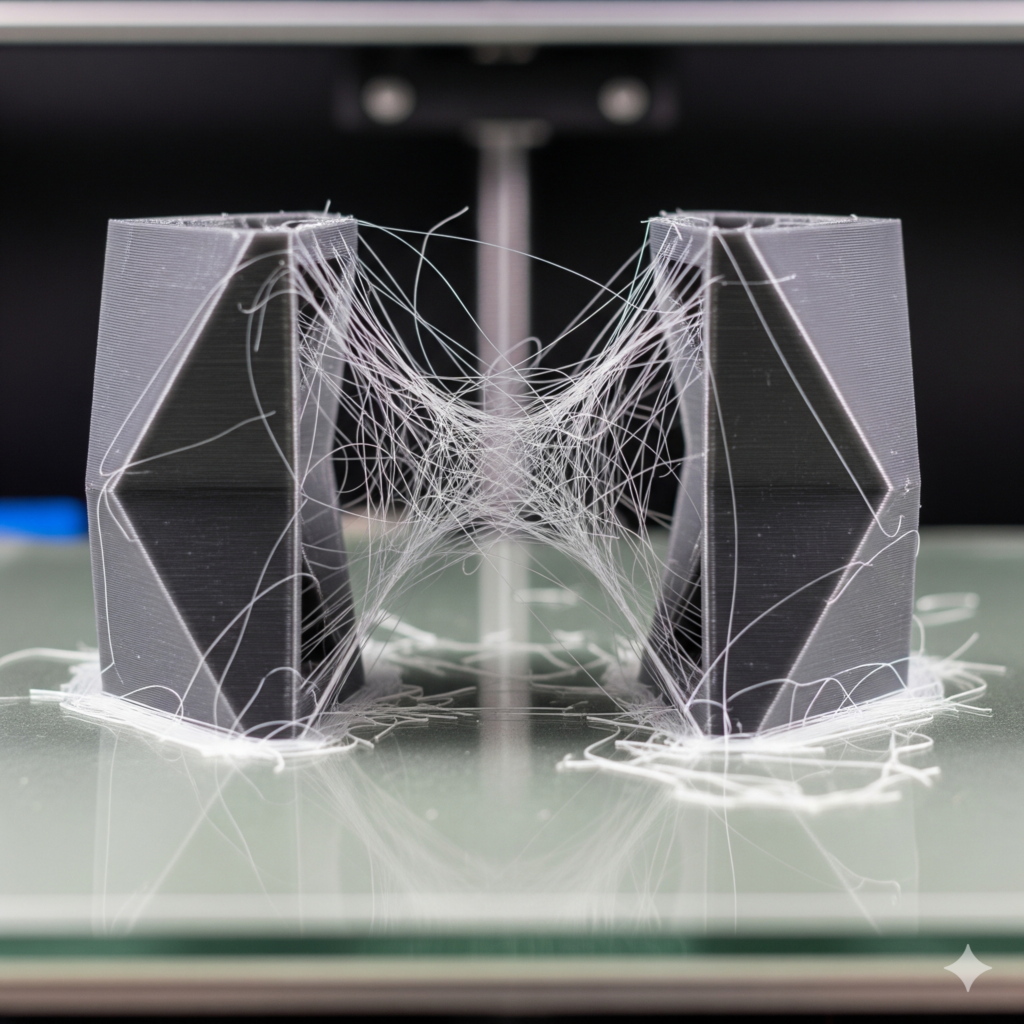
Moisture or a feeding problem? Compare the clues
| What you notice | What to check next |
|---|---|
| Popping, bubbles, or unusually rough extrusion | Investigate moisture and run a controlled drying test. |
| Breaks at the same bend or guide | Inspect routing and friction before changing slicer settings. |
| Spool stops turning before the break | Check the holder, winding, and trapped filament. |
| Stringing without other symptoms | Review material condition and the temperature/retraction profile; stringing alone is inconclusive. |
| Known-good material also fails | Broaden the investigation to the feed system and extrusion problem. |
Moisture can affect extrusion as absorbed water heats in the hotend. However, a rough print is not a laboratory diagnosis. See Polymaker’s wet-filament guide for the symptoms and material-care background.
Three checks before another full print
01 · TRACE
Does the spool turn freely? Is the route smooth?
Correct resistance first.
02 · CHECK
Does the symptom fit moisture trouble?
Find the exact drying instructions.
03 · PROVE
Does the same small test improve?
Record the result before scaling up.
Dry the spool with a specific recipe
Find the drying instructions for the exact brand and product, including any filled or specialty version. Check the spool’s heat limit too. A setting suitable for one material may damage another.
For a concrete example, Prusa’s Prusament drying table lists 45°C for 6 hours for PLA/rPLA and 55°C for 6 hours for PETG. These are Prusament instructions, not universal settings for every PLA or PETG spool.
Follow the specified cycle instead of raising the heat to hurry things along. Prusa also warns that excessive temperatures can soften filament and make adjacent strands stick together.
Give the drying test a fair comparison
Pick a small model that showed the problem. Save the profile and label the result “before drying.” After the approved cycle, print that same file with the same settings.
Compare the feed behavior, extrusion sounds, visible surface, and whether the strand still breaks. Changing temperature, retraction, speed, and drying at once makes the result harder to interpret.
- Clear improvement: Moisture was likely contributing. Record the cycle and protect the spool during storage.
- Better extrusion, continued snapping: Investigate routing and material brittleness separately.
- No useful improvement: Compare with known-good material and contact the supplier if the spool is unusable, especially when newly opened.
Do not commit an uncertain spool to a long replacement-part print. If the material feeds but extrusion remains inconsistent, continue with the 3D printing troubleshooting guide.
Drying and storage do different jobs
An active dryer addresses absorbed moisture. A sealed container with maintained desiccant helps keep dried filament from taking on more. A humidity display describes the air around its sensor; it does not directly measure water inside the strand.
Close the container between uses, secure the filament end, and maintain the desiccant according to its instructions. Label the spool with its opening date and the last useful drying cycle. For moisture-sensitive materials or long jobs, follow the manufacturer’s guidance about feeding from dry storage.
Put the result in your P.R.I.N.T. planner
Give this troubleshooting session a record you can use the next time the spool comes out.
- Problem: Where did it break, and when?
- Requirements: What must the next print achieve?
- Interfaces: Which holder, guides, and tubes touch the filament?
- Next-Best Materials & Methods: Which check or manufacturer-approved drying cycle will you try?
- Test & Tune: Which small file will you repeat, and what changed?
Record: brand/product · spool condition · break location · cycle temperature/time · test file · result.
For a reusable project-planning framework, see P.R.I.N.T. It Practical: 3D Printing for Beginners.
Four quick checks before you restart
Choose your answer, then open the explanation.
1. A strand snaps at a tight guide. What comes first?
A. Raise nozzle temperature.
B. Inspect the guide and feed path.
C. Increase infill.
Reveal answer
B. The break location gives you a specific place to inspect before changing the print profile.
2. Which drying setting should you choose?
A. The hottest setting available.
B. A temperature from any PETG chart.
C. The instructions for your exact product and compatible spool.
Reveal answer
C. Confirm both the material instructions and the spool’s limits before heating.
3. What makes a before-and-after test useful?
A. The same file and settings, with drying as the change.
B. A new model and four new settings.
C. Skipping the test and starting the longest job.
Reveal answer
A. Keeping the comparison consistent makes an improvement easier to connect to drying.
4. Does a low dry-box humidity reading prove the spool is dry?
A. Yes, instantly.
B. No; it measures the surrounding air.
C. Yes, if the lid is transparent.
Reveal answer
B. Judge the material using its recommended drying procedure and the actual printing result.
Frequently asked questions
Does every new spool need drying?
No blanket rule fits every product. Follow the maker’s directions and assess the print. Polymaker, for example, says its filament is dried before packaging and should arrive ready to print with an intact seal. An unopened bag alone is not a reason to assume a manufacturing failure.
Will drying always fix brittle PLA?
No. It is a useful troubleshooting step when moisture is suspected, but continued breakage needs further investigation. Check the path and compare another spool before repeatedly heating material that remains unreliable.
Should I buy a new printer to fix snapping?
First establish whether the problem follows the spool or stays with the machine. A known-good spool and a short repeatable test can make that decision much clearer.
Can I just slow down the print?
Changing speed adds another variable. Complete the feed-path inspection and material check, then investigate speed if the remaining symptom points that way.
Where does your filament snap?
Tell me the material and brand, the break location, and whether you hear popping or see rough extrusion. If you tried drying, include the temperature, time, and result. Those details make the comments useful for the next maker facing the same problem.
Technical references: Prusa drying guidance; Polymaker brittle-filament guidance; Polymaker wet-filament guidance. Reviewed September 13, 2026.
