
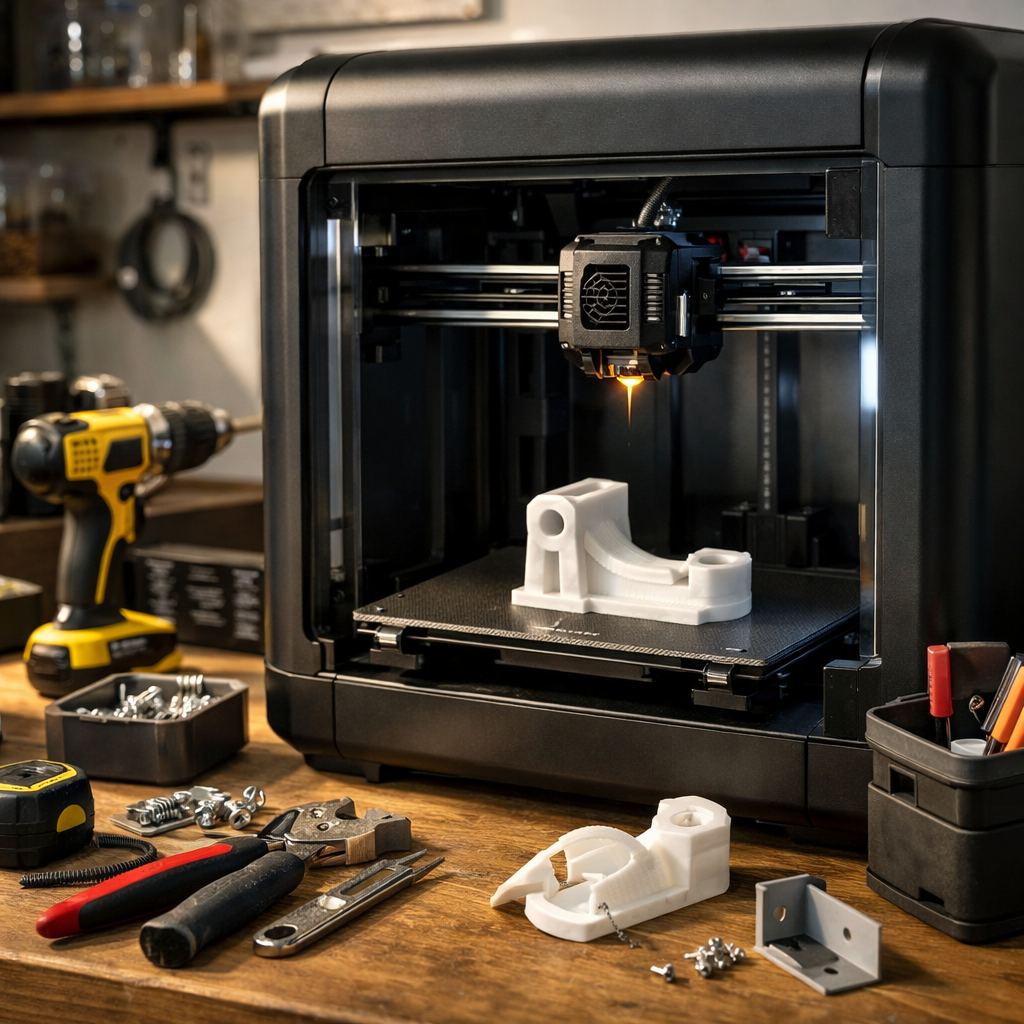
A drawer divider is easy to buy—until your drawer is an awkward size. A replacement spacer sounds simple—until the manufacturer stops selling it.
These small frustrations explain why 3D printers are becoming household tools. Their strongest selling point is the ability to make a useful part for the exact space, object, or repair in front of you.
What makes a printer useful around the house?
The useful question is straightforward: What can this machine make that I cannot easily buy? A standard storage bin may cost less at a store. A narrow tray shaped around the plumbing under your sink is a different proposition.
That distinction keeps expectations realistic. This is a practical-use argument, not evidence that every household is buying a printer. The opportunity is strongest when fit, availability, or a small design change matters.
My approach to a household project is to start with the problem. Decide what the part must do before choosing a model, material, or machine.
Why the learning curve is getting more manageable
Some current printers automate steps that once required more manual adjustment. For example, Prusa documents automatic first-layer calibration on the MK4S. Features like this remove one recurring setup task; they do not guarantee that every model will print successfully.
You still need a clean build surface, a suitable filament profile, and a sensible orientation. A machine cannot decide whether a downloaded hook is appropriate for the load you plan to hang from it.
Ready-made models also give beginners a starting point. Check dimensions, assembly notes, licensing, and the model’s intended use before printing. A photograph of a finished part is helpful, but it is not proof of fit or strength.
Six household jobs worth considering
| Project | Why print it? | Check first |
|---|---|---|
| Drawer dividers | Fit an unusual drawer or specific tools. | Measure usable space and opening clearance. |
| Desk cable guides | Route charging cables exactly where needed. | Avoid sharp edges and pinched insulation. |
| Remote-control cradles | Match an odd-shaped remote. | Leave finger access and removal clearance. |
| Light-duty spacers | Fill a specific gap. | Exclude structural or safety-related uses. |
| Small tool trays | Keep frequently used tools in order. | Measure handles and allow lifting space. |
| Furniture bumpers | Create a custom shape in flexible material. | Test compression, slipping, and surface marking. |
A good first project teaches one thing at a time. A small tray teaches sizing and first-layer basics without adding the challenge of a spring clip or a heavily loaded bracket.
Replacement parts are promising—with clear limits
A tiny missing part can make a larger item inconvenient to use. When a suitable replacement is unavailable, a printable design offers another route.
There are documented manufacturer initiatives in this direction. In its May 2025 Fixables announcement, Philips described working with Prusa Research and LePub on printable replacement parts for personal-health products. That is a specific repair initiative, not blanket approval to print any Philips component.
Start by checking the exact product model and available manufacturer replacements. If you move to a custom part, document its dimensions, operating conditions, and how it attaches. See my guide to replacing discontinued plastic parts with 3D printing for the next steps.
Print it, buy it, or get it made?
Owning a printer is only one way to use 3D printing. This decision guide helps separate projects worth making from purchases that are already straightforward.
Choose the route that solves the problem
The part needs a custom fit, failure has minor consequences, and you can test the design.
An affordable replacement already fits, or the job calls for certified hardware or a specified material.
You need one custom part, lack a suitable printer, or need help assessing the design and material.
Illustrative cost check: At an assumed $25 per kilogram of filament, a 30-gram part uses $0.75 of material. That is not its total cost: supports, failed attempts, electricity, machine wear, hardware, and your time still count.
A $3 store-bought organizer can be the better purchase. A custom spacer that restores an otherwise usable item has a different value. Compare the finished solution, including the work needed to get there.
Match the material to the job
The Prusa material guide is a useful starting reference for filament behavior. The following are starting choices, not performance guarantees for a particular part.
- PLA: Start with indoor organizers and prototypes. Avoid heat-exposed applications.
- PETG: Consider it for suitable utility parts needing more toughness and temperature resistance than ordinary PLA.
- ASA: Consider it for UV-exposed outdoor parts. It generally benefits from an enclosure and requires appropriate emissions control.
- TPU: Consider flexible bumpers and grips. Check printer compatibility and the particular filament’s hardness.
Geometry, layer orientation, and print quality also affect performance. More infill cannot rescue a weak connection or make an unsuitable plastic heat resistant. Test the finished part in the conditions where it will be used.
Plan where the printer will live
A home printer needs space for the machine, moving components, filament, and maintenance. Consider noise, hot surfaces, and access by children or pets before choosing its location.
NIOSH guidance on 3D-printing emissions identifies ventilation and other engineering controls as ways to reduce exposure. Although that guidance addresses workplaces, the placement question matters at home too: provide appropriate ventilation and follow the printer and filament manufacturers’ instructions. An enclosure alone is not an exhaust system.
For a first household machine, prioritize reliable setup, supported material profiles, accessible replacement parts, and a build area that suits your actual projects. Measure your likely parts before paying for a larger printer.
Use the P.R.I.N.T. Method™ for your first useful part
Put one project through this checklist before starting a collection of downloaded models. Keep the answers in a notebook so you can repeat what works.
- Problem: Define the inconvenience. Example: the remote keeps slipping behind the desk.
- Requirements: List the size, weight, access needs, and likely temperature.
- Interfaces: Measure where the part touches, clips, or fastens. Include clearance for fingers and nearby objects.
- Next-Best Materials & Methods: Compare printing with buying or modifying an existing holder. Choose the simplest suitable approach.
- Test & Tune: Print a small fit sample when useful, adjust the design, and test the finished part before relying on it.
Record: model version, key dimensions, material, orientation, print profile, fit result, and the next change. Change one meaningful variable at a time so the result teaches you something.
For a fuller reference, explore my practical 3D-printing guide and P.R.I.N.T. Method™.
Quick knowledge check
Choose an answer, then open the explanation.
1. Where does home printing offer the clearest advantage?
A. Every cheap household product
B. A suitable part needing a custom fit
C. Any part made from plastic
Show answer
B. Custom dimensions and unavailable parts are strong reasons to consider printing.
2. Does automatic calibration guarantee a functional part?
A. Yes
B. Only at 100% infill
C. No
Show answer
C. Calibration helps printing, but design, material, orientation, and testing still matter.
3. Which is the better beginner project?
A. A drawer divider
B. A gas fitting
C. A load-bearing chair repair
Show answer
A. A divider teaches sizing with relatively minor consequences if it fails.
4. What belongs in a cost comparison?
A. Filament only
B. Filament and electricity only
C. Materials, retries, time, wear, and required hardware
Show answer
C. Compare the complete usable solution, not just its plastic weight.
Frequently asked questions
Is a 3D printer worth buying for household use?
It can be if you regularly need custom parts and enjoy measuring, learning, and testing. For one occasional repair, a printing service or local makerspace may offer better value. Check access rules and available materials first.
Do I need CAD skills?
You can start with existing models. Basic CAD becomes useful when dimensions need to change or no suitable model exists. Simply scaling a model can also change holes, wall thickness, and fastening features, so inspect those details.
Can I print a replacement from a photograph?
A photograph helps explain the shape but rarely supplies every measurement needed for a working part. Include dimensions, mounting details, and, if possible, the original part or the object it fits.
Will a printed replacement be as strong as the original?
Do not assume so. Material, geometry, manufacturing process, and loading direction all matter. A visually similar print may behave differently from a molded original.
What small household problem would you solve first? Share the missing part, awkward space, or everyday annoyance in the comments—and what has made it difficult to fix.
