
FUNCTIONAL PARTS • SMALL-BATCH PLANNING
The first bracket fits. The screw goes in cleanly. The print looks good enough that you start arranging twenty copies on the build plate.
Pause there. That first part answered a useful question: can this design work once? Before committing to a batch, you need to know whether you can repeat the result—and recognize a copy that falls short.
Quick answer: When is a 3D print ready for a batch?
When you have clear acceptance checks, a documented printing setup, and repeated parts that meet those checks. Start with a successful prototype, repeat it, then try a small pilot batch using the intended layout and finishing process.
For a simple, low-consequence workshop part, that is a practical starting sequence. It is not a universal sample count or proof of long-term reliability.
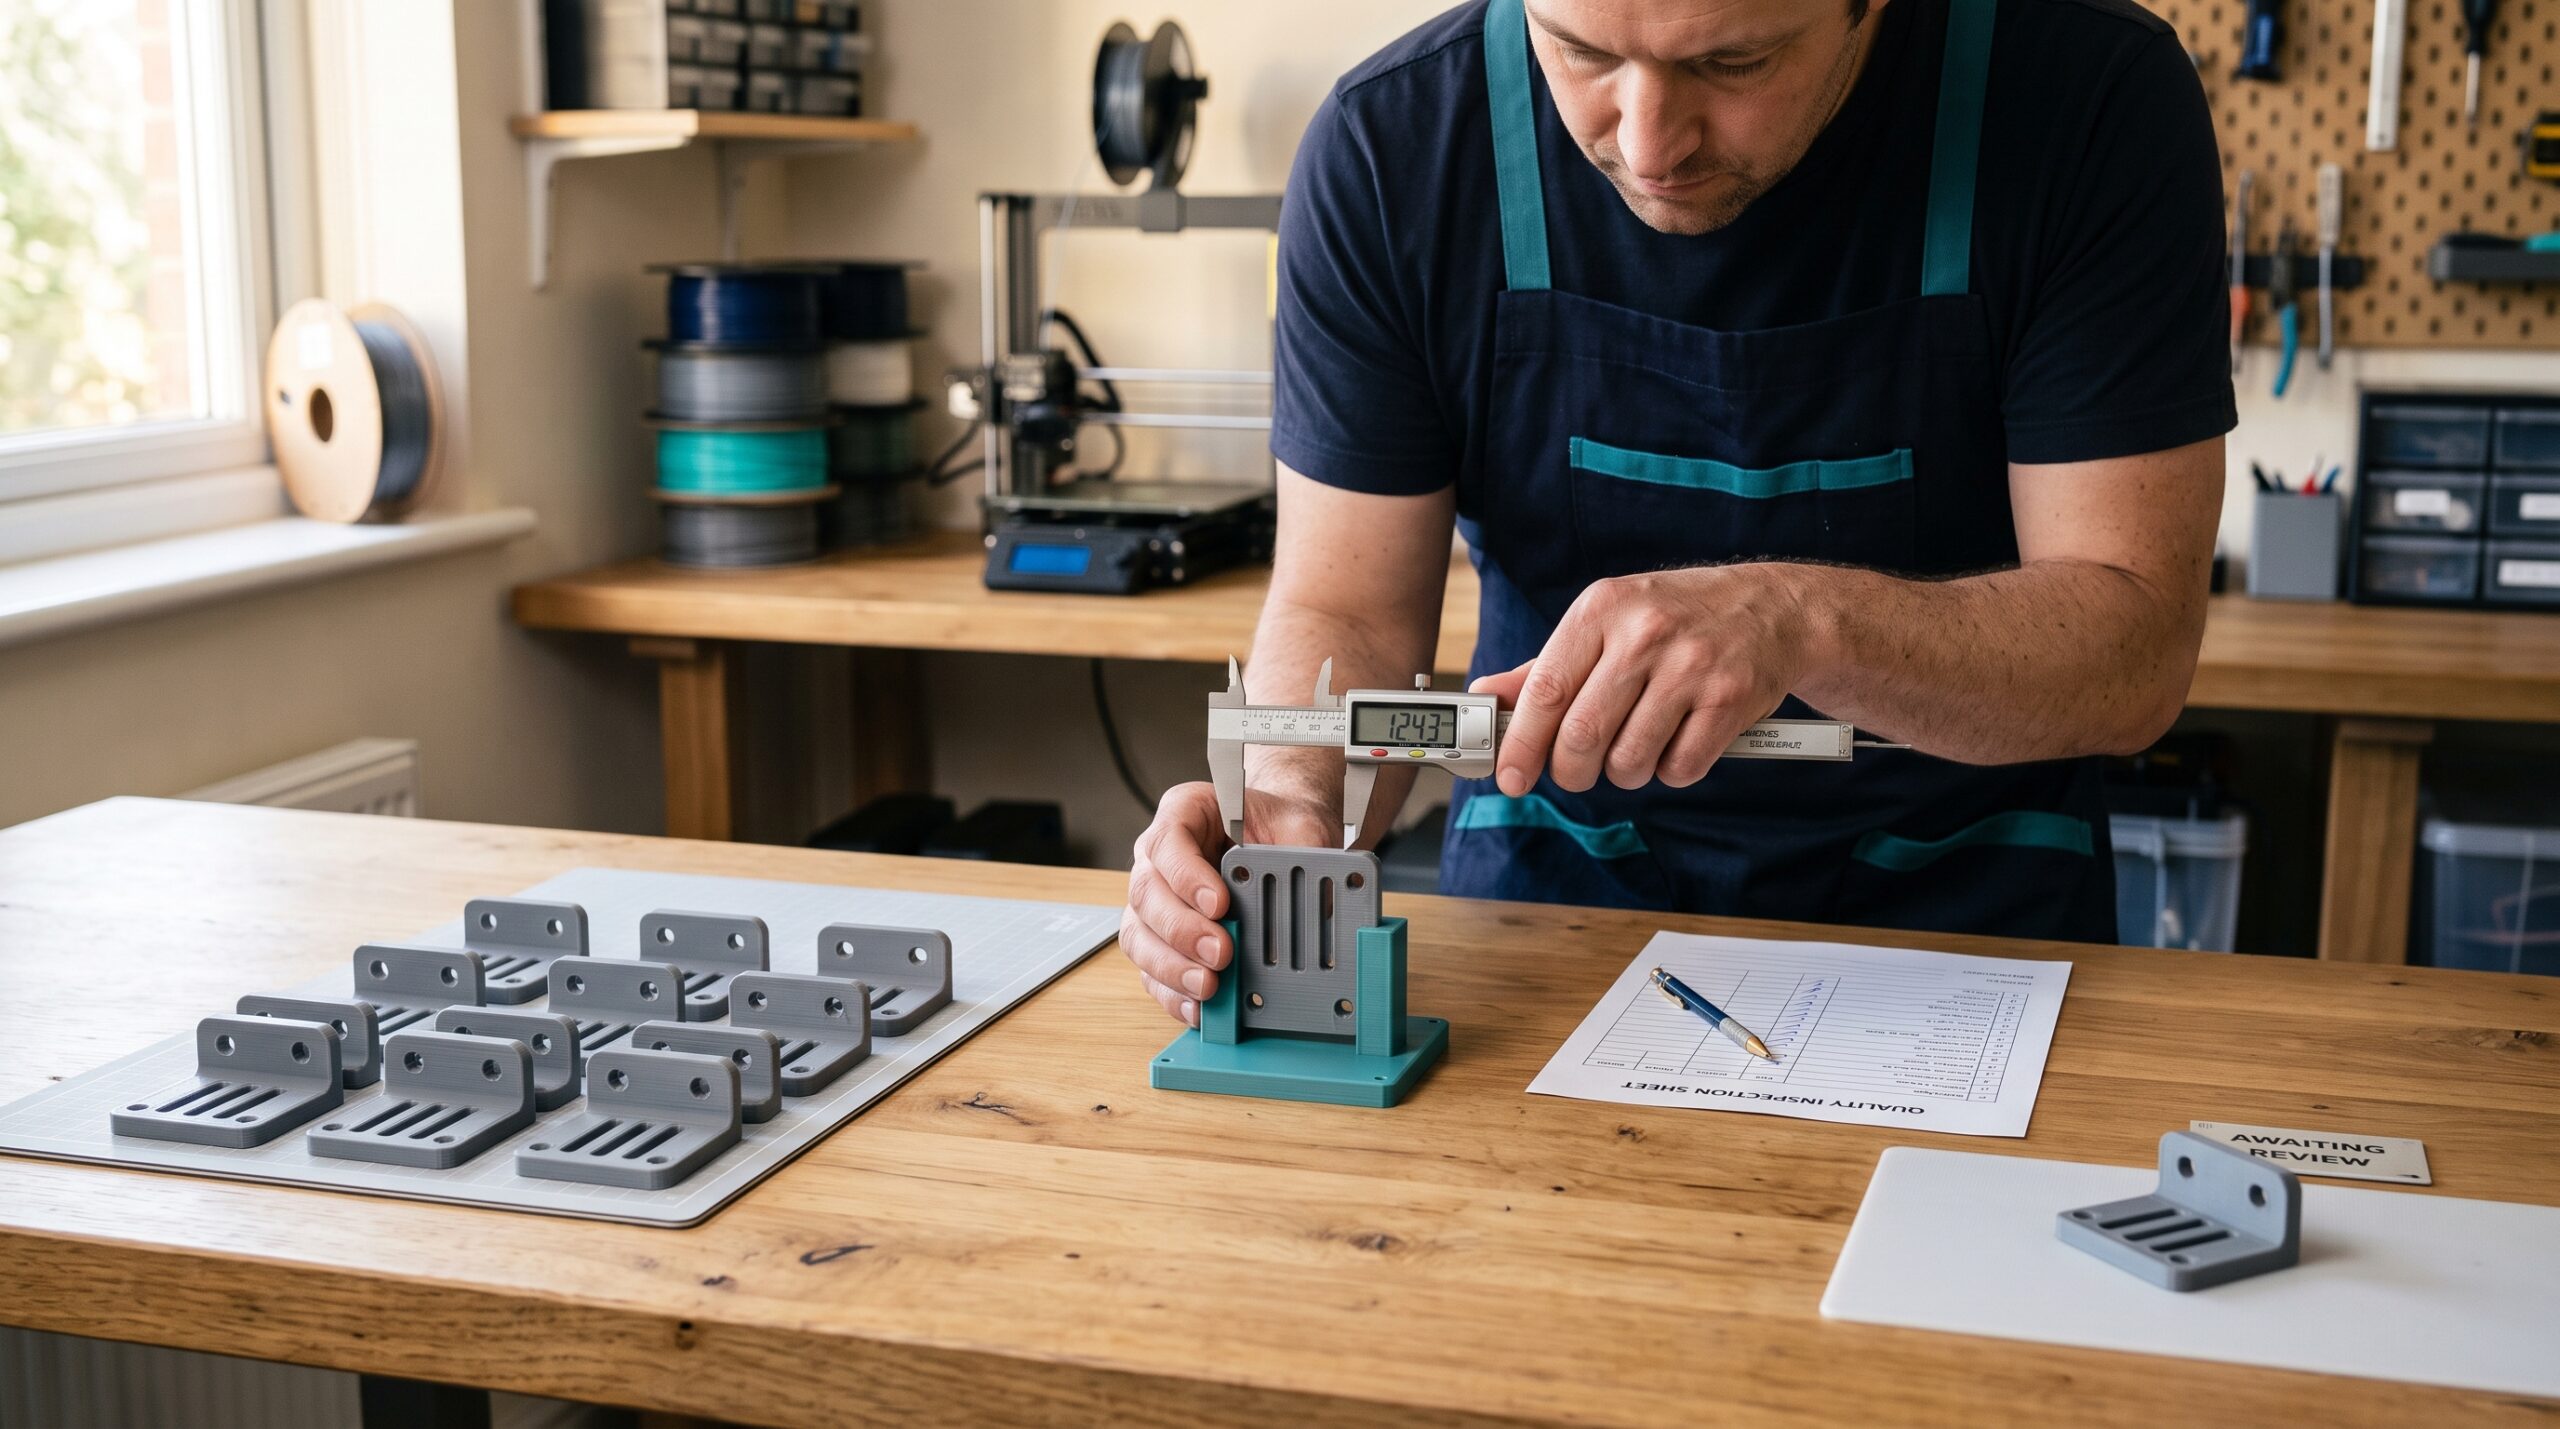
Decide what “good” means before printing more
A tidy surface is useful, but it does not tell you whether the mounting holes line up or the clip releases without damage. Give each important feature a pass-or-revise rule.
For an illustrative drawer-mounted cable guide, the checks might be: fits the measured mounting surface, holds the intended cable, releases it comfortably, clears the connector, and has no visible cracks after the planned handling check.
- Fit: Which holes, slots, contact faces, and clearances matter?
- Function: What movement, retention, or assembly must happen?
- Condition: Are cracks, missing walls, lifting, or support damage grounds for rejection?
- Finish: Which surfaces must be smooth, and how will they be cleaned up?
Use your own requirements rather than copying a tolerance number from another project. Prusa’s modeling guidance explains why mating fit depends on orientation, geometry, calibration, settings, and material.
If the dimensions are still uncertain, start with how to measure a part for 3D printing. A batch will repeat a measurement mistake just as readily as a good design.
Prototype, repeat print, or pilot batch?
| Stage | Question it answers | What it cannot establish alone |
|---|---|---|
| One prototype | Does this version fit and perform the initial task? | Repeatability across copies or long-term durability |
| Repeat print | Can the documented setup produce another acceptable part? | Behavior across a crowded plate or an entire production run |
| Small pilot batch | Does the intended layout, cleanup, assembly, and inspection workflow work? | Suitability for every future batch or a high-consequence application |
If copies fail during printing itself, start with why a full plate fails when one part prints fine. This checklist covers the next decision: whether the completed parts meet the requirements.
Record the setup behind the good part
Save the model revision and slicer project, not just a screenshot of the finished print. Record the printer, nozzle, build plate, material, orientation, supports, and profile used.
Include filament brand, material, color, and lot when available, plus conditioning and storage notes. If you switch to a different machine, nozzle, material, orientation, or profile, treat that change as a reason to check the result again.
Layer orientation and geometry affect the integrity of an FDM part. A copy rotated to squeeze into a full plate may need a different functional evaluation even if it looks almost identical.
Try the plate layout before filling it
Adding copies changes the printing job. It can change travel paths, time between layers, supports, and the number of objects exposed to a failed print. Inspect the sliced preview of the actual layout.
For a low-risk pilot, place a few copies in representative areas of the intended layout. Keep track of their positions, then compare the features that matter. This is a practical screening step, not a statistical validation plan.
- Check that every copy has the intended orientation and complete sliced features.
- Look for crowded brims, support conflicts, and questionable plate contact.
- Inspect holes and mating faces after the same cleanup process.
- Record where each pilot part was printed if you notice a position-related difference.
One part that fits and another that binds is a reason to investigate before expanding the run. Do not average away a functional failure.
Include cleanup and assembly in the test
The workflow ends when the part is usable. Removing supports, trimming edges, installing hardware, and packaging can reveal problems that were invisible on the plate.
Time those steps during the pilot. If each piece needs substantial hand-fitting, you may need a design revision, clearer acceptance limits, or a different production method before making more.
Keep one acceptable reference part with its revision and setup record. Use it for comparison, while checking new parts against the written requirements. The reference is not a substitute for measurement or functional inspection.
A batch check is different from a durability check
Matching copies can still share the same weakness. Evaluate the intended load, heat, movement, and consequences of failure separately. For that next question, read the functional-part durability checks.
Parts whose failure could injure someone or compromise critical equipment need an appropriate engineering and validation process.
Use the P.R.I.N.T. Method™ as your batch planner
Work through the five decisions before scaling up. The P.R.I.N.T. It Practical ebook includes reusable planning resources to keep this thinking beside your printer.
- Problem: Why do you need multiple copies?
- Requirements: Define quantity, deadline, environment, and acceptance checks.
- Interfaces: Identify the dimensions and connections that must work on every part.
- Next-Best Materials & Methods: Choose material, orientation, layout, and finishing; reconsider the process if the pilot exposes a limitation.
- Test & Tune: Compare the prototype, repeat print, and pilot; record revisions before the larger run.
Your batch readiness notes
Type into this worksheet, then copy the notes into your own project record. Entries are not saved or submitted by this article.
Four-question workshop check
Choose an answer, then tap “Reveal answer.”
1. One bracket fits. What should you do before printing twenty?
A. Assume every copy will fit.
B. Document the setup and repeat the acceptance checks.
C. Change several settings to make the batch faster.
Reveal answer 1
B. Repeating a documented result gives you more useful information than assuming the prototype represents every future part.
2. You rotate a clip to fit more copies on the plate. What matters?
A. Only its color.
B. Only the number of copies.
C. The new layer direction, supports, and functional result.
Reveal answer 2
C. Orientation can affect strength, support surfaces, and fit. Check the revised setup before relying on it.
3. Two pilot parts fit, but one binds. What is the next step?
A. Investigate the failed fit before expanding the run.
B. Declare the batch acceptable because most passed.
C. Hide the result by increasing infill.
Reveal answer 3
A. Compare the part, plate position, cleanup, and measurements. Find a cause you can address and test.
4. Every pilot copy matches. Has long-term durability been proven?
A. Yes, matching appearance proves durability.
B. No, intended-use durability needs its own evaluation.
C. Yes, if the filament is sold as engineering material.
Reveal answer 4
B. Repeatability and durability answer different questions. A material label does not validate the finished part.
Frequently asked questions
How many pilot parts should I print?
There is no universal number. A few copies may help screen a simple workshop project, but production acceptance depends on risk, variation, quantity, and requirements. Higher-consequence work needs a suitable validation and sampling plan.
Do I need to measure every part?
For a small batch with critical mating features, checking those features on each copy is often practical. Decide the inspection approach from the requirements; do not assume a passing first part covers the rest.
Can I use another printer for the same batch?
You can consider it, but check parts from that printer against the same requirements. Matching profile names do not guarantee matching results across machines.
Will 100% infill make the batch more reliable?
It does not resolve a bad interface, missing feature, unsuitable material, or poorly chosen orientation. Change infill only when it answers a defined design or performance question, then evaluate the result.
Make the next copy easier to trust
Before filling the plate, write down what must pass, save the working setup, and test the production workflow on a manageable pilot. That gives you a clearer basis for the next decision.
Need help reviewing a replacement part or small-batch project? Send the file or measurements, intended use, quantity, and deadline through the project intake.
What changed when you went from one print to several? Share your printer, material, and the fit or finishing issue in the comments. Your experience may help another maker spot the same problem earlier.
Further learning: Maker’s Muse offers practical 3D printing and design education.
