
Practical FDM troubleshooting · By Kevin Meyer
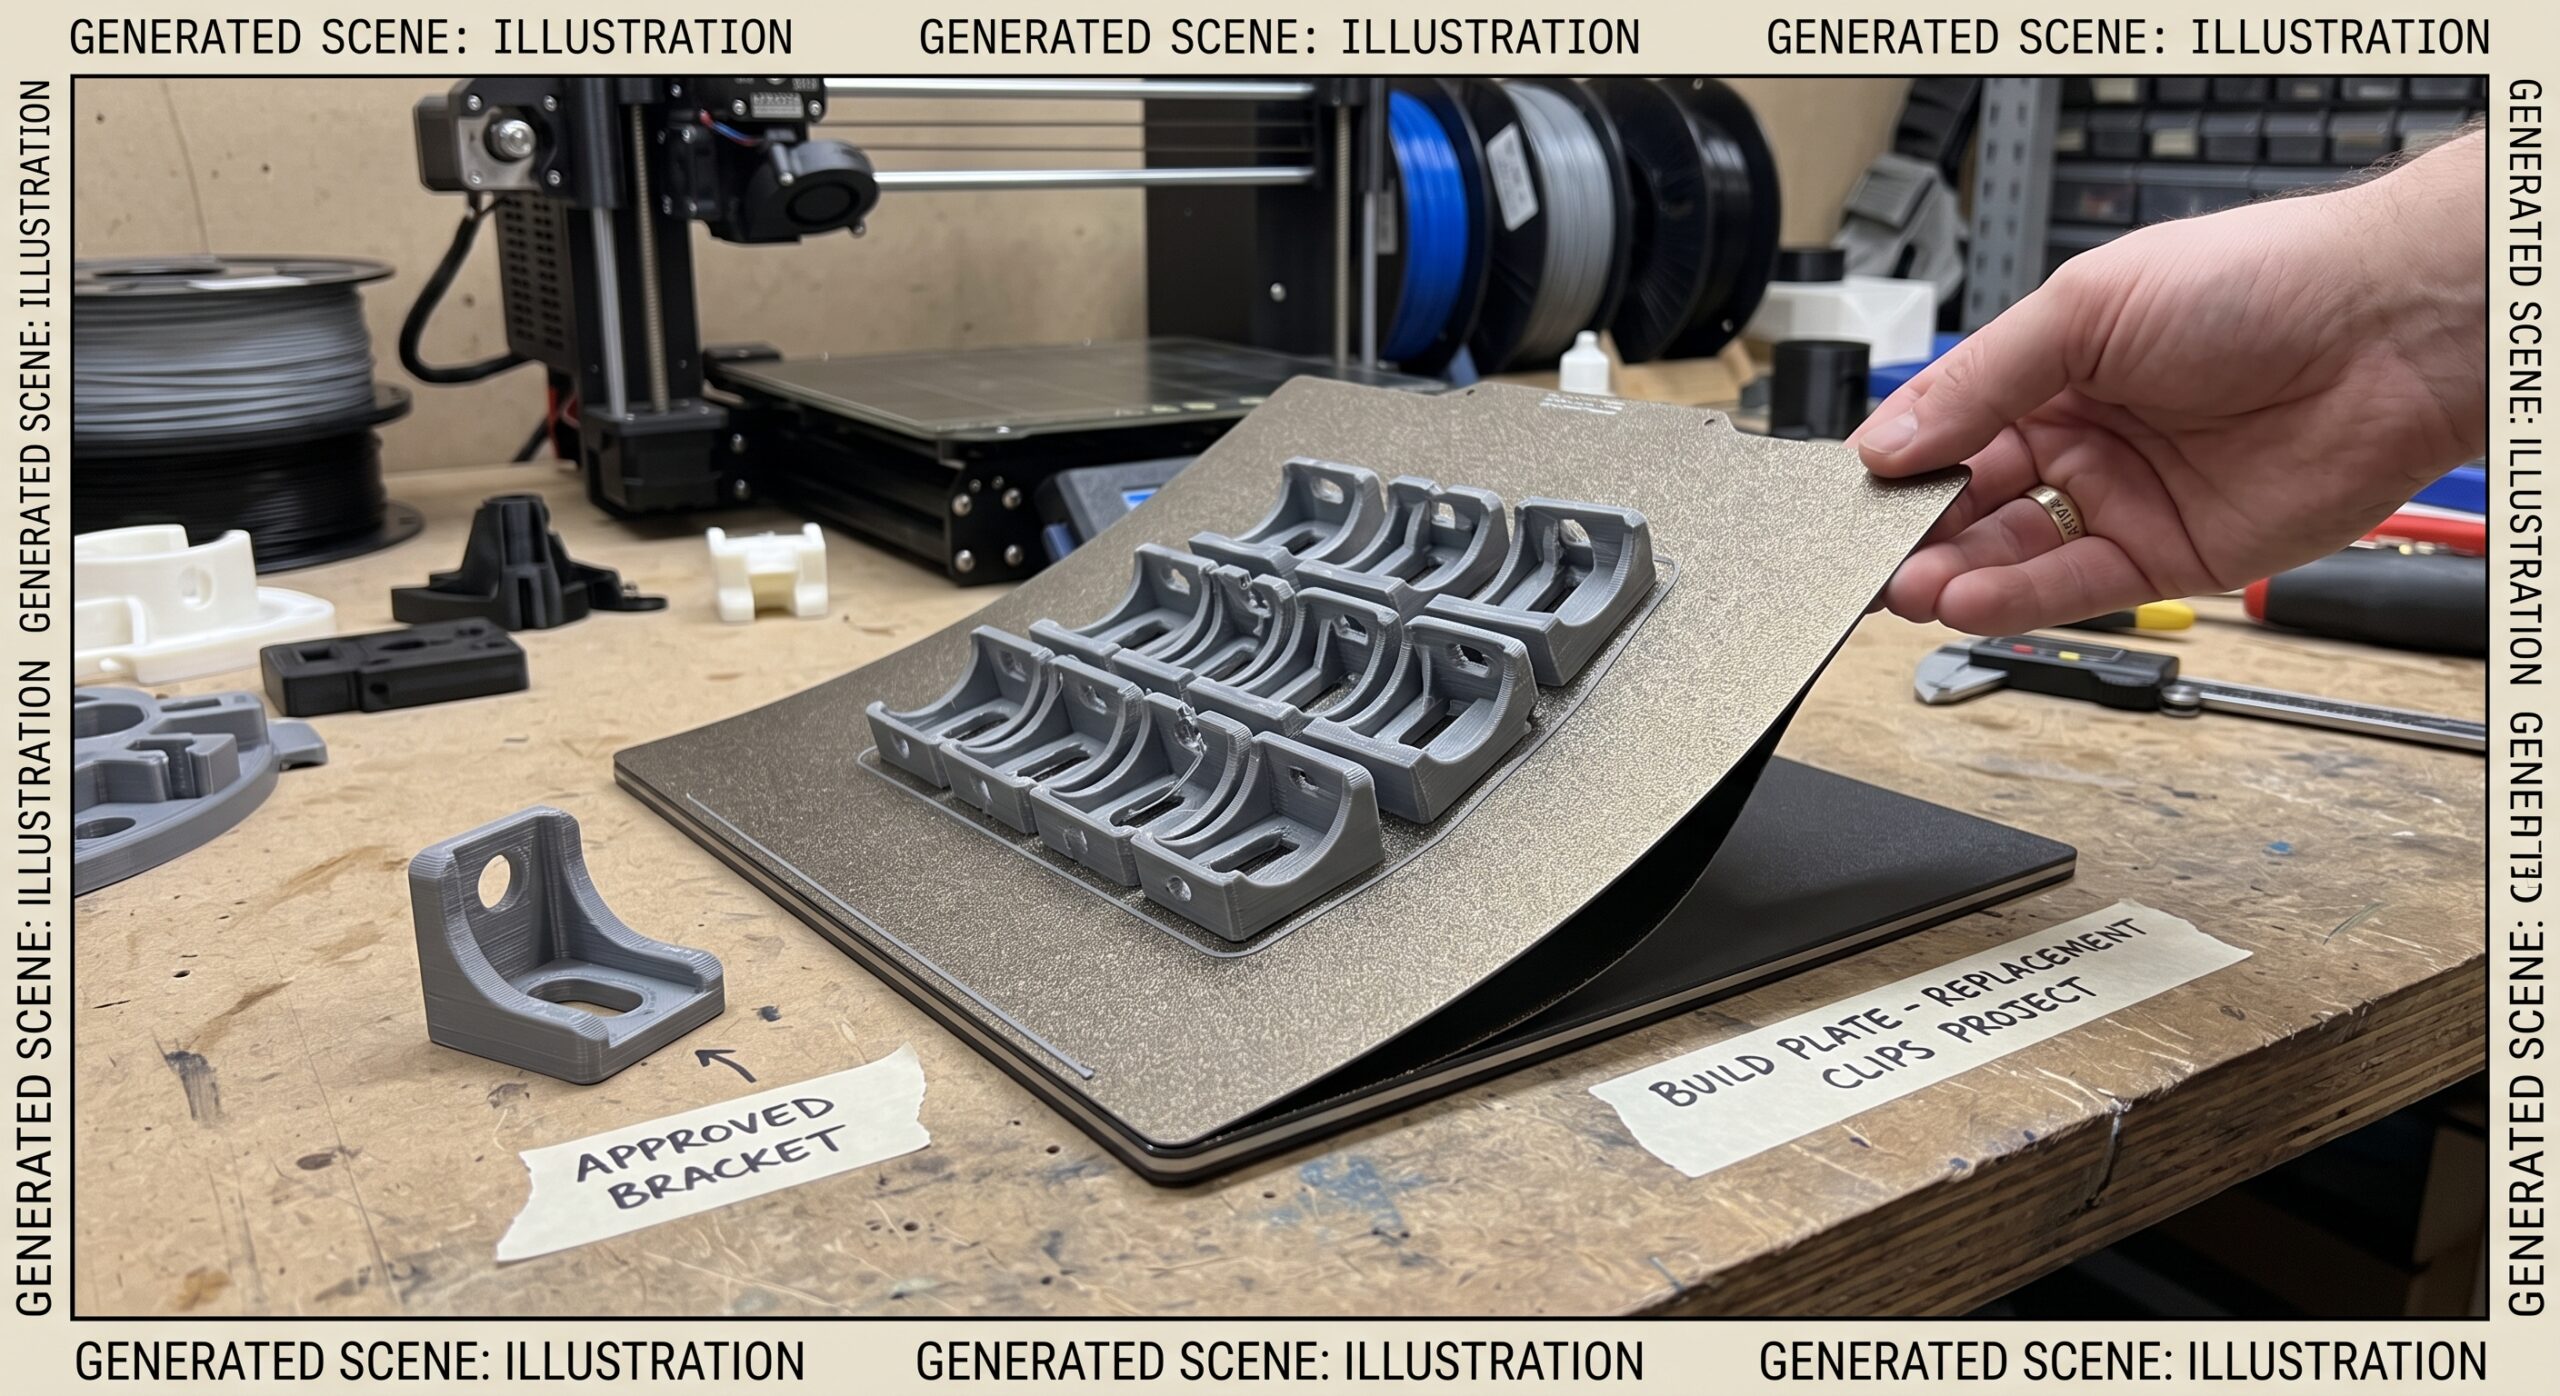
You print one bracket. It comes off the plate cleanly, fits the mounting points, and looks ready to use. Then you fill the plate with copies—and one corner lifts, strings connect the parts, or a small feature looks different.
Adding copies changes more than the quantity. It changes the toolpath, the time between layers on each part, and the locations used on the build surface. Before changing the model or buying another spool, compare the single-part job with the batch job.
Quick Answer
If one part prints well but a full plate fails, inspect the first failure and compare the two sliced jobs. Check first-layer adhesion by position, cooling and layer time, travel between copies, and any orientation or profile changes. Run a smaller batch with labeled positions before committing to another full plate.
A successful single print validates that particular setup. It does not automatically validate every arrangement of copies.
What Changes When You Add More Parts?
During ordinary layer-by-layer printing, the nozzle visits the objects before moving to the next layer. Each copy waits while the printer works elsewhere. That can help a small feature cool, but it also introduces more travel between objects.
Prusa’s official cooling documentation explains that layer-time thresholds can change fan behavior and slow printing. Adding objects can change whether those thresholds are reached. Compare the preview and cooling settings rather than assuming the batch runs like the single copy.
Start With the Failure Pattern
The final pile of tangled filament rarely identifies the first cause. Look for the earliest lifted corner, damaged feature, or detached part. A loose object can turn a local problem into a failed plate.
| What You See | First Checks | Smallest Useful Test |
|---|---|---|
| Copies near one edge lift | Surface preparation, first layer, position, drafts | Print identical copies in the reliable and suspect areas; label the positions. |
| Strings connect otherwise intact copies | Travel paths, filament condition, temperature, retraction | Print two spaced copies with the approved profile before changing one setting. |
| Small tips look different from the single print | Layer-time slowdown, fan behavior, actual print speed | Compare sliced previews and print a few identical copies. |
| One copy fails, then the others fail | Initial adhesion loss, loose material, nozzle contact | Inspect the first failure and reduce the number of copies while diagnosing it. |
| The batch fits differently | Scale, orientation, profile, local overrides, cleanup, measurement | Compare critical features against the approved part using the same method. |
If individual jobs vary too, use Why Repeat 3D Prints Don’t Match for the wider process check. This guide focuses on the change from one object to several objects on a plate.
A Controlled Test Before Another Full Plate
1. Save the Single-Part Baseline
Keep the successful part and its slicer project. Record the printer, nozzle, build surface, filament, orientation, and relevant settings. An STL alone does not preserve the print setup.
2. Compare the Batch Project Before Printing
Check units, scale, supports, rotation, object-level overrides, and filament assignments. Automatic arrangement may rotate copies. Review the toolpath around narrow features and the moves between parts.
3. Use a Small, Labeled Layout
As a practical diagnostic example, place three identical copies in separate usable areas of the plate. Preserve the approved orientation and settings, and save a screenshot identifying A, B, and C. Three is a convenient starting point, not a production qualification standard.
Watch the first layer and inspect the finished copies by position. If one location repeatedly causes trouble, investigate it before mixing the parts together or changing a global setting.
4. Test One Correction
Choose the correction that matches the evidence: prepare the surface according to its manufacturer, correct an unintended rotation, or investigate a travel-related defect. Keep the other inputs steady. Record whether the original symptom improves.
5. Validate the Intended Layout
A smaller test can reveal a cause, but the final production arrangement still needs a check. Inspect the important dimensions, assembly fit, and surfaces on the intended layout. Expand only after the result meets the written requirements.
Print by Layer or Print by Object?
Sequential printing finishes an object before starting the next. It can reduce travel between copies and limit some shared failures. It also requires enough clearance for the moving printhead and machine components.
Prusa’s sequential-printing guidance explains the difference and collision planning. On any printer, use the supported slicer workflow and correct machine clearances; do not force a crowded arrangement past collision warnings.
| Method | Useful When | Tradeoff to Check |
|---|---|---|
| All copies, layer by layer | The layout uses plate space efficiently and cooling behavior is suitable. | More travel between copies; a detached part can affect neighbors. |
| Copies finished sequentially | The machine and slicer support a collision-safe layout. | Greater spacing, height limits, and different cooling timing. |
| Several smaller jobs | The full layout remains unreliable or each part needs close inspection. | More setup and handling; compare accepted output rather than nominal plate capacity. |
Your P.R.I.N.T. Batch Planner
Use the P.R.I.N.T. Method™ to turn the symptom into a testable question. Tick these checks as you prepare the next job. The checkboxes are a working aid for this page; they do not save your notes.
Copy this record into your project notes: File revision · printer/nozzle · plate · filament/spool · layout screenshot · first defect · critical checks · one correction · result.
For the broader workflow, explore P.R.I.N.T. It: Practical 3D Printing for Beginners . Use it alongside the record so each new attempt answers a question instead of becoming another unexplained print.
Four-Question Knowledge Check
Choose your answer, then open each panel to check your reasoning.
1. Does a successful single copy prove the full plate will work? A: Yes. B: No.
Answer: B. The batch changes layout, travel, and time between layers on each part. Validate the intended arrangement.
2. Only the left-edge copies lift. A: Change every setting. B: Track positions and compare first layers.
Answer: B. Position is useful evidence. Check the local first layer and surface before broad tuning.
3. Is sequential printing safe at any spacing? A: Yes. B: No.
Answer: B. Completed objects must clear the moving machine components. Use supported collision checks and correct clearances.
4. Which metric helps compare batch layouts? A: Parts placed on the plate. B: Accepted parts per total job time.
Answer: B. Include setup, printing, cleanup, inspection, and failed attempts. More copies are useful only when they meet the requirements.
Frequently Asked Questions
Can adding copies improve small prints?
Sometimes. More time between layers can help small features cool. The result depends on geometry, material, fan behavior, and slicer slowdowns, so compare a small batch with the single-part baseline.
Should I turn up the fan for a full plate?
Not automatically. Fan requirements vary with material and geometry. Check the approved material profile and the sliced job first; more cooling can introduce other problems.
Should every part have a brim?
A brim may help a small footprint resist lifting, but it adds cleanup and does not correct contamination or a poor first layer. Verify the surface and first layer before treating a brim as the solution.
How many parts should I print at once?
There is no universal number. Choose a layout that meets fit, finish, reliability, and handling requirements. Compare accepted output and total time, then validate the layout you plan to repeat.
Need a Repeatable Batch of Functional Parts?
Send the file or original part, quantity, intended use, critical fit requirements, deadline, and photos of any failures. For suitable projects, I can review design, layout, material, and inspection needs through my Northern Kentucky FDM workflow.
What Happened on Your Build Plate?
What changed when you filled the plate? Share the material, printer, number of copies, and first symptom in the comments. Was the failure tied to one position, travel between parts, or a small feature?
Technical references: Prusa Knowledge Base guidance on cooling and sequential printing, linked above. The diagnostic sequence is a practical planning approach, not a guarantee of part performance. Both workshop images are AI-generated illustrations; the second uses a reference photo of Kevin for his likeness.
