
The print looks solid. Then one narrow leg snaps where it joins the body. Before changing filament or filling the part to 100%, look closely at that transition: the smallest cross-section may be carrying the entire load.
This is a practical design problem I recognize from replacement-part work. One leg can appear roughly 1.5 mm thick along its length while its attachment tapers to a sliver. A 0.05 mm root, for example, is not a reasonable structural connection merely because the rest of the leg is 1.5 mm. Those numbers describe a possible diagnostic example, not a universal design specification.
Why the leg breaks in one precise spot
A leg behaves like a lever. Force applied near its tip creates bending at its base. A sharp inside corner or sudden reduction in section concentrates that demand into less material. If the load also tries to peel adjacent FDM layers apart, the part can fail before the bulk of the leg has a chance to flex.
Print orientation and wall geometry both matter. Prusa advises designing structural parts around orientation, while Formlabs notes that FDM strength changes with direction and that shell thickness can matter more than increasing infill. See Prusa’s modeling guidance and Formlabs’ material-strength overview.
Diagnose the weak point before you reprint
- Find the true minimum. Section the CAD model through the root. Check thickness on both sides of every leg, not only the main span.
- Inspect the sliced layers. Zoom through the root in layer preview. Look for a gap, a single short extrusion, unsupported material, or a change in perimeter continuity.
- Trace the load. Mark where the leg touches its mating part, which way it bends during installation, and whether it remains under constant strain afterward.
- Inspect the fracture. A clean separation along layer lines suggests a different problem from a crack at a sharp corner or a neck that barely printed.
Choose the repair that matches the failure
| What you see | Likely next design move | Test first |
|---|---|---|
| Root is far thinner than the leg | Carry the intended section through the attachment; remove an accidental taper or cutout | Slice a cropped root and inspect each layer |
| Crack starts at a square inside corner | Add a smooth radius or gradual transition where the mating geometry permits | Fit and bending with the actual mating part |
| Leg splits along layers | Reorient or split the model so bending does not pull directly across a weak layer interface | Print the same coupon in two orientations |
| Leg must bend too far to install | Change the lead-in, hook travel, length, or clearance; reduce required deflection | Repeated assembly and removal cycles |
| Whole part bends or creeps in use | Review material, operating temperature, section, and sustained load | Use-condition trial over time |
For a snap or retention leg, simply making it thicker can make it harder to flex and transfer even more strain to its base. The geometry needs to match the movement. My clip-failure guide covers beam length, release motion, and repeated flexing in more detail.
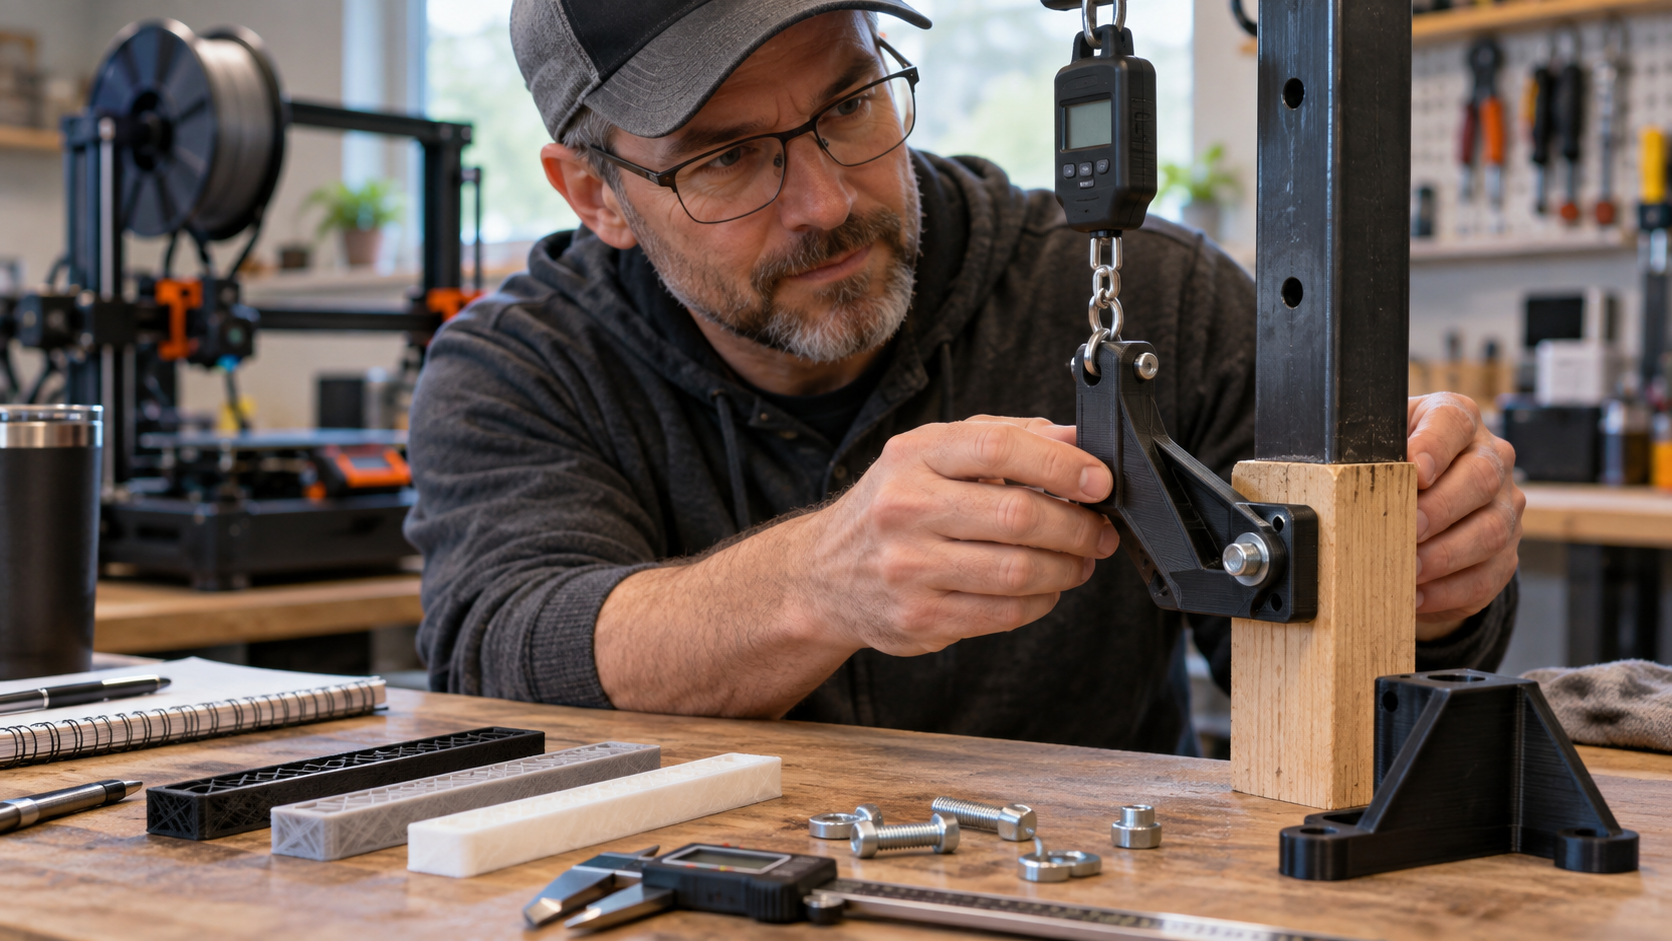
My small-test workflow before a full print
Start with the P.R.I.N.T. Method™: define the Problem, write the Requirements, check the Interfaces, choose the Next-Best Materials & Methods, then Test & Tune.
- Save a copy of the original file. Record the root thickness, leg thickness, inside radius, and orientation.
- Revise one factor at a time. If the root is a sliver, correct that geometry before tuning infill.
- Print only the affected leg and enough body to reproduce its attachment. Use the intended material and relevant settings.
- Fit it to the mating part, then check installation force, retention, removal, and visible whitening or cracks.
- Print the complete part once the local test survives the actual motion. Repeat the use test on the complete print.
Clearance and fit can change how far a leg must bend. If you are replacing an unavailable component, the replacement-part test-fit guide explains why a small trial can save a full remake.
Need help with a fragile replacement part?
Send the broken original or file, photographs showing the failure, the mating component, approximate dimensions, material and use environment. I can evaluate whether a practical redesign and test print make sense.
Four-question knowledge check
Choose an answer in your head, then open each panel.
1. The leg measures 1.5 mm but its root is only a sliver. What should you inspect first?
The CAD cross-section and sliced preview at the root. A thick leg does not rescue a nearly disconnected attachment.
2. Will 100% infill automatically stop a fracture at a sharp inside corner?
No. Address the corner, local cross-section, and load direction first. Infill elsewhere may never carry the critical load.
3. Why can a thicker snap leg still fail?
It may become too stiff to make the required movement, concentrating more strain at the root. Consider length, travel, lead-in, and clearance together.
4. What is the quickest useful validation print?
A representative section containing the leg, root, and enough body to duplicate the real attachment, printed in the intended orientation and material.
Frequently asked questions
Should I switch from PLA to PETG or nylon?
Match the material to temperature, environment, flexing, and print capability, but fix an undersized or poorly oriented root first. Different materials still require a workable design and appropriate drying and settings.
Is 1.5 mm thick enough for every leg?
No. Required dimensions depend on span, deflection, force, nozzle and extrusion settings, layer direction, material, and consequences of failure. Treat it as a measured feature to test, not a rule.
Can I just rotate the model 45 degrees?
An angle may improve one load path while adding supports or weakening another. Compare the layer preview and test the actual installed load. There is no universally best angle.
Can I repair the old print with glue?
Glue may be suitable for a noncritical static piece, but a flexing leg often needs a design correction and reprint. Avoid using an unverified repair where failure could cause injury or damage.
Keep the problem in view
A fragile root is a clue. Measure the transition, check the real motion, change the smallest useful feature, and test it before you commit to the entire part. For a broader step-by-step approach to useful printing, see my P.R.I.N.T. It Practical guide. If you have had a leg snap at its base, tell me in the comments what material you used and where the fracture began.
