
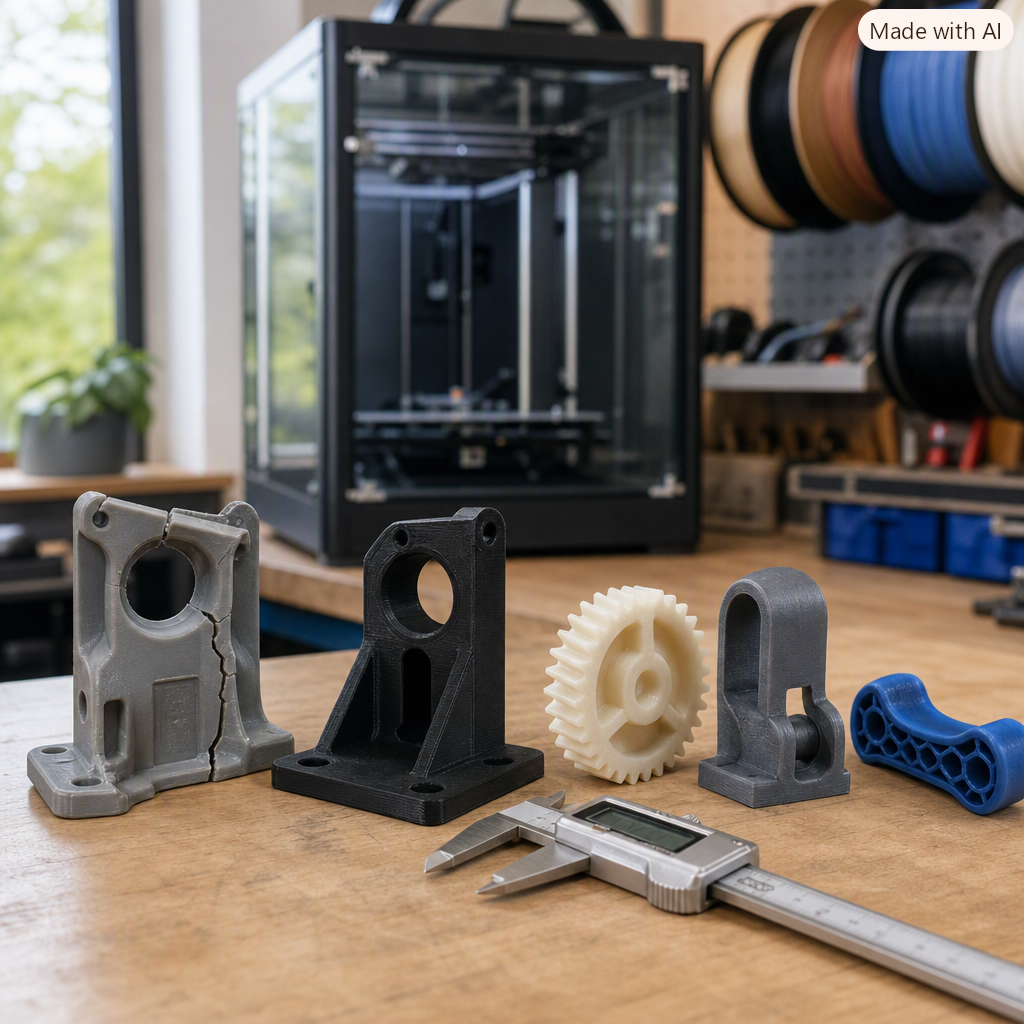
A replacement part does not fail because your printer forgot what colour the spool was. It fails when the plastic, print orientation, or manufacturing method never matched the job.
When a discontinued bracket cracks, an outdoor latch snaps in the sun, or a small plastic gear strips inside an otherwise healthy product, picking “whatever filament is already loaded” turns repair work into guesswork. Use this problem-first guide to match PLA, PETG, ASA, TPU, nylon, or managed outside manufacturing to your part’s real environment.
Transparency & Affiliate Disclosure: Some links in this guide are partner or affiliate links (including Creality, 3DMakerpro, and COEX 3D). If you complete a qualifying purchase, 3D Printing by Kevin may earn a commission at no additional cost to you. See the full Affiliate Disclosure for details.
Start with the environment and failure mode rather than a single “strongest” filament label: choose PLA for cool, dry indoor organizers, jigs, and test-fit prototypes; PETG for everyday indoor or damp brackets, clips, and covers needing extra toughness; ASA for outdoor mounts exposed to sunlight (UV) and weather; TPU for flexible feet, bumpers, seals, and vibration dampers; and dried Unfilled or Carbon-Fiber Nylon (PA) for wear-prone gears, bushings, and high-fatigue mechanical parts. When fine resin detail, isotropic powder-bed nylon, or metal strength is required, step beyond desktop FDM to a managed advanced manufacturing process.
Why “What Is the Strongest Filament?” Is the Wrong First Question
If you search online for the best filament for a discontinued plastic replacement part, you will find endless arguments over tensile-strength charts. One person swears ordinary PLA beats everything on stiffness. The next insists PETG is mandatory. Someone else recommends jumping straight to carbon-fiber nylon for a towel hook.
In real repair work, “strength” is not one number. A rigid PLA bracket can hold a surprising static weight on a cool basement shelf—and then sag into a modern art sculpture inside a closed car trunk in July. Conversely, a flexible TPU latch will never snap under impact, but it makes a terrible rigid mounting plate.
Before touching a spool or opening a slicer, run the job through the 3D Printing by Kevin P.R.I.N.T. Method™ so the material follows the problem instead of the other way around.
Identify why the original part failed: brittle snap, stripped teeth, UV cracking, heat warp, or missing clip.
Define peak temperature, sunlight, moisture, chemical exposure, load direction, flexing, and safety risk.
Measure screw holes, shafts, bores, snap hooks, and clearances before locking in material shrinkage.
Select the simplest filament, wall structure, and process (in-house FDM or managed provider) that meets R & I.
Print a quick interface test piece to verify real shrinkage and fit before committing to the final run.
Replacement-Part Material Comparison: The Fast Decision Table
The table below compares the five primary in-house FDM material families I evaluate in my Northern Kentucky shop—plus managed outside manufacturing when desktop extrusion is not the right fit. Processing temperatures and drying guidance reference published COEX 3D filament parameters; always confirm the technical data sheet (TDS) for your exact spool and printer.
| Material / Route | Best Replacement-Part Fit | Typical Nozzle / Bed (COEX Baseline) | Primary Strength | Main Watch-Out / Caution |
|---|---|---|---|---|
| PLA / PLA+ | Indoor organizers, trays, jigs, covers, and initial test-fit prototypes | 205–230°C nozzle 50–60°C bed |
High stiffness, crisp dimensional detail, low warping | Softens under modest heat (~55–60°C); brittle under sharp impact or tight snap-fits |
| PETG | Everyday brackets, clips, mounts, shop holders, and damp environments | 230–250°C nozzle 70–85°C bed |
Ductile toughness (flexes before snapping), good moisture and chemical resistance | Hygroscopic (dry at 65°C); can creep under high sustained tension; scratches more easily than nylon |
| ASA (or ABS) | Outdoor mounts, patio/garden fixtures, vehicle trim, and sun-exposed covers | 240–260°C nozzle 90–110°C bed (enclosed) |
Strong UV/weather resistance (ASA) and higher heat tolerance (~95°C) | Requires an enclosed printer and active ventilation per CDC/NIOSH guidance |
| TPU (95A Flex) | Replacement feet, bumpers, vibration isolators, dust boots, and protective sleeves | 215–235°C nozzle 40–60°C bed |
Outstanding impact absorption, abrasion resistance, and layer-to-layer bonding | Not a rigid structural material; effective stiffness changes dramatically with wall count and infill |
| Unfilled / CF Nylon (PA) | Small replacement gears, bushings, sliding guides, and high-fatigue latches | 245–295°C nozzle 85–110°C bed (0% fan) |
Low friction, self-lubricating wear behavior, high fatigue and impact resistance | Absorbs moisture rapidly (dry at 85°C for 12 hrs); higher shrinkage requires careful bore test-fitting |
| Managed SLA / SLS / MJF / CNC | Fine miniature details, complex isotropic nylon geometry, metal parts, or certified runs | Coordinated via vetted provider | No FDM layer-line stair-stepping; isotropic nylon (SLS/MJF) or machined metal capability | Higher setup/minimum cost than simple in-house FDM; still requires accurate CAD and incoming inspection |
Approximate functional temperature ceiling before parts risk softening or deforming under load (always test your specific geometry and wall thickness):
How Each Material Behaves in Real Replacement-Part Work
1. PLA: The King of Dimensional Prototypes & Indoor Fixtures
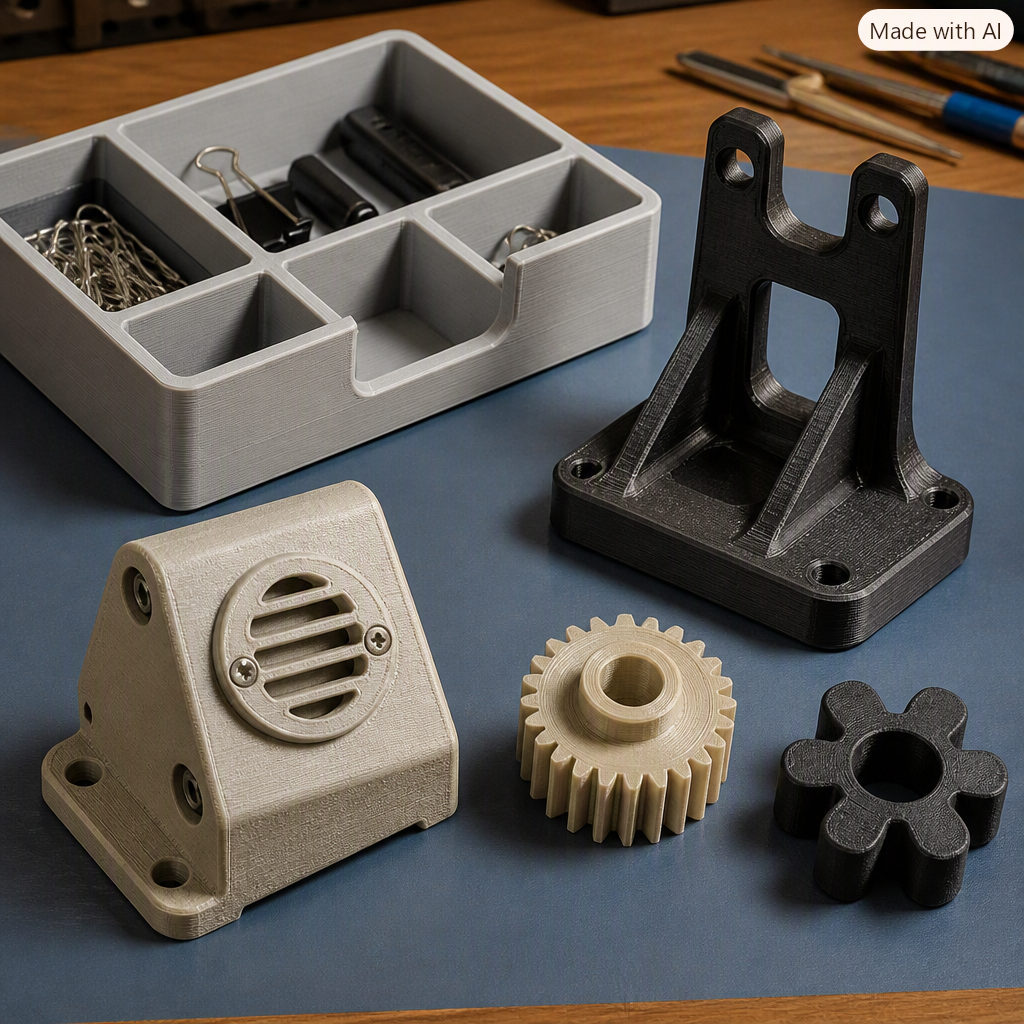
People love to dismiss PLA as a “toy plastic,” which is unfair. PLA is stiff, holds sharp corners, bridges cleanly, and exhibits minimal shrinkage. When I reverse-engineer a complex bracket, I almost always print the first interface check in PLA using the baseline habits covered in How to Get Professional Quality PLA 3D Prints Every Time!
Where PLA fails: Heat and sustained flexing. Leave a PLA phone mount on a sunny Kentucky dashboard in August and gravity wins. Force a stiff PLA retaining clip to bend repeatedly and it will snap cleanly rather than recover.
2. PETG: The Practical Workhorse for Brackets, Clips & Holders
When a customer sends me a cracked appliance latch, a vacuum hose clip, or a custom plastic mount, PETG filament is often my first functional candidate. It offers enough give to survive snap-fit installation and resists household moisture and cleaners far better than PLA.
Where PETG fails: Wet filament and high-friction sliding. Damp PETG strings heavily and loses layer bond strength. It is also relatively “grabby” when two PETG surfaces rub together under load, making it second-best to nylon for meshing gears.
3. ASA (and ABS): Built for UV Sunlight, Weather & Hot Spaces
If the part lives on a boat dock, garden gate, camper exterior, or inside a hot vehicle cabin, step past PLA and PETG. While ABS handles heat well, ASA adds critical ultraviolet (UV) stabilization so outdoor parts do not chalk, yellow, and turn brittle after one season in the sun.
Where ASA requires discipline: Thermal shrinkage and fumes. ASA wants an enclosed build chamber (such as a Bambu Lab X1 Carbon or enclosed Creality K1C), a 90–110°C bed, and proper room ventilation.
4. TPU: When Compliance Solves What Stiffness Cannot
Not every replacement part is supposed to be rigid. Missing tool feet, cracked rubber-like dust caps, shop-vac cuffs, and protective bumpers belong in TPU (typically Shore 95A). Because TPU layers fuse tenaciously, a well-printed TPU bumper is nearly indestructible against drops and vibration.
Where TPU surprises people: Wall thickness controls the feel. A 2-wall TPU print with 15% infill feels squishy; a 6-wall TPU block with 60% infill feels like a hard hockey puck.
5. Nylon (PA) in Action: What a 20 mm Broken Plastic Gear Teaches Us
Earlier this month, I shared a seasonal repair project in Broken Halloween Decoration? Check the Small Plastic Part First. A single stripped plastic gear—measuring roughly 20.6 × 18.5 × 13.0 mm—had brought an entire animated decoration to a standstill.
Could you print a gear that size in PLA or PETG? It would spin for a few minutes. However, small spur gears concentrate torque on tiny tooth roots while sliding against a mating gear and pressing onto a square shaft bore. That is textbook territory for COEX CoexNylex™ Unfilled Nylon.
Kevin’s Workshop Setup for Small Nylon Gears (Bambu Lab X1 Carbon): When printing those three 20.6 mm replacement gears (only ~7.83 cm³ total volume, or ~8.5 grams of nylon), chasing 300 mm/s headline speeds is a mistake. Following COEX’s technical data sheet, I dry the spool at 85°C for 12 hours first, run a 0.4 mm hardened steel nozzle at 275°C, set the bed to 100°C first layer / 95°C remaining with 0% part and auxiliary cooling fans, and cap volumetric flow at 7 mm³/s (50–60 mm/s outer walls). Using Arachne wall generation, 6 wall loops, 100% infill, and an aligned seam kept off the tooth tips produces tough, self-lubricating teeth that actually hold up in service.
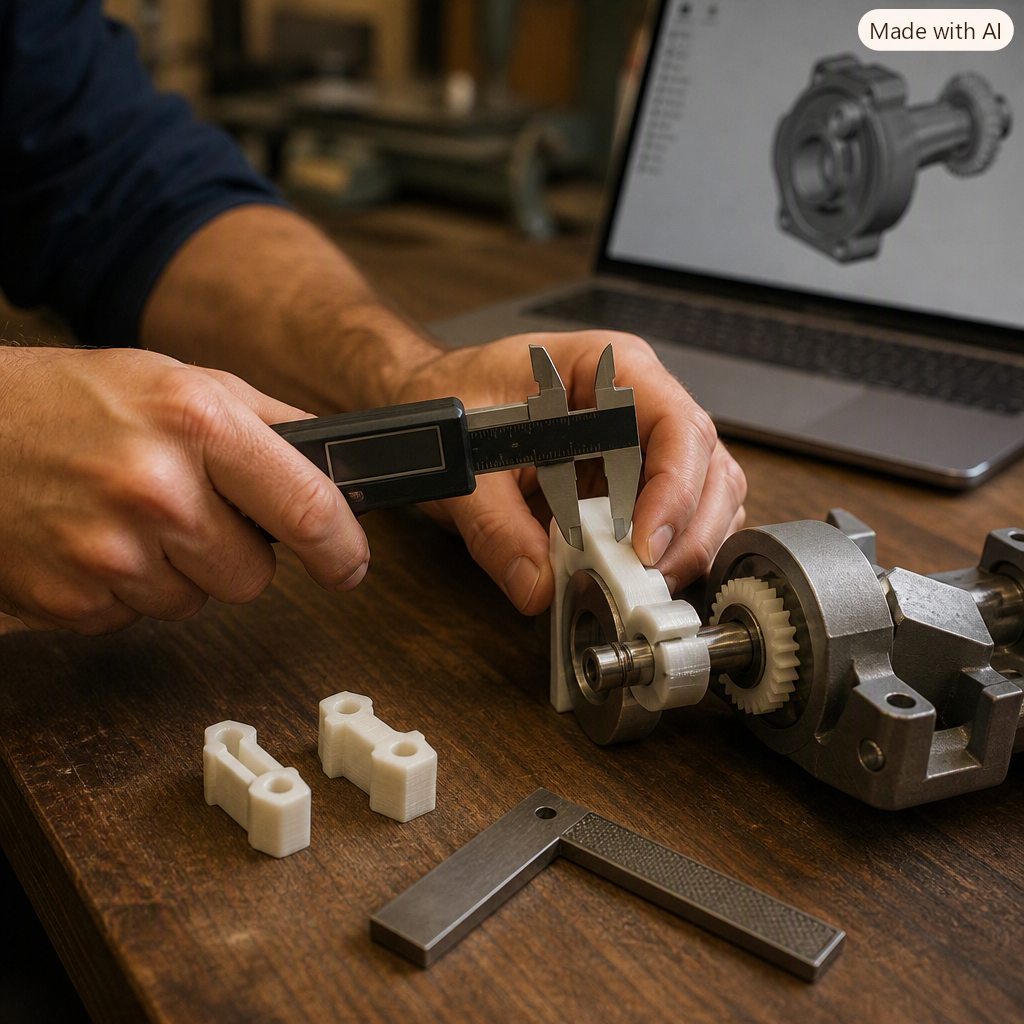
Notice one crucial detail from that job: I did not guess at X-Y hole compensation for the square shaft bore before printing the first gear. Nylon shrinks more than PLA, and every printer’s extrusion behavior differs slightly. Printing one gear, measuring the physical bore with digital calipers, and tuning the fit on the second pass is always faster than guessing.
Why Geometry, Orientation, and Wall Loops Matter as Much as the Spool Label
As UltiMaker’s design-for-3D-printing engineering guide and NIST’s additive manufacturing research emphasize, FDM parts are anisotropic—they are significantly stronger along the continuous extruded filament paths (X-Y plane) than across the bond between stacked layers (Z-axis).
Three practical rules prevent most premature replacement-part failures:
- Orient the part so tension and bending run along the layers: For brackets and clips, lay the side profile flat on the plate whenever the geometry allows so continuous perimeter loops wrap around the corner. For gears, keep the gear face flat on the bed so tooth loads stay in the X-Y plane.
- Add perimeter walls before cranking up infill: Unless a part is tiny (like a 20 mm gear), jumping from 2 walls to 4–6 wall loops with 30–40% Gyroid or Cross Hatch infill adds far more bending strength per gram than printing a 2-wall shell stuffed with 100% infill.
- Redesign the weak transition that killed the original part: Injection-molded parts often use thin walls and sharp corners to speed up molding cycles. When rebuilding a part in CAD, adding a modest fillet radius or thickening a non-interfering boss can make the replacement outlast the factory original—provided you respect the required engineering fit and clearance.
When Desktop FDM Isn’t the Right Answer (And How Managed Manufacturing Helps)
Honest project advice means knowing when to walk away from an FDM build plate. In my shop, I operate FDM equipment (Bambu Lab X1 Carbon, Raise3D Pro2, Creality CR-M4, and MakerGear M3) holding typical dimensional tolerances around ±0.15 mm or ±0.2%. I do not run resin vats, powder-bed laser systems, or metal printers in-house.
When a project needs capabilities beyond in-house FDM, you have two clear paths: if the job qualifies, I can act as your single project lead—evaluating the requirements, preparing the CAD and specifications, coordinating production through a vetted outside manufacturing provider (covering processes such as SLA resin, SLS or MJF nylon, PolyJet, Carbon DLS, metal additive, or CNC machining), and inspecting the finished parts in my shop before delivery.
⚠️ When Any 3D-Printed Replacement Needs Extra Review—or Should Be Declined
Being able to model or print a shape does not automatically make it safe. Do not substitute a casual 3D-printed replacement for:
- Components that support human weight or protect someone from personal injury
- Pressurized fluid or gas fittings, fuel lines, or braking/steering hardware
- High-voltage electrical insulation, flame-exposed parts, or unverified chemical containment
- Regulated medical, food-contact, or legally certified assemblies
When failure carries serious risk, the right recommendation is an OEM factory part, qualified engineering review, or declining the job.
Replacement-Part Material & Process Planner
Use this five-question check before loading filament or submitting a quote request. It does not replace engineering qualification, but it will quickly point you toward the most sensible starting material and manufacturing route.
Building Your Own Replacement-Part Setup? Start With Dependable Tools
If you simply want the broken part recreated and inspected, the Project Intake form is the most direct path. If you are building your own in-house repair workflow, these three foundational upgrades prevent the most common DIY bottlenecks:
1. Consistent Filament (COEX 3D)
Cheap filament with diameter swings ruins tight press-fits and snap clearances. I use American-made COEX 3D Filament across PLA, PETG, ASA, TPU, and CoexNylex™ Nylon.
Reader Code: Use coupon code 3DPRINTINGBYKEVIN at checkout for 15% off your COEX order (affiliate partner).
2. Enclosed Capable Hardware (Creality)
Open-frame entry printers handle PLA and PETG well, as covered in 3D Printing for Absolute Beginners. Once you step into ASA or Nylon replacement parts, an enclosed machine from the Creality official store makes thermal control far more repeatable (affiliate link).
3. Capture & Reverse Engineering (3DMakerpro)
Calipers come first for holes and shafts, but sculpted covers and contoured trim are much faster to capture with a structured-light or NIR scanner. Compare object sizes in my 3DMakerpro 2026 Buyer’s Guide or browse current 3DMakerpro scanners (affiliate link).
Want the complete, printable desk reference covering setup, slicers, calibration, material selection, replacement-part worksheets, and the P.R.I.N.T. Method™? Grab the 40-page P.R.I.N.T. It: Practical 3D Printing for Beginners (2026 Expanded Edition) ebook.
Four-Question Interactive Knowledge Check
Test your material-selection instincts before your next repair print—click each question to reveal the workshop answer:
1. Why can a stiff PLA bracket fail inside a closed car trunk even when it easily holds the weight indoors?
Standard PLA has a low heat-deflection temperature (typically softening around 55–60°C / 131–140°F). A closed vehicle cabin or trunk in summer sunlight easily exceeds that threshold, causing a loaded PLA bracket to creep and deform even though its room-temperature tensile strength looked high on paper.
2. Which material family is usually the best starting point for a small meshing replacement gear?
Dried unfilled nylon (such as COEX CoexNylex™) is usually the strongest FDM starting point for small meshing gears because it combines low surface friction, high tooth fatigue resistance, and toughness—provided it is dried at 85°C for 12 hours and printed with 0% part cooling fan and controlled volumetric flow.
3. Why does print orientation matter as much as the filament name on a replacement clip?
FDM parts are anisotropic: layer-to-layer bonds along the Z-axis are significantly weaker than continuous filament strands in the X-Y plane. If a clip flexes in a direction that pulls stacked layers apart, even premium PETG or ASA will snap early. Orient the clip so bending forces run along continuous perimeter loops.
4. When should a replacement part move from in-house FDM to a managed outside manufacturing process?
Step beyond desktop FDM when the part requires miniature details smaller than a 0.4 mm nozzle can cleanly resolve (SLA resin), complex geometry that needs near-isotropic nylon strength without support scars (SLS or MJF nylon), or metal/machined tolerances (CNC machining or metal additive).
Frequently Asked Questions
What is the best all-around 3D printing filament for household replacement parts?
For most non-safety-critical indoor and garage repairs—such as broken brackets, clips, covers, and holders—PETG is the most forgiving all-around starting point. It combines moderate print temperatures with enough ductility to flex slightly without snapping like standard PLA.
Can I use PLA for a functional replacement part?
Yes, when the environment matches PLA’s strengths. PLA works well for cool, dry indoor drawer dividers, workshop trays, alignment jigs, low-stress knobs, and initial test-fit prototypes where stiffness and dimensional accuracy matter more than heat or impact resistance.
Should I choose ABS or ASA for outdoor 3D-printed parts?
Choose ASA for parts exposed to direct outdoor sunlight and weather. While ABS and ASA share similar thermal resistance and both benefit from an enclosed printer, ASA is formulated to resist ultraviolet (UV) degradation and yellowing far better than standard ABS.
Why do my nylon or PETG replacement parts look stringy and feel brittle?
Both nylon and PETG are hygroscopic—they absorb moisture directly from room air. When wet filament hits a 240–275°C hotend, trapped moisture flashes to steam, creating micro-voids that ruin surface finish and severely weaken layer bonding. Always dry nylon (85°C for 12 hours per COEX’s TDS) and PETG before printing structural parts.
Do I need to know which material to pick before requesting a quote from 3D Printing by Kevin?
No. You only need to describe what the part does, where it installs, and what heat, sunlight, moisture, load, or movement it sees. When you submit your details through the Project Intake form, I evaluate the material and process—whether that means in-house FDM in Northern Kentucky or coordinating a specialized process through a vetted outside provider.
Does 100% infill automatically make a replacement part stronger?
Rarely for medium or large brackets. Increasing perimeter wall count to 4–6 loops with 30–40% Gyroid or Cross Hatch infill carries bending and tensile loads efficiently while avoiding the over-extrusion ridges and warping stresses of solid infill. I reserve 100% infill for very small, high-stress parts like miniature nylon gears.
💬 What Replacement Part Are You Trying to Match Right Now?
Have you ever had a 3D-printed replacement part soften in the sun, snap along the layer lines, or strip out under load—or are you trying to decide which filament fits a broken part on your workbench today? Drop a comment below with what broke, where it lives (indoor, garage, vehicle, or outdoors), and what it attaches to. I read every comment and am glad to share how I would approach the material and print orientation.
