
The print starts normally. The nozzle moves across the plate, filament begins flowing—and then one corner refuses to stick.
You clean the nozzle. Change the temperature. Add a brim. Increase flow. Slow the printer down. Maybe you even blame the filament.
But when a print fails right at the first layer, I start somewhere much simpler: the relationship between the nozzle and the build surface.
That does not mean every printer needs the old sheet-of-paper leveling ritual. In 2026, many machines probe the bed automatically, compensate with a mesh, or use load-cell-style nozzle sensing. The better approach is to understand what your printer is actually calibrating—and then judge the result by the first layer it produces.
Start with a clean, correctly seated build plate and a mechanically sound printer. If your machine has adjustable bed hardware, tram it according to the manufacturer’s instructions. Then run the printer’s approved mesh or automatic bed-leveling routine. Finally, inspect a broad one-layer test and adjust the first-layer or Z-offset setting only if your printer supports manual adjustment.
The paper test can still help on older manual printers, but it is a starting reference—not the definition of a properly calibrated first layer.
First, Let’s Stop Calling Everything “Bed Leveling”
The phrase bed leveling has become shorthand for several different jobs.
That matters because you can run automatic leveling perfectly and still have a bad first layer if the build plate is dirty, the plate is sitting on debris, the gantry is mechanically out of alignment, or the nozzle-to-bed relationship is wrong.
The goal is not to make a screen say “level.” The goal is to produce an even first layer across the area where the part will actually print.
The Simple 2026 Bed-Leveling Method
I use the same diagnostic order whether I am dealing with a mostly manual machine or a modern printer loaded with sensors. The individual controls change, but the logic does not.
A tiny filament scrap, dust particle, adhesive buildup, or misplaced magnetic sheet can create a local high spot that no amount of Z-offset fiddling truly fixes.
Clean the mating surfaces and reinstall the plate correctly.
Finger oils can create an adhesion problem that looks remarkably similar to poor leveling. Follow the build-plate manufacturer’s cleaning instructions for your specific surface.
Do this before changing calibration values. Otherwise, you may tune the printer around contamination instead of fixing the contamination.
Check that the bed is secure, the build plate sits flat, the gantry is not visibly skewed, the nozzle is secure, and nothing is loose enough to move during probing or printing.
If one side of the first layer changes dramatically while another looks good, a mechanical or mesh issue deserves attention before you change global flow.
If your machine uses manual bed knobs or an approved physical tramming procedure, use it now.
If your printer is designed around a fixed bed and automatic sensing, do not start randomly turning structural screws just because an older tutorial told you to.
On a modern machine, this may be called auto bed leveling, mesh bed leveling, calibration, self-check, probing, or something similar.
Let the printer measure the build surface using the procedure intended for that model.
This is where the printer has to prove that calibration actually worked.
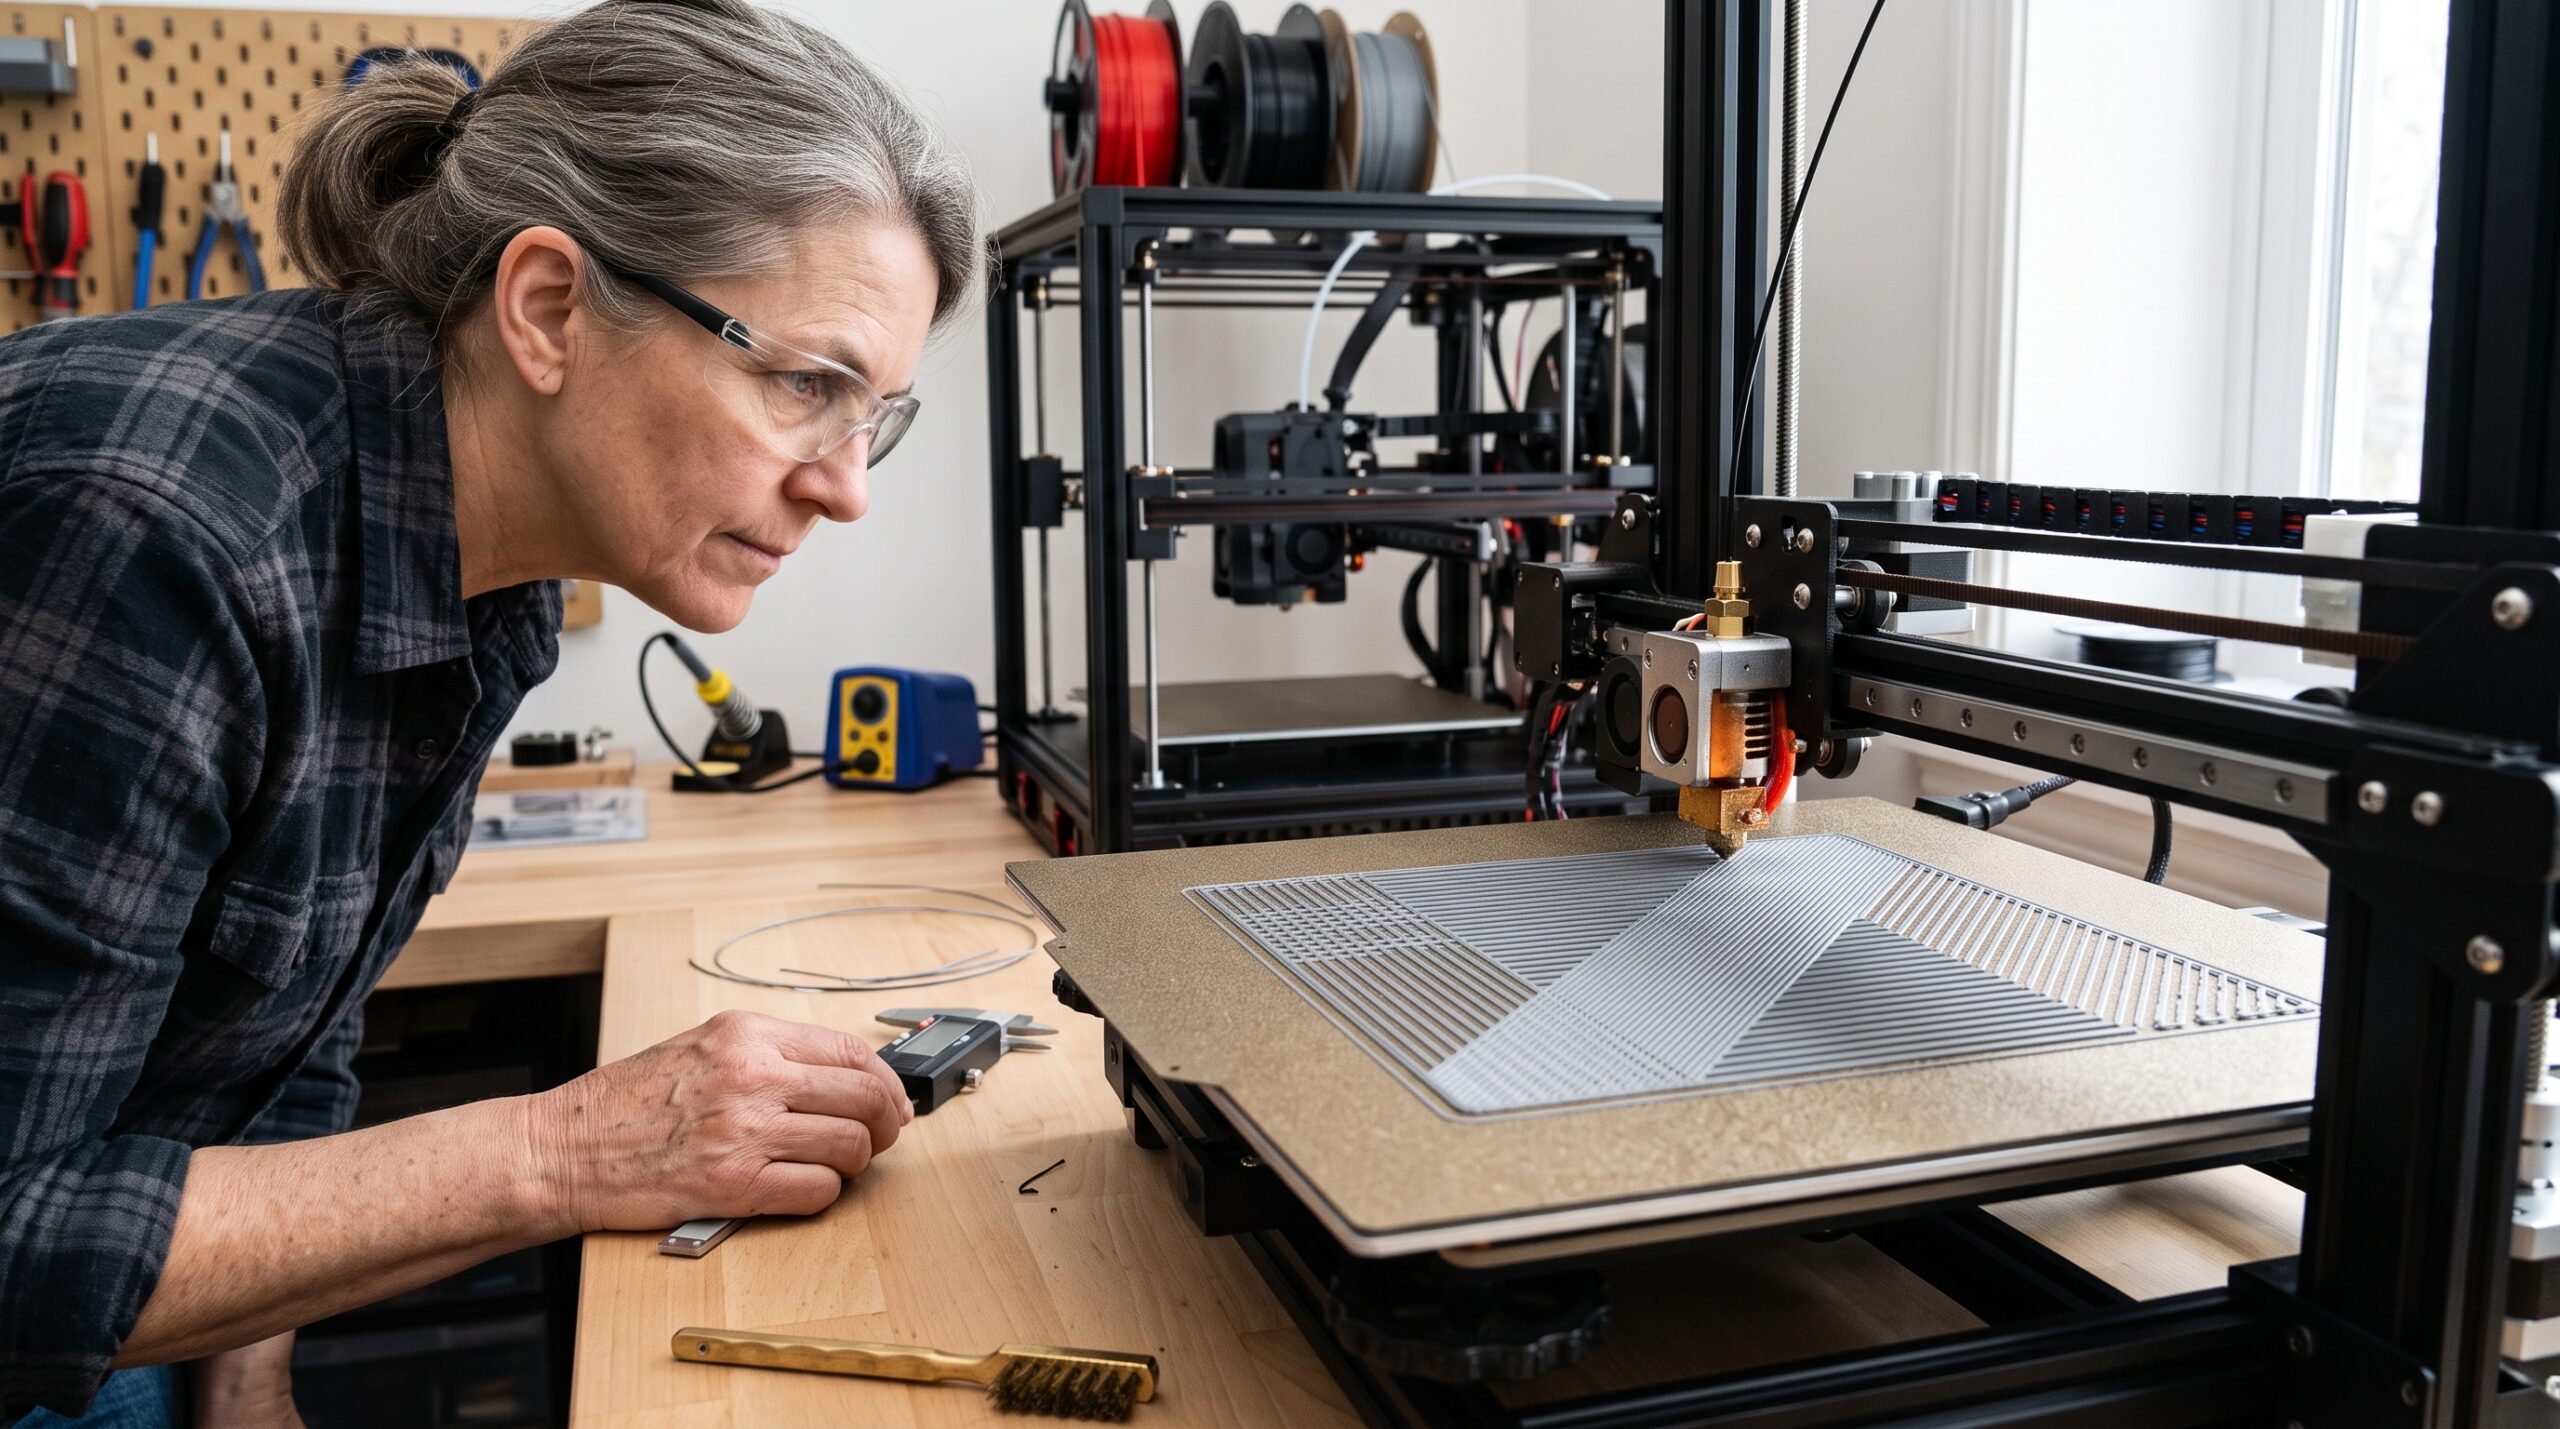
Use a simple one-layer pattern or broad square that covers enough of the build surface to expose differences from front to rear and side to side.
Look at the lines while they are being deposited. You want adjacent lines to join into an even sheet without open gaps or tall ridges.
On printers with manual Z adjustment, make only small corrections. On machines with automatic first-layer sensing, investigate the calibration routine, plate condition, nozzle condition, or mechanical setup before inventing a manual workaround.
What a Good First Layer Actually Looks Like
A first layer tells you much more than whether the print “sticks.”
| What you see | What it usually suggests | Best next move |
|---|---|---|
| Nozzle too high Rounded individual lines with visible gaps between them |
The filament is reaching the surface but is not being placed close enough to merge reliably. | Check calibration and lower the working gap slightly if your printer provides a supported adjustment. |
| Close to right Lines touch and form an even sheet |
The first-layer relationship is likely close to correct. | Let the test continue and compare several areas of the plate. |
| Nozzle too low Very thin lines, ridges, rough scraping, translucent areas, or extrusion resistance |
The nozzle may be pressing too close to the print surface. | Stop if the nozzle risks contacting the plate. Increase the gap using the printer’s supported procedure. |
| Uneven plate Center looks good but one side is too high or too low |
Tramming, plate seating, gantry alignment, mesh accuracy, or physical flatness may be involved. | Do not try to fix the whole bed with one global Z change. |
| Looks right but releases Even lines that still will not adhere |
The problem may not be leveling. | Check cleanliness, material, build-surface compatibility, and temperatures. |
The Paper Method: Still Useful, But Not Universal
For years, one of the first techniques beginners learned was to put a sheet of ordinary paper between the nozzle and bed, move the nozzle to several points, and adjust the bed until the paper felt the same everywhere.
That method still has value on printers designed for manual tramming.
But there are two problems with treating it as the final answer.
First, paper gives you a mechanical reference. It does not show how molten plastic will actually behave at your normal first-layer height, temperature, speed, and material flow.
Second, some current printers establish their first-layer relationship automatically. On those machines, forcing an older manual routine into the process can create more confusion than it solves.
Use manual paper tramming when the manufacturer designed the machine around manual tramming. Use automatic sensing when the machine was designed around automatic sensing. In both cases, verify the result with a real first layer.
Manual Bed vs. Auto-Leveling Printer
| Printer design | Start here | Verify with | Avoid |
|---|---|---|---|
| Manual bed with adjustment knobs | Mechanical inspection and manual tramming | Broad first-layer test | Changing flow to compensate for an uneven bed |
| Probe + manually adjustable bed | Tram mechanically, then run mesh probing | First-layer pattern across the bed | Assuming the probe fixes a badly skewed machine |
| Fixed bed + automatic mesh | Clean plate, mechanical check, manufacturer calibration | Broad first-layer test | Random structural adjustments |
| Load-cell / automatic nozzle sensing | Clean nozzle and plate, run approved calibration | Observed first layer | Applying an unrelated printer’s manual Z procedure |
Why Auto Bed Leveling Doesn’t Fix Everything
Automatic leveling is extremely useful, but it is not magic.
A mesh records differences across the surface and allows the printer to compensate for them within the capability of its motion and firmware. It cannot make a greasy plate clean. It cannot tighten loose hardware. It cannot flatten debris trapped underneath a removable sheet.
And it cannot fix a filament profile that is wildly wrong.
That is why I treat auto leveling as one part of the system, not the whole troubleshooting process.
Four Problems People Blame on Bed Leveling That May Be Something Else
1. A dirty build plate
This is one of the easiest problems to misdiagnose.
If the first layer looks geometrically correct but parts release too easily, investigate contamination before changing Z-offset.
2. A partial nozzle restriction
If the first layer is inconsistent because the extruder cannot deliver filament steadily, lowering the nozzle closer to the bed can make the problem worse.
If you hear clicking or see weak intermittent extrusion, use my 3D printer clog diagnosis before blaming the bed.
3. Wet or inconsistent filament
Moisture can create rough, unstable extrusion that makes a first layer harder to interpret.
If the nozzle is popping, hissing, or producing inconsistent material, see Wet Filament vs. Printer Settings.
4. The wrong print profile
Bed temperature, nozzle temperature, first-layer speed, first-layer height, flow, and material selection all influence adhesion.
A mechanically perfect printer can still produce a poor first layer if the slicer is sending the wrong instructions.
Do Not Chase Z-Offset Forever
This is where troubleshooting can turn into a loop.
You move Z closer. The center improves, but the left side becomes too squished. So you move Z farther away. Now the left side improves but the right side separates.
That pattern is telling you something important: a single global Z adjustment cannot correct a bed whose effective height changes significantly across the build area.
Stop changing global Z and investigate:
- build-plate seating;
- debris underneath the plate;
- bed tramming;
- gantry alignment;
- mesh calibration;
- loose mechanical components;
- build-surface flatness.
The 5-Minute First-Layer Diagnostic
When Should You Re-Level or Recalibrate?
You do not need to turn calibration into a superstition before every print.
But it makes sense to recheck the first-layer system after something changes mechanically or when the print evidence tells you something has shifted.
| Change | Recheck? | Why |
|---|---|---|
| Printer moved to another table or room | Yes | Transport can affect mechanical alignment or machine seating. |
| Nozzle or hotend changed | Yes | Nozzle position can change relative to the bed or sensor. |
| Different build plate or sheet | Often | Surface thickness and calibration behavior vary by machine. |
| Major bed or gantry work | Yes | You changed the mechanical relationship being calibrated. |
| Same printer, same plate, successful print yesterday | Usually not | Start with the obvious evidence instead of recalibrating automatically. |
| First layer suddenly varies across the plate | Yes | Inspect mechanics, plate seating, and mesh behavior. |
Bed Leveling on High-Speed Printers
High-speed machines have made calibration easier in many ways, but they have also made a clean first layer more important.
A printer may advertise 300, 500, or even higher motion speeds, but those numbers do not change the geometry of layer one. The print still needs a predictable foundation before acceleration, input shaping, pressure advance, and high-flow extrusion get a chance to matter.
If you’re comparing speed claims, see my guide to whether 500 mm/s printers actually print better.
The principle is simple: speed begins with control, and control begins at the first layer.
Don’t Buy Upgrades Before You Run This Test
A new build plate, leveling sensor, hotend, adhesive, or printer can solve a real hardware limitation—but none of those purchases should be the first response to an unknown first-layer problem.
Run the diagnostic sequence first.
If the printer’s hardware really is the limitation and you’re considering Creality equipment or replacement hardware, you can browse the Creality Official Store through my affiliate link.
Affiliate disclosure: I may earn a commission from qualifying purchases at no additional cost to you. I recommend diagnosing the existing printer before buying parts to solve an unidentified problem.
Use the P.R.I.N.T. Method™ Instead of Random Adjustments
P — Problem: Describe the failure precisely. Does the first layer fail everywhere, only at one corner, only with one filament, or only after a hardware change?
R — Requirements: Identify the build plate, filament, nozzle, first-layer height, temperature, and printer calibration system.
I — Interfaces: Inspect where things physically meet: plate to bed, nozzle to surface, sensor to plate, gantry to frame, and filament to nozzle.
N — Next-Best Materials & Methods: Choose the smallest useful test—cleaning, tramming, mesh calibration, first-layer test, or profile check.
T — Test & Tune: Change one thing and repeat the same test. Do not change Z-offset, flow, temperature, and speed simultaneously.
Quick Knowledge Check
1. Does automatic bed leveling physically flatten a warped bed?
No. A mesh allows the printer to compensate for measured surface-height differences within its capability. It does not physically flatten the build plate or repair loose or misaligned hardware.
2. Is the paper method required on every modern printer?
No. It is useful for printers designed around manual tramming, but some current printers use probes, mesh compensation, load cells, or automatic first-layer sensing. Follow the procedure intended for the exact machine.
3. What should a good first layer look like?
Adjacent extrusion lines should merge into a consistent sheet without open gaps, severe ridges, transparent scraping, or major differences from one part of the build surface to another.
4. If the center is perfect but one corner is too close, should you change global Z-offset?
Not first. A regional difference points more strongly toward plate seating, tramming, mesh accuracy, gantry alignment, or physical flatness. A global Z change moves the entire relationship and may ruin areas that were already correct.
Frequently Asked Questions
What is the difference between bed leveling and Z-offset?
Bed leveling or tramming deals with consistency between the build surface and the printer’s motion system. Z-offset changes the working distance between the nozzle and build surface on printers that support a manual offset. They solve related but different problems.
Why won’t my print stick even though auto leveling completed?
Check plate cleanliness, build-surface compatibility, material and temperature settings, extrusion consistency, plate seating, and the actual appearance of the first layer. A successful probing routine does not guarantee good adhesion.
How often should I level my 3D printer bed?
There is no universal schedule. Recalibrate when your machine’s instructions require it, after relevant mechanical changes, or when first-layer evidence indicates the relationship has changed. Stable modern printers may need very little routine intervention.
Should the nozzle touch the paper during manual leveling?
On machines that specify the paper method, the goal is normally a repeatable light resistance—not crushing the paper under the nozzle. Follow the printer manufacturer’s exact procedure because homing and nozzle-clearance methods differ.
Can a dirty bed look like bad leveling?
Absolutely. A visually good first layer can release from an oily or contaminated surface. Clean the plate correctly before changing calibration values.
Can setting Z too low damage the printer?
Potentially. A nozzle driven too close to the surface can restrict extrusion, scrape or damage some build surfaces, and place unnecessary load on components. Stop the print if the nozzle appears to contact the bed improperly.
The Takeaway: Level the System, Then Read the First Layer
Bed leveling does not need to become an endless ritual.
Start with a clean plate. Make sure the hardware is mechanically sound. Tram the bed when the machine actually requires tramming. Let automatic systems do the jobs they were designed to do. Then run a real first-layer test and read the plastic.
That last step is the part I trust most.
Your printer can report that calibration completed successfully. A sheet of paper can feel identical at four corners. A mesh can look beautiful on a screen.
But the first layer tells you whether all of those systems are working together.
Do not calibrate because the printer failed. Calibrate because the evidence points to calibration. That one habit keeps troubleshooting simple—and keeps you from fixing things that were never broken.
Need More Than a Calibration Fix?
If you’re learning your printer, the P.R.I.N.T. It Practical guide walks through troubleshooting in a problem-first order. If you need the finished part instead, I also handle replacement parts, prototypes, and small-batch 3D printing from Northern Kentucky.
What was the last first-layer problem that fooled you? Was it actually bed leveling—or did you eventually find a dirty plate, bad filament, loose hardware, or something else? Share what fixed it in the comments. Real troubleshooting stories are often more useful than another generic list of settings.
Editorial note: Calibration procedures vary substantially between printer models. Always follow the manufacturer’s instructions before mechanically adjusting a bed, gantry, probe, sensor, nozzle, or Z-axis system.
